
Nine out of ten replacement cushion returns we see at the factory come down to one thing: the measurements were wrong before a single piece of foam was cut. Not badly wrong — usually off by half an inch here, a rounded corner missed there — but a custom cushion is cut to your numbers exactly, so a small input error becomes a cushion that bags at the corners or will not fit between the arms.
The good news is that measuring correctly takes about ten minutes and no special skills. This guide walks through the same six-step measurement protocol our order desk uses when it reviews every custom cushion order, with real dimensions from popular Hampton Bay patio sets so you can sanity-check your own numbers before you buy.
If you want the short version, our condensed how to measure guide fits on one screen. This article is the deep dive.
What Tools Do You Need to Measure Cushions?
You almost certainly own everything already:
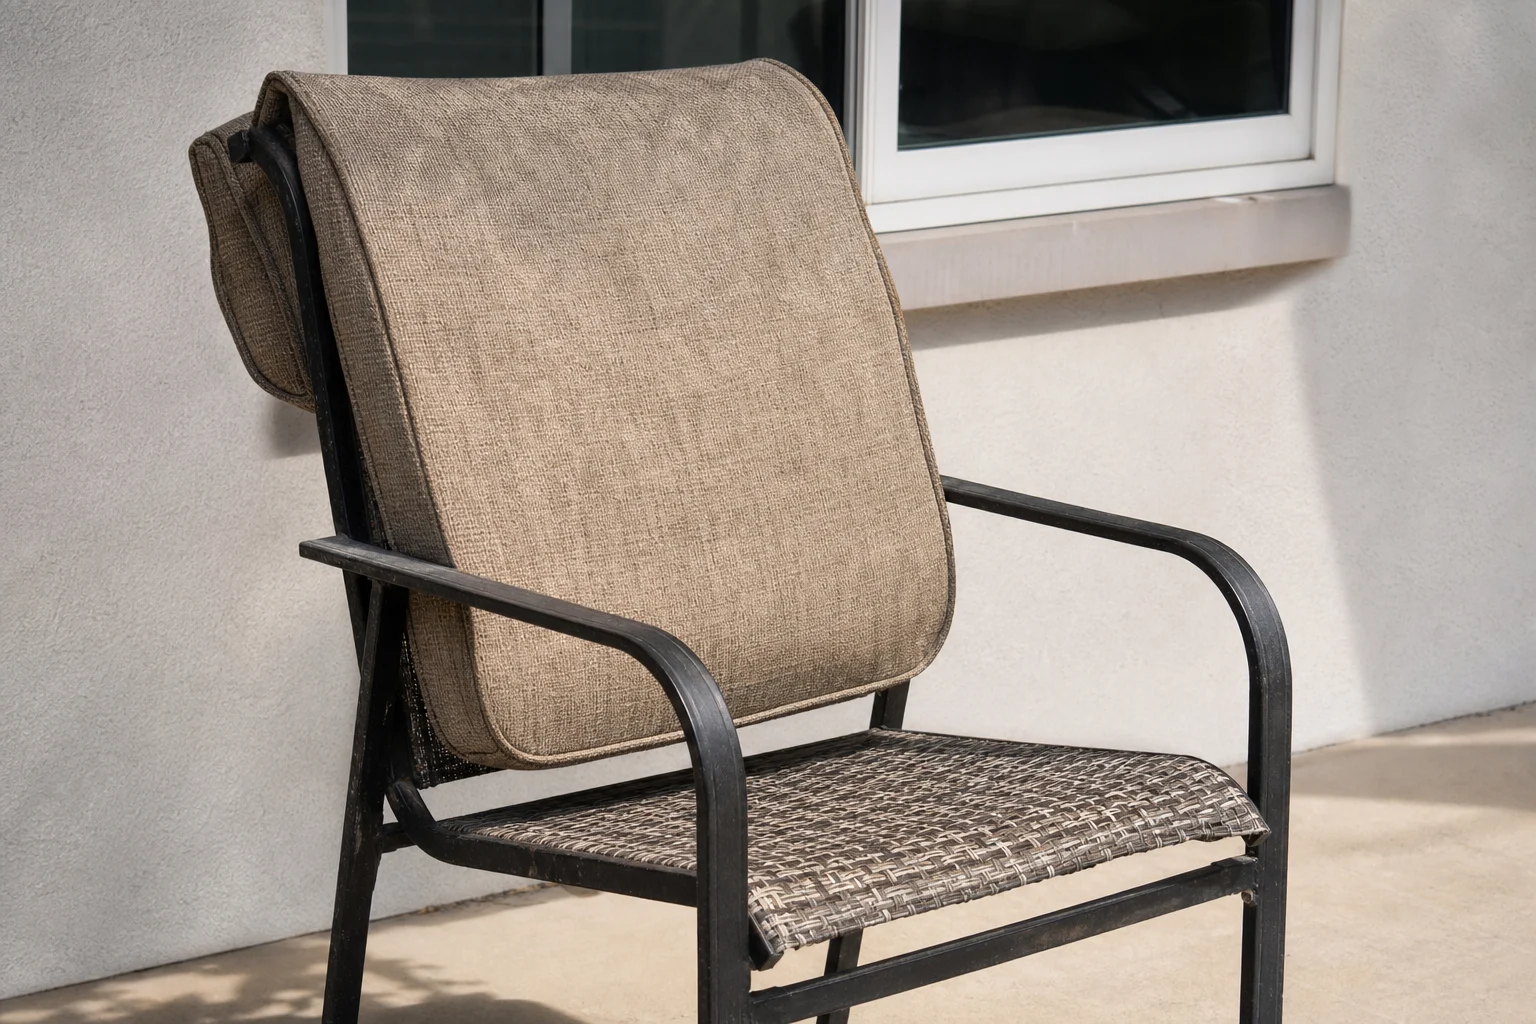
- – A soft tape measure (the tailor kind) or a steel tape. A tailor’s tape is easier to keep flat across a cushion; a steel tape is better for frame-to-frame spans.
- – A firm, flat surface — a table or the floor. Never measure a cushion on your lap or on grass; the cushion will bow and your depth reading will run long.
- – Paper, a pencil, and a straight edge for sketching each piece.
- – A piece of cardboard or a business card for measuring radius corners.
- – Your phone camera. One photo of the furniture and one of each cushion, lying flat, is worth more than a paragraph of notes.
Record every number in inches, to the nearest quarter inch. Our cutting forms accept 1/8″ increments, but 1/4″ accuracy is plenty for a fit you will be happy with.
Should You Measure the Old Cushion or the Furniture Frame?
This is the single most important decision, and the rule is simple: measure the frame whenever the frame is available; measure the old cushion only when it is not.

Why the frame wins: foam compresses and shrinks with age, and covers stretch. A ten-year-old seat cushion can measure an inch narrower than the day it was sewn, and if you copy it you rebuild the sag into the new cushion. The rigid frame does not lie.
Measure the old cushion when:
- – The furniture is assembled in a way that hides the seat rails (some sectionals),
- – The original cushion was custom-shaped and you cannot reach the frame behind it, or
- – The frame is damaged or warped.
When you do measure an old cushion, measure seam to seam, not edge to edge of any skirt or overhang, and lay it flat without stretching the cover. Do not “add a little for comfort” — the factory will do any necessary easing for you.
How Do You Measure Cushion Width?
Width runs left to right, across the seat, as you sit on the furniture.
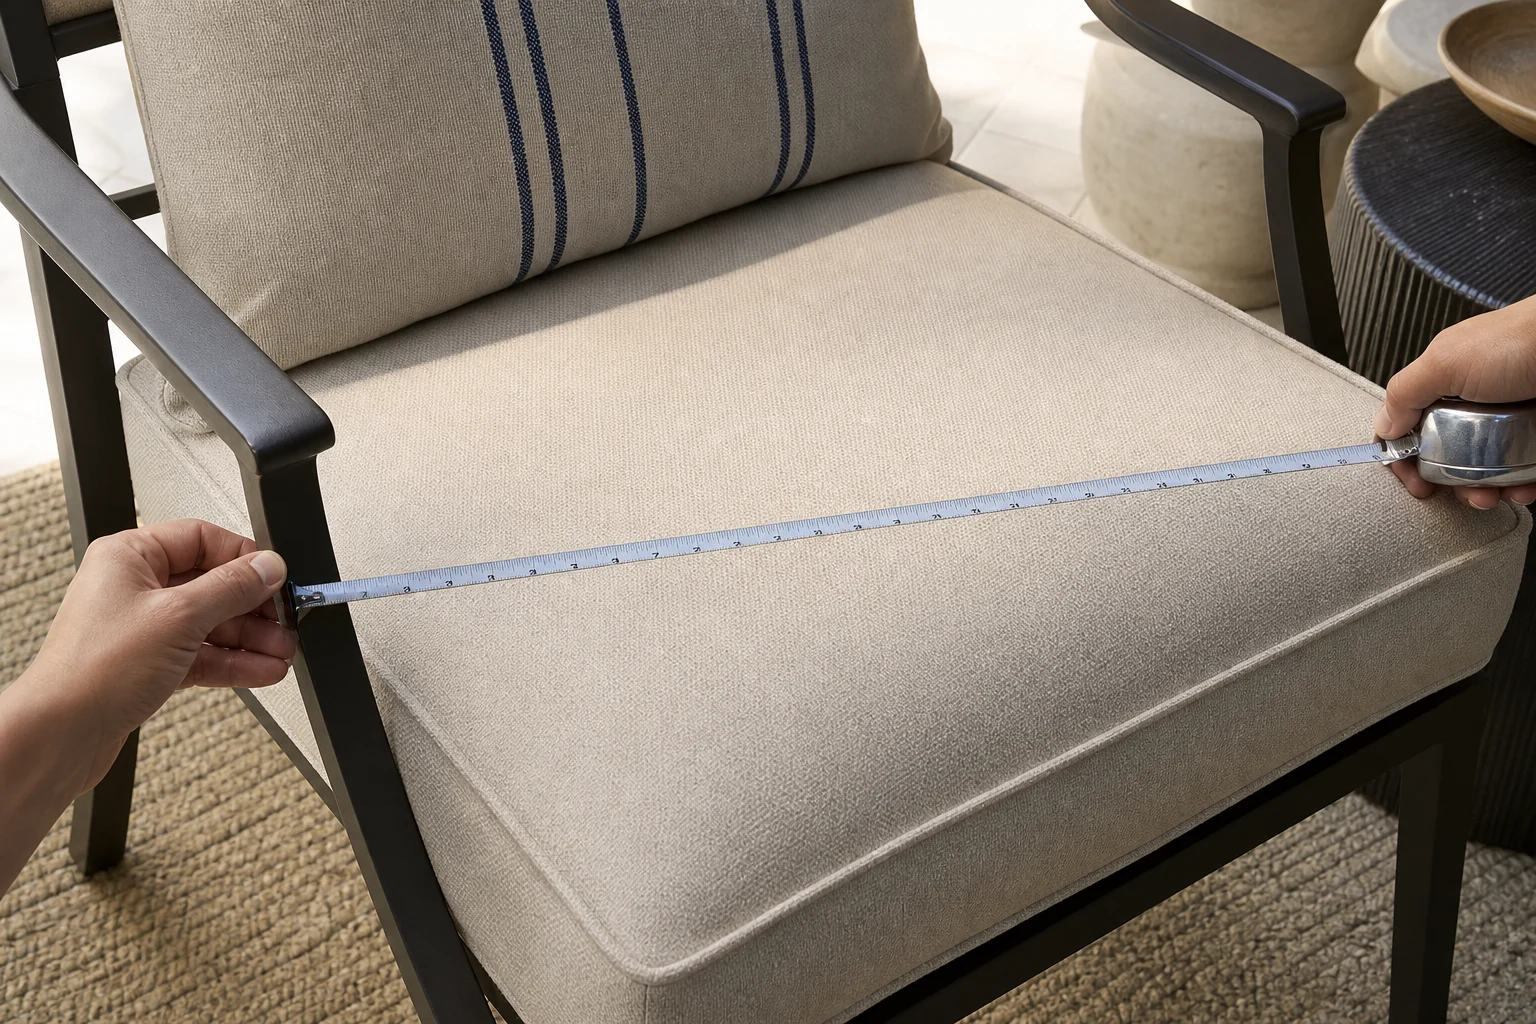
- For framed chairs, measure from the inside face of one arm to the inside face of the other, at the height where the cushion sits.
- Take three readings: at the front edge, at the middle, and at the back. If all three match, you have a rectangle.
- If the front and back readings differ, you have a trapezoid — and you need to record both. Some big-box sets are built this way — the Miramar lounge chair (a Martha Stewart collection sold at Home Depot), for example, takes a seat cushion that is 25″ wide at the front and 23″ wide at the back. Our custom order form has separate front-width and back-width fields for exactly this case.
One tip from the sewing floor: if you are within about half an inch of matching the frame width exactly, go with the frame width. A cushion that is slightly snug looks tailored; a cushion that is an inch narrow looks like it shrank in the wash.
How Do You Measure Cushion Depth?
Depth runs front to back.
- Measure from the back of the seat area (or the front of the back cushion) to the front edge of the seat rail.
- Keep the tape level and flat — measuring diagonally down a sloped seat is the classic way to add a phantom inch.
- For seat-and-back sets, measure the seat depth and the back cushion separately. They are two different pieces with two different dimensions, and each gets its own line on the order.
Do not include the thickness of the back cushion in the seat depth, and do not include any front lip or track that the cushion tucks under — measure to where the foam actually stops.
How Do You Measure Cushion Thickness?
Thickness is the height of the cushion, and it is where most people guess instead of measure.
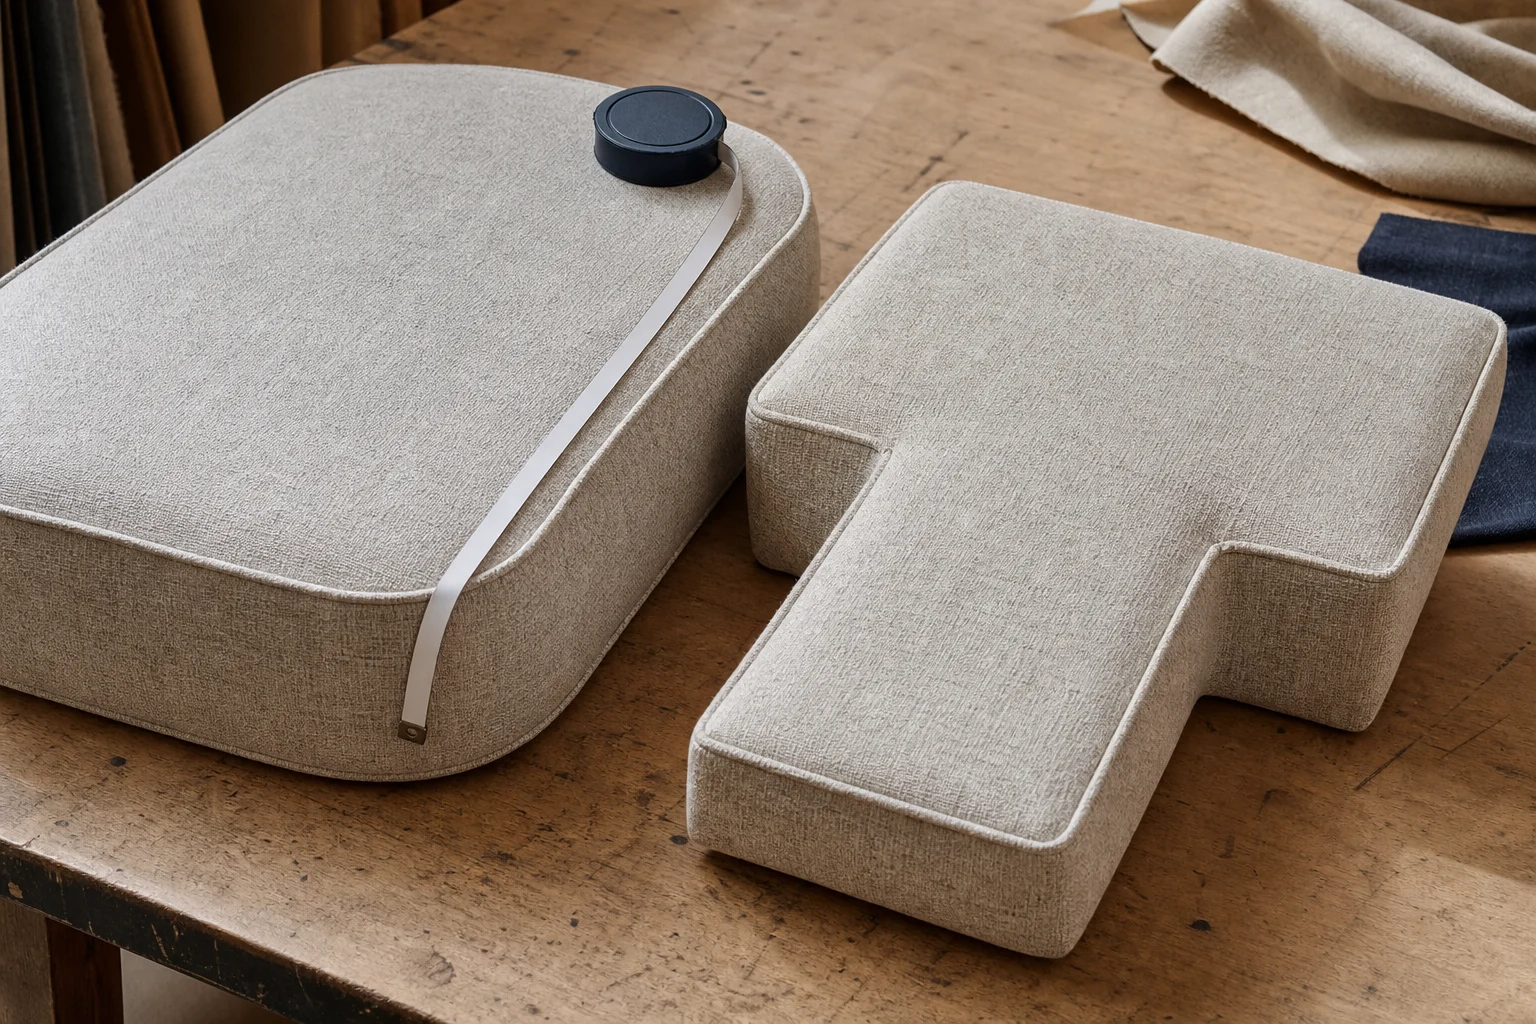
- Stand the cushion on edge or press down lightly on one corner and measure the foam height seam to seam.
- If the cover has a wrap-around “waterfall” edge, measure at the seam line, not over the bulge.
Typical thicknesses we cut every week: 2.5″–3″ for dining chairs (thin so you are not boosted above the table), 4″–5″ for standard lounge and swivel chairs, and 5″–7″ for deep-seating sets — the Spring Haven sofa from Hampton Bay, for instance, runs a 5″ seat with a plush 7″ back cushion.
Thickness also drives material volume, which drives price. Density options are priced live in the builder, so going from 4″ to 6″ on a large bench is not cosmetic — it is real material. The custom cushions configurator prices thickness changes live as you enter them.
How Do You Measure Radius (Rounded) Corners?
Many wicker and rattan frames have rounded front corners rather than square ones. If you order square and the frame is rounded, you get a cushion with corners poking past the wicker like dog ears.
To measure the radius:
- Slide a piece of cardboard (or the tape measure’s case) into the corner until it touches both the side and the front of the frame simultaneously.
- The distance from the corner of the cardboard to the point where it first touches the curve is your radius.
- Common patio radii run 1″ to 6″. If you cannot get a clean reading, trace the corner onto paper and we will match the template.
What About Special Shapes — L-Shapes, T-Cushions, and Bowed Fronts?
- – T-cushion (notch) seats, common on older gliders and armchairs: measure the main rectangle, then the front wing that wraps around the arm as a separate width/depth, and give us both.
- – L-shaped and corner sectional pieces: measure each leg of the L separately.
- – Bowed or waterfall fronts: a paper template is the only reliable method. Tape butcher paper over the seat, trace the outline, and mail it in — templates are cut by hand, and bowed shapes price at their footprint (depth plus two-thirds of the bow height) — curves are a cutting detail, not a surcharge.
Trapezoids deserve respect, too. The Mill Valley sectional’s corner cushion runs 27″ at the front and 72″ along the back — a shape no standard-size product will ever cover. That is precisely the job for custom cutting.
Real-World Dimensions: What Popular Home Depot Sets Actually Measure
Factory-measured replacements we have produced for common series on Home Depot’s two house lines, Hampton Bay and Martha Stewart:
| Series | Piece | Width × Depth × Thickness |
| Spring Haven | Chaise seat / back | 23.5 × 50 × 5 / 23.5 × 26 × 5 |
| Spring Haven | Loveseat seat ×2 | 23.5 × 27 × 5 |
| Cedar Island (Martha Stewart) | Chaise seat / back | 26 × 49 × 5 / 26 × 26.5 × 5 |
| Laurel Oaks | Chaise seat / back | 26 × 47.75 × 5.5 / 26 × 27.25 × 6.25 |
| Edington | Glider bench (one piece) | 48 × 21.5 × 5 |
| Lake Adele (Martha Stewart) | Ottoman | 24 × 18 × 5 |
| Kampar | Dining chair | 22 × 22 × 3 |
Use these as a sanity check, not a shortcut — manufacturers revise frames between production years, and a surprising number of “same model” chairs differ by an inch. The full dimension charts for the sets we stock patterns for are on the replacement cushions hub, including ready-to-order pages for Spring Haven, Santa Rosa and Edington.
What Are the Most Common Measurement Mistakes?
In short order: measuring edge-to-edge over a skirt, measuring depth diagonally down a sloped seat, ignoring the back cushion’s separate dimensions, guessing at thickness, and rounding generously “for safety.” Each of these adds error in one direction — bigger — and a too-big cushion is the one mistake that cannot be fixed with a firm shove. We break all of them down (and how our order desk catches them) in cushion measurement mistakes and how to avoid them.
Deeper guides for specific furniture types:
How Do You Turn Measurements Into an Order?
Once your numbers are on paper:
- Check the standard sizes chart — if your measurements match a stock size, you will save money and time.
- If they do not (and most patio cushions do not), enter them in the custom cushion builder: shape, width, depth, thickness, corner radius, tie placement, then fabric.
- Upload photos of the furniture at checkout. Our order desk reviews every order against photos before it hits the cutting floor — it is the cheapest quality control in the entire pipeline.
For outdoor furniture the route is one step shorter: the custom outdoor cushions page starts with outdoor-rated fabric families pre-filtered (common patio standard sizes on the same page), and bench builds can jump straight to custom outdoor bench cushions with the rectangle-plus-outdoor presets already set.
Standard production runs 7-14 business days; rush service compresses that to 4-7 days. Full turnaround and shipping details are on the FAQ page, and if you would rather have a human check your numbers first, contact us — measuring is free, remaking is not.
Measurement Quick-Reference Card
The full protocol above, compressed to the card our order desk keeps pinned above the review desk:
| Dimension | Measure from | Record | Watch out for |
| Width | Inside arm to inside arm | Front + middle + back readings | Trapezoid (record both ends); use the smallest if under 1/2″ apart |
| Depth | Backrest to front rail, horizontal | One number, level tape | Diagonal down slopes; including the back cushion’s thickness |
| Thickness | Seam to seam, cushion on edge | Per piece | Measuring over the bulge of waterfall edges |
| Radius | Card into corner | Front corners usually | Square-ordering for round frames — the visual giveaway |
| Ties | Frame tie points | Position from cushion edge | Ties sewn where the frame has nothing to loop |
And the three numbers rule for sets: every piece gets its own line — seat and back are separate measurements, chair 1 through chair 4 are separate lines even when “they look the same” (production-year variance is real, and it is found exactly this way — measurement mistakes).
FAQs
Do I measure the old cushion or the furniture frame? Measure the frame whenever you can; old foam compresses and covers stretch, so copying an old cushion usually rebuilds years of sag into the new one.
How accurate do my measurements need to be? Within 1/4 inch is the target. Custom cushions are cut to your exact numbers, so precision in equals fit out.
Should a cushion be slightly wider than the seat? You can go up to about 1/2″ snug on framed seats for a tailored look, but never over — a too-wide cushion bows, wrinkles at the corners, and will not settle flat.
Can I just send you my old cushion instead of measuring? Yes. Cushions in good condition can be shipped to us and copied, and odd shapes can be traced as a paper template — both options are explained during checkout for custom orders.
What if my furniture is not a Hampton Bay or IKEA set? No problem. Anything you can measure, we can cut — including one-off benches, window seats, and boat cushions. Start at the replacement cushions hub or go straight to the builder.
Standard Cushion Sizes Chart: Every Common Dimension in One Place
The standard cushion sizes reference: seat cushions by chair type, bench and chaise dimensions, thickness bands by use, why ‘standard’ varies so much, and how to move from the chart to an exact order.