
Dining chair reupholstery is the classic gateway furniture project, and it earns the title: on most chairs it’s genuinely accessible, the results are immediate, and the skills scale up to bigger work. But “reupholster a dining chair” actually covers three different projects of very different difficulty — the drop-in seat pad (easy, an hour), the full replacement cushion (medium), and the chair with attached, piped, or sprung upholstery (a real project) — and the first decision of the job is honestly identifying which one your chairs are.
This guide covers all three routes, the foam-and-fabric decisions that decide whether the work lasts, and the stop-or-outsource line. It pairs with dining chair cushion replacement (the buying-side version of the same decision) and how to make cushion covers (the sewing foundations used here).
First: Identify Which Project You Have
Turn a chair over (or lift the seat) and classify:
Type 1 — Drop-in seat pad. The seat is a wooden or composite board with foam and fabric stapled to it, held to the chair frame by four screws. Roughly half of all dining chairs, and nearly all “reupholsterable in an afternoon” chairs. You unscrew the board, recover it, screw it back. Start here; this is the guide’s main event.
Type 2 — Loose cushion on a frame. The chair has a separate cushion (often with ties). This isn’t reupholstery at all — it’s cushion replacement: the buying logic in dining chair cushion replacement and set-scale version in chair cushion sets, or the sewing route in the sections below.
Type 3 — Attached upholstery. The fabric is stapled or tacked to the chair frame itself — with piping, maybe a padded back, maybe springs in older pieces. Real upholstery work, with a learning curve measured in chairs. The stop-or-continue decision for this type is at the end of this guide, and for chairs whose value is sentimental or antique, vintage and antique furniture cushions frames the professional route.
Route 1: The Drop-In Seat Pad (the Afternoon Project)
Tools and materials
- – Staple gun (electric or a good hand gun) and 3/8″ (8–10mm) staples — the tool that defines this project; a weak gun that folds staples makes the whole job miserable.
- – Flat-bar and needle-nose pliers, flathead screwdriver, rubber mallet, claw for old staples.
- – Foam: 2″ of 50D for standard dining (the density logic in how to choose foam density; daily dining chairs want the daily-grade). For the seat-pad format, 2″ is the practical ceiling before the thickness pushes into table-apron territory (the geometry check in seat pads vs cushions).
- – Batting: 3–4 oz polyester batting or dacron wrap — the layer that rounds edges and prevents the foam’s edge telegraphing through the fabric (dacron’s role in cushion filling types).
- – Fabric: 5/8 yard per seat of upholstery-weight fabric. Performance polyester families for spill-zone duty, per best outdoor cushion fabric‘s exposure logic — dining chairs are indoor spill zones with outdoor mess profiles.
- – Scissors, marker, and a helper for the final screw-back if the chairs are heavy.
The method, step by step
1. Unscrew the seat from the frame. Four screws, usually into corner blocks. Bag them and label — threads vary chair to chair.
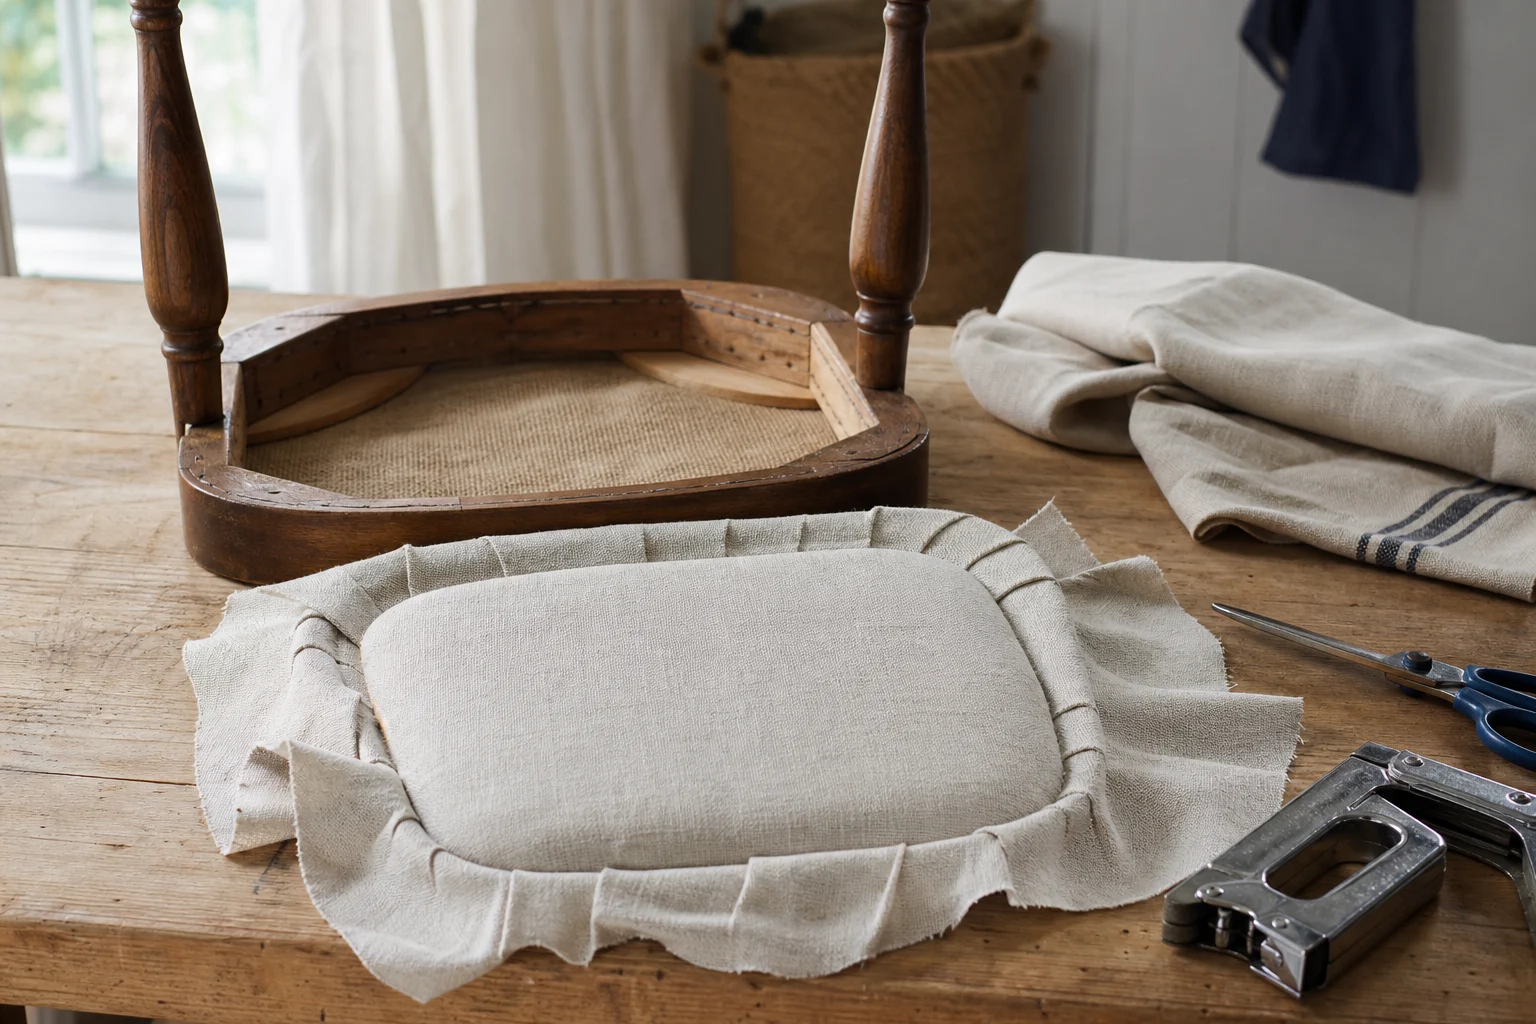
2. Remove the old cover. Pry the staples (flathead under each, twist, pull with pliers — or a staple-removal claw). Keep the old fabric and foam intact: the old cover is your cutting pattern, and the old foam tells you the original spec. Inspect the board: solid and dry is fine; cracked, warped, or (in old chairs) crumbling composite wants replacement plywood cut to the same footprint.
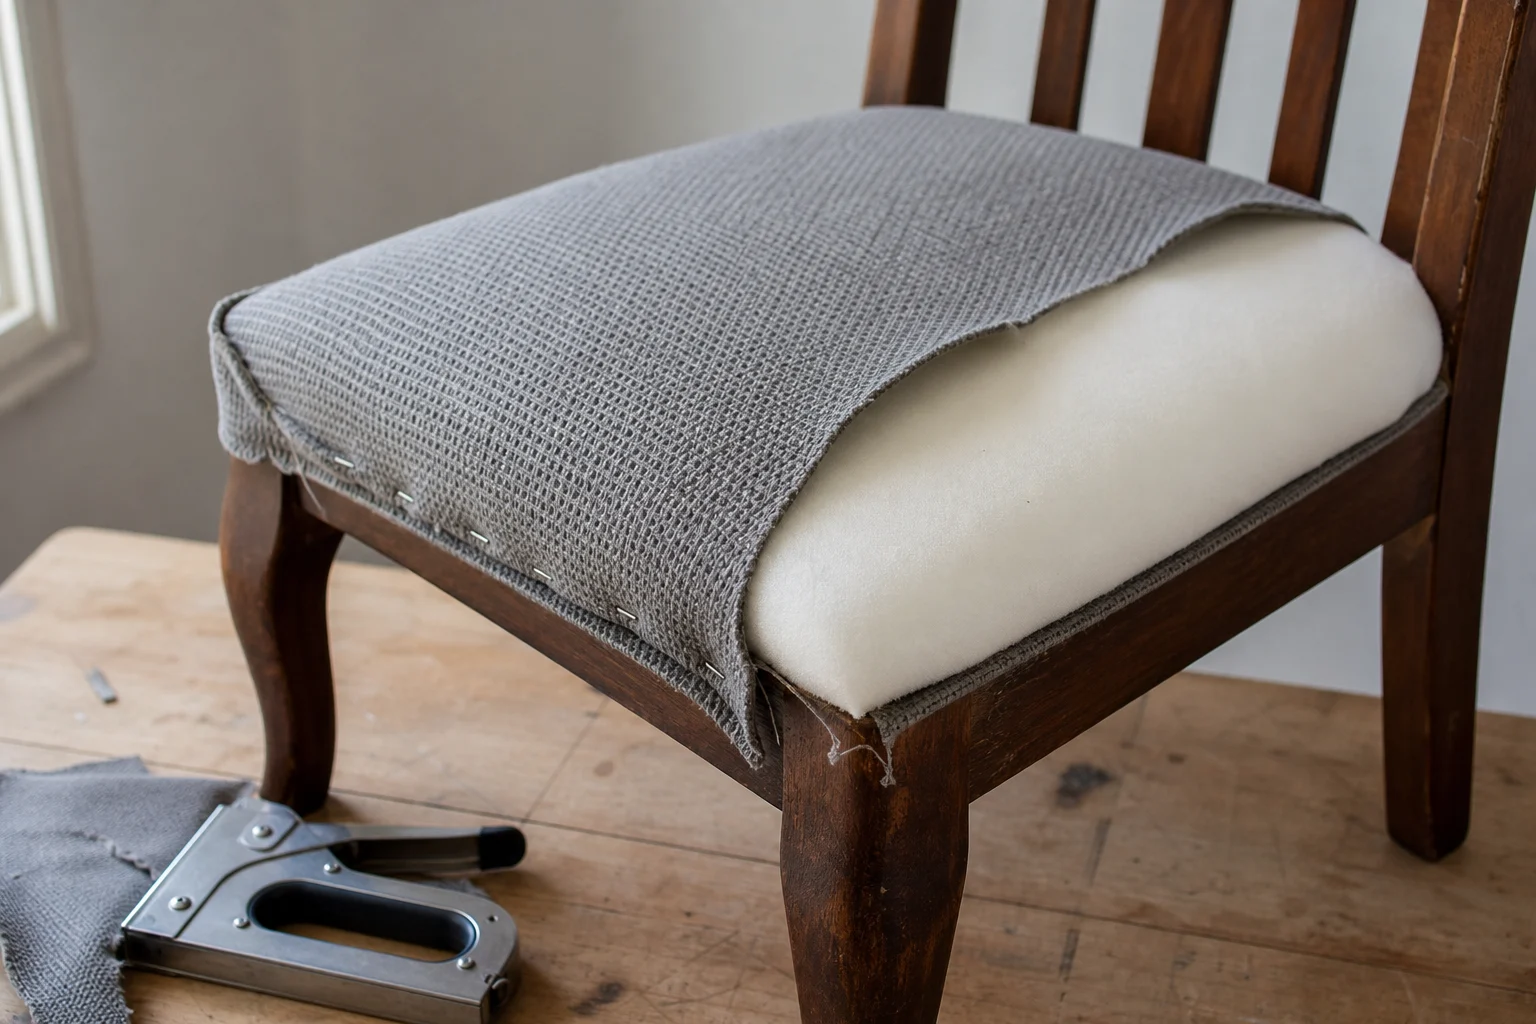
3. Replace the foam — the step that decides everything. If the old foam is compressed, discolored, or crumbles at a pinch, replace it; recovering dead foam produces a beautiful cover over a dead seat, the exact failure cataloged in how to fix sagging couch cushions. Cut new foam to the board’s dimensions minus 1/4″ per side (foam overhang squishes out and makes wavy edges), and dry-fit it.
4. Add the batting wrap. Cut batting to cover the face and wrap 3–4″ around the edges. This single layer is the difference between homemade-looking and tailored-looking results.
5. Cut the fabric with the old cover as pattern — plus 3″ of wrap margin all around. If there’s a pattern to match across a chair set (chair cushion sets covers set discipline), lay all the cuts at once, aligned.
6. Staple the sandwich, centers first. Fabric over batting over foam over board. One staple at the center of each side, pull gently taut, then work outward to the corners, stapling every inch. Corners get folded like gift-wrap corners — one clean fold each direction, excess trimmed. The tautness rule: drum-tight fabric on the face is the signature of good work; loose fabric bags within months. Pull with pliers against the staple gun.
7. Trim and re-mount. Excess fabric trimmed to 1″, screws back through the original holes, rubber mallet tap if the frame fights. Sit. Adjust the tautness of anything that puckers (pull the staples in that zone, re-pull, re-staple — five minutes now versus living with it).
Total honest time: 30–45 minutes for the first chair, 20 for each after. A set of six in an afternoon, including cleanup.
Route 2: The Full Replacement Cushion (Sewing Route)
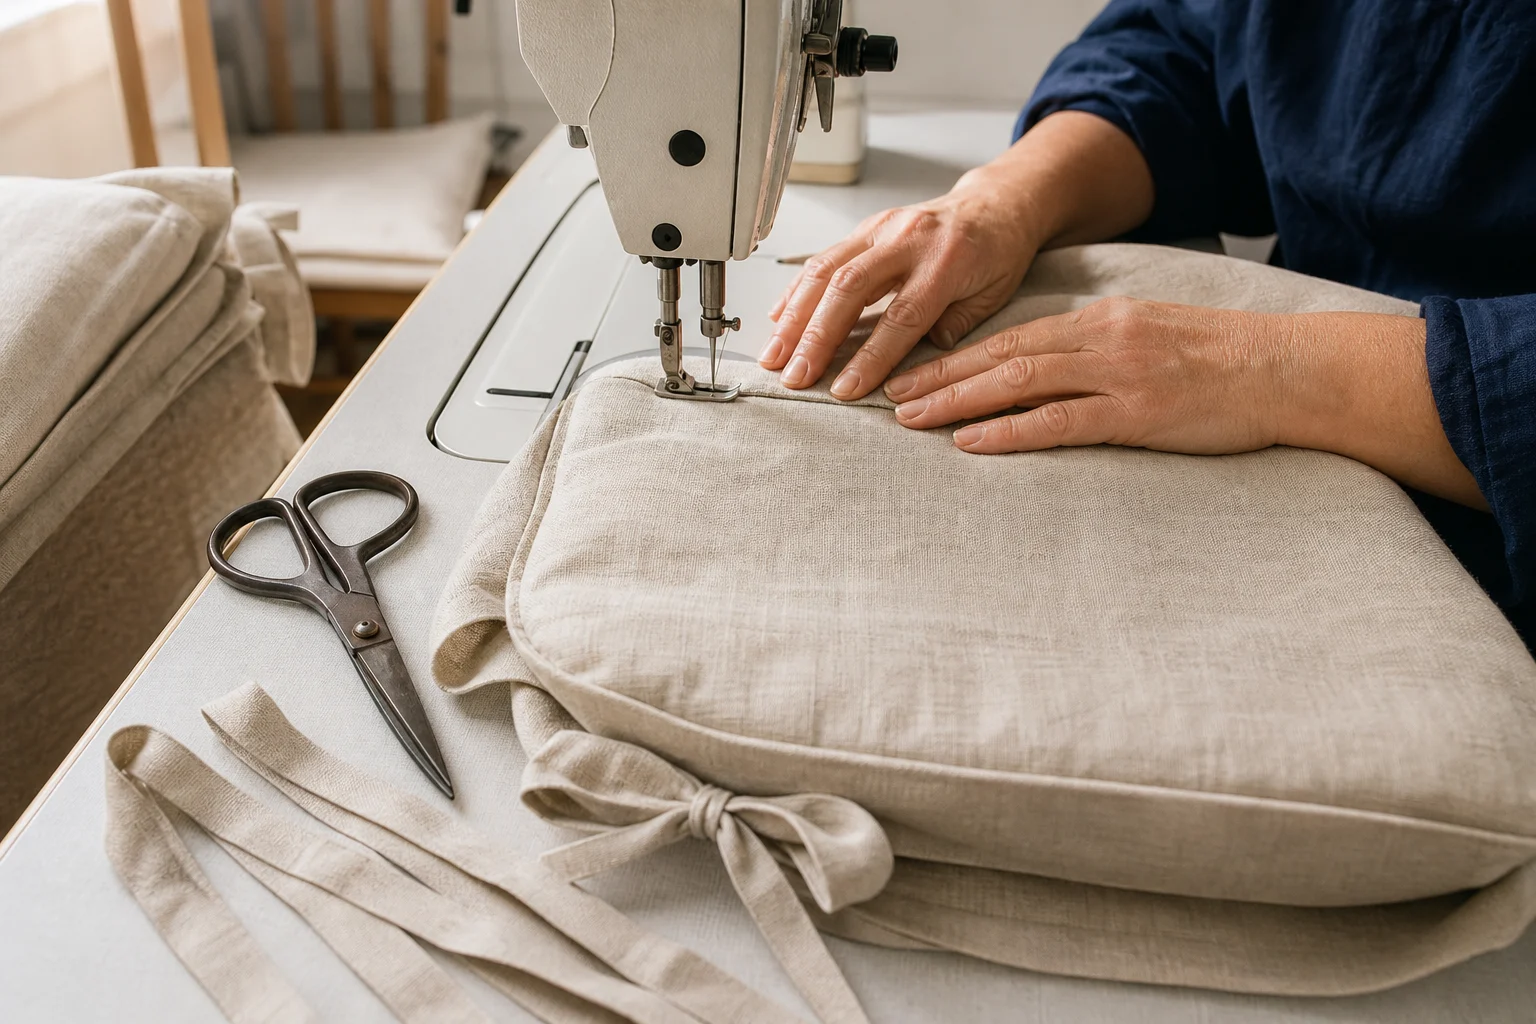
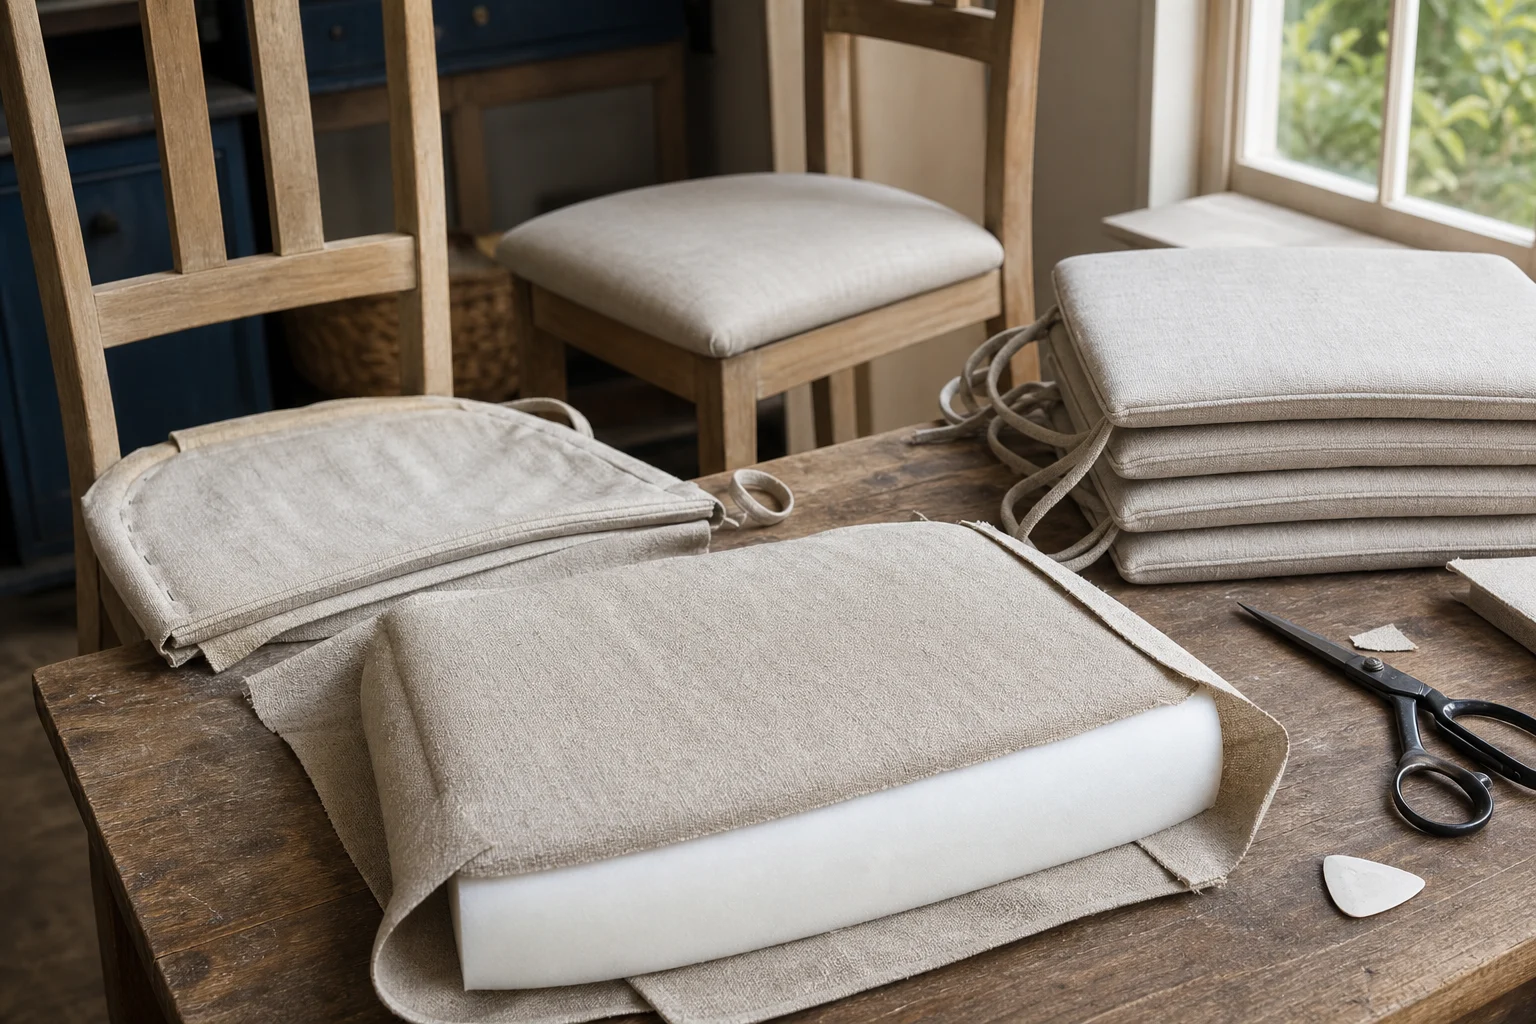
For chairs with loose cushions rather than drop-in pads — or for upgrading to a tied cushion format — the project is a small box-cushion sew: fabric, 2–3″ foam, batting, hand-closed final seam, ties at the back corners. The complete method is in how to make cushion covers and cushion recovery DIY; the dining-specific decisions:
- – Thickness against the table: 2–3″ standard, 4″ ceiling — knee-to-apron clearance is the binding constraint, per the interaction checks in how to measure outdoor cushions.
- – Ties at the back corners minimum (dining chairs are open frames — cushions walk), positioned to the frame’s real anchor points per how to add ties to cushions.
- – Density by duty: daily dining runs 50D; households that use the table for everything — homework, laptop, long dinners — feel the difference at 60D, per how to choose foam density.
- – Set discipline: measure every chair; factory variance is real, and the set-level lessons in cushion ordering mistakes apply to self-made sets too.
The Fabric Decision for Dining Duty
Dining chairs are the hardest-working indoor fabric surface in the house. What matters, in order:
- Weave tightness over pattern beauty. Tight performance weaves clean with soap and water (polyester cushion care); loose boucles and slub weaves catch crumbs and never fully release them.
- Color and soil. Mid-tones and patterns hide the daily film; white and near-white demand the cleaning cadence in washable cushions.
- Abrasion rating if you can find it — heavy-duty double rubs ratings above 25,000 for daily chairs.
- The re-cover reality: drop-in pads are trivially re-recoverable — a quality staple gun and an afternoon renews them again in five years. That recyclability is the hidden argument for the drop-in format: you’re not choosing a forever fabric, you’re choosing the next fabric.
When to Stop and Outsource
The honest stop-lines for this project:
- – Type 3 chairs (attached upholstery) on a first project. Piped edges over attached frames, hand-tied springs, caned seats — each is a genuine skill. One learning chair from a thrift store teaches more than three ruined family chairs.
- – Valuable or sentimental pieces. Antique dining chairs reward professional hands — reupholster vs replace cushions frames the decision, and the antique geometry is covered in vintage and antique furniture cushions.
- – When the problem isn’t the fabric. Sagging across a whole set, frames loosening, webbing failing — the fabric was the symptom. The economics of full rebuilds versus quality replacements is the decision in custom vs standard cushions.
- – When the math says buy. Custom dining cushions from Cushion Mill — $39 base plus area × fabric rate, 2–3″ 50D foam, ±½” fit (±¾” over 36″) — often land within range of DIY material costs for a six-chair set, in 7–14 business days, at custom dining chair cushions. The same honesty as every route in this guide: do the drop-in pads yourself (that’s the accessible joy), buy or carefully sew the structural sets.
Chair Backs: The Half-Hour Option
Most dining-chair reupholstery guides stop at the seat and pretend the backs don’t exist — but backs age too (body oils, hair products, sun through the window), and there’s a practical middle path between ignoring them and full Type 3 work:
- – Screw-off back panels. Many chairs with upholstered backs use the same drop-in construction as the seats — a padded panel screwed to the frame from the back. Unscrew, recover exactly as a seat (same sandwich, same staples, tighter tautness since backs show every pucker), re-screw. Thirty minutes each.
- – Slip-covered back panels. Where the back panel doesn’t come off, a tailored slip panel — fabric stapled to a thin plywood or Masonite cut to the panel’s shape, pressed in over the old upholstery — renovates the visible surface without disturbing the original. The fabric library and pattern-matching discipline from no-sew cushion cover ideas applies.
- – Detachable back cushions as the third route. Chairs with open frames can skip reupholstery entirely and get tied back cushions — 4″ loft, lighter density, per the seat/back split in seat and back cushion sets — converting a tired upholstered-back chair into a refreshed open-back one.
Backs also carry the set’s biggest visual weight at the table — recovering backs and seats in one fabric is what makes six chairs read as a renovated set rather than six patched chairs.
The Six-Chair Budget Reality
A worked example at realistic prices: fabric at $20–40/yard × 5 yards, 50D foam at retail for six seats, batting, staples and wear on one staple gun — DIY materials typically total $180–350 and an afternoon-plus. The same six seats as custom drop-in-spec cushions (2–3″ 50D, your fabric family from $3.35 per square foot, ties where the frames want them, ±½” fit, ±¾” over 36″) price transparently at custom dining chair cushions and arrive in 7–14 business days. The DIY route wins on fabric choice freedom and the satisfaction ledger; the custom route wins on foam grade honesty, corner crispness, and your weekend. Both beat buying new chairs, which is the actual economics of this project — reupholstery exists because good frames deserve better covers.
FAQs
Is reupholstering dining chairs hard?
Drop-in seat pads (about half of all dining chairs) are a genuine afternoon project — unscrew, recover, re-screw. Attached upholstery with piping and springs is a different, harder craft; start on a thrift-store chair if you want that skill.
How much fabric to reupholster a dining chair seat?
About 5/8 yard per seat, upholstery weight, with 3 inches of wrap margin — buy set-quantity at once for pattern matching and dye lot.
Should I replace the foam while recovering?
Yes if the old foam is compressed, discolored, or crumbles at a pinch — recovering dead foam gives a beautiful cover over a dead seat. 2-inch 50D is the daily-dining standard.
What’s the most common mistake in this project?
Under-taut fabric — loose covers bag within months; pull drum-tight with pliers, staple centers first, work outward. The second: skipping the batting wrap, which is what makes edges look tailored.
Can I reupholster chairs with attached cushioned backs?
You can, but that’s Type 3 work — real upholstery with a learning curve. For valuable chairs or a first project, that’s the stop-and-outsource line.
Is DIY cheaper than buying custom dining cushions?
For drop-in pads, yes — genuinely economical. For loose-cushion sets, DIY materials roughly match custom pricing ($39 base plus fabric area); buy for machine-grade durability and your time back.
Next Steps
- Flip a chair and classify it — drop-in pad, loose cushion, or attached upholstery — and route accordingly.
- For the drop-in route: order 2″ 50D foam and batting alongside your fabric, and keep the old cover as your cutting pattern.
- For loose-cushion sets, compare your materials list against the custom dining chair cushions builder — density, ties and fit spec’d to your measured chairs, one dye lot, 7–14 business days.
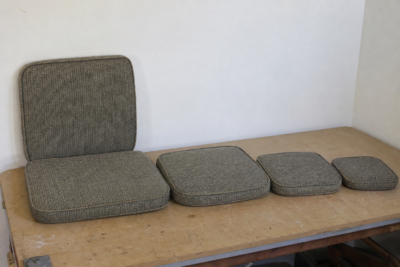
Standard Cushion Sizes Chart: Every Common Dimension in One Place
The standard cushion sizes reference: seat cushions by chair type, bench and chaise dimensions, thickness bands by use, why ‘standard’ varies so much, and how to move from the chart to an exact order.
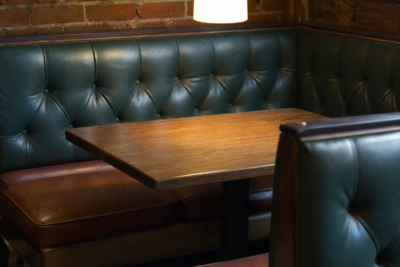
Restaurant Booth Cushions: Specifying for Dinner-Rush Duty
Commercial restaurant booth cushions live under a duty profile residential cushions never see — all-day turn rates, cleaning chemicals, food-zone fabric demands, fire-code awareness — this is the spec: density, fabric, construction, and the replacement-cycle economics.
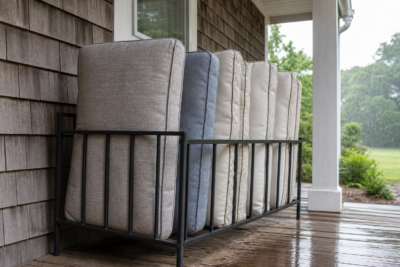
How to Prevent Mold on Outdoor Cushions: The Moisture-Management System
Why cushions mold (it’s never the fabric alone) — the moisture, food and airflow triangle, and the prevention stack: fabric, foam, placement, habits and storage.
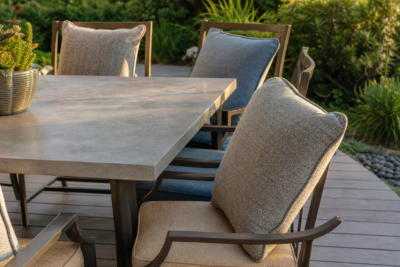
The 2026 Outdoor Cushions Buying Guide: Everything to Check Before You Order
A complete 2026 checklist for buying outdoor cushions — fit, fabric tiers, foam density, construction quality, tie systems, pricing benchmarks and red flags.
How to Measure Outdoor Cushions: The Complete Step-by-Step Guide (2026)
A factory-accurate guide to measuring outdoor cushions — width, depth, thickness, radius corners and special shapes — with real Hampton Bay replacement dimensions and a pre-order checklist.
How Long Does Wicker Furniture Last? Lifespans by Material and Use
Honest lifespan expectations for every wicker family — natural rattan indoors, PVC-resin outdoors, woven HDPE over aluminum — the factors that add or subtract years, and the repair-or-replace math when a set starts to fail.