
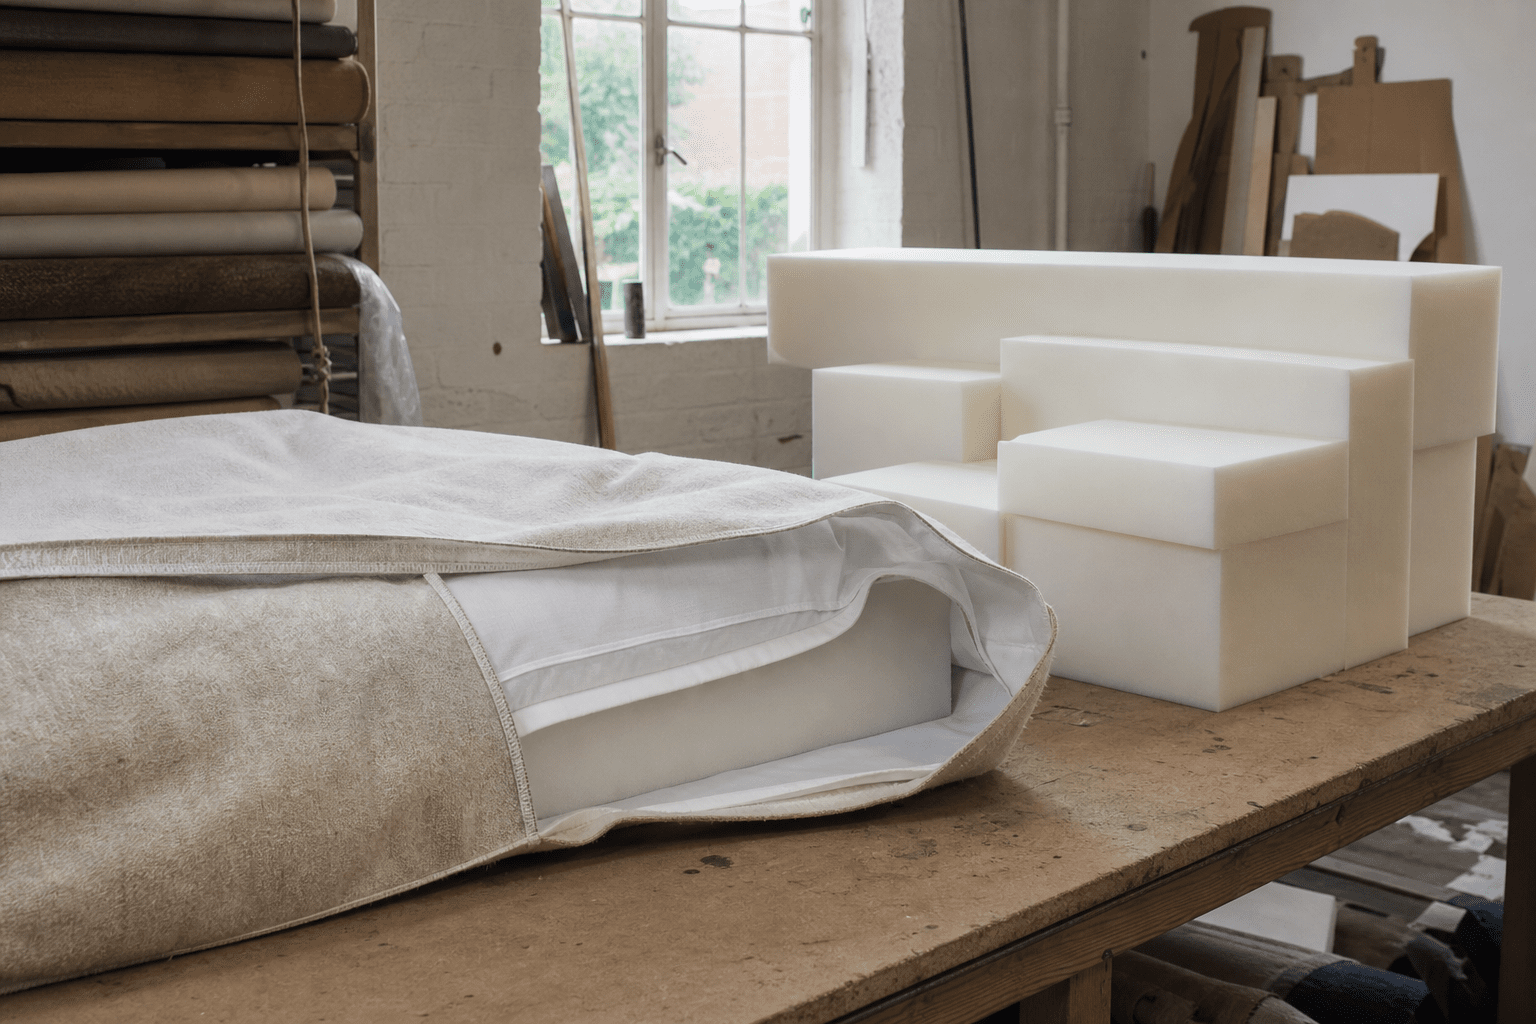
Re-foaming is the mirror image of re-covering: the cover is fine but the core has died. You press the cushion and feel the frame; you sit and sink to the bottom; the body prints are permanent. The fabric might have years left in it, but fabric is not what you sit on — and no cover, however beautiful, rescues failed foam.
The good news: replacing foam is the most accessible cushion DIY there is. No sewing is required — if the cover fits today, it will fit a new core of the same dimensions. The craft is in the three decisions (density, thickness, wrap) and one careful afternoon of cutting and fitting. Here is the factory method, scaled to a kitchen table.
Step 1: Confirm the Foam Is the Problem
From the failure checklist in when to replace cushions, foam failure looks like:
- – Slow or absent rebound — press hard for five seconds, release; live foam springs back in a second or two, dead foam stays dented
- – Permanent body prints that survive flipping and a few weeks rotated
- – You can feel the frame through the seat
- – Crumbling edges or powder when the core is rubbed
If instead the problems are fade, chalk, stains or torn seams with a lively core, the project is recovery or new covers, not foam. If both fabric and foam are done, price the full replacement first (custom cushions; price benchmarks) — sometimes the delta is smaller than expected.
Step 2: Choose the Replacement Foam (the Decision That Decides Everything)
Three specifications, in order of importance:
1. Density (lifespan). Measured in the ×10 convention — 35D ≈ 3.5 lb/ft³. This is the number that determines whether you redo this project in two years or ten: 18–24D foam dishes within a season or two; 35D–50D is the seating sweet spot (5–10 years); 60D+ is commercial grade. Density is durability, not firmness — the most common buyer mistake in the category. Full explanation: memory foam vs regular foam.
2. Firmness / ILD (comfort). Around 24–35 ILD covers most seat uses — lower is softer, higher is firmer. Match your old cushion’s feel if you liked it; go up a grade if it always felt bottomy. Memory foam has no place as an outdoor or dining seat core (the reasons are in the memory foam comparison) — as a 1–1.5″ topper over an HR base, it is luxury done right.
3. Foam type for the location. Indoor seats: standard HR polyurethane. Outdoor uncovered: quick-dry reticulated foam, which drains and flushes with air — using indoor foam outdoors guarantees the trapped-moisture failure cycle (waterproof cushions explained; the full fill menu is cushion filling types).
Step 3: Measure and Order the Core
- Unzip and remove the old core — measure it, not the cover: width, depth, thickness, seam to seam at the tightest points.
- Add compression allowance: order the core 1/2″ larger in width and depth than the measured cover interior. Foam compresses into covers; a core cut exactly to cover size fits baggy and shifts. (For very firm, high-density foam, 1/4″ oversize is enough — it gives less.)
- Record the shape: rectangles are easy; radius corners and trapezoids need templates (trace the old core on paper — the same templating logic as window seat measurement).
- Order with wrap pre-applied or as separate batting (Step 5), and buy 10% extra batting for corners.
Foam is sold by suppliers cut-to-size, or in sheets for home cutting (Step 4). Note the shipping size — large cores arrive rolled and need a day to relax to full size.
Step 4: Cutting Foam at Home (If You Bought Sheets)
You can cut foam with tools you own; you need one blade trick:
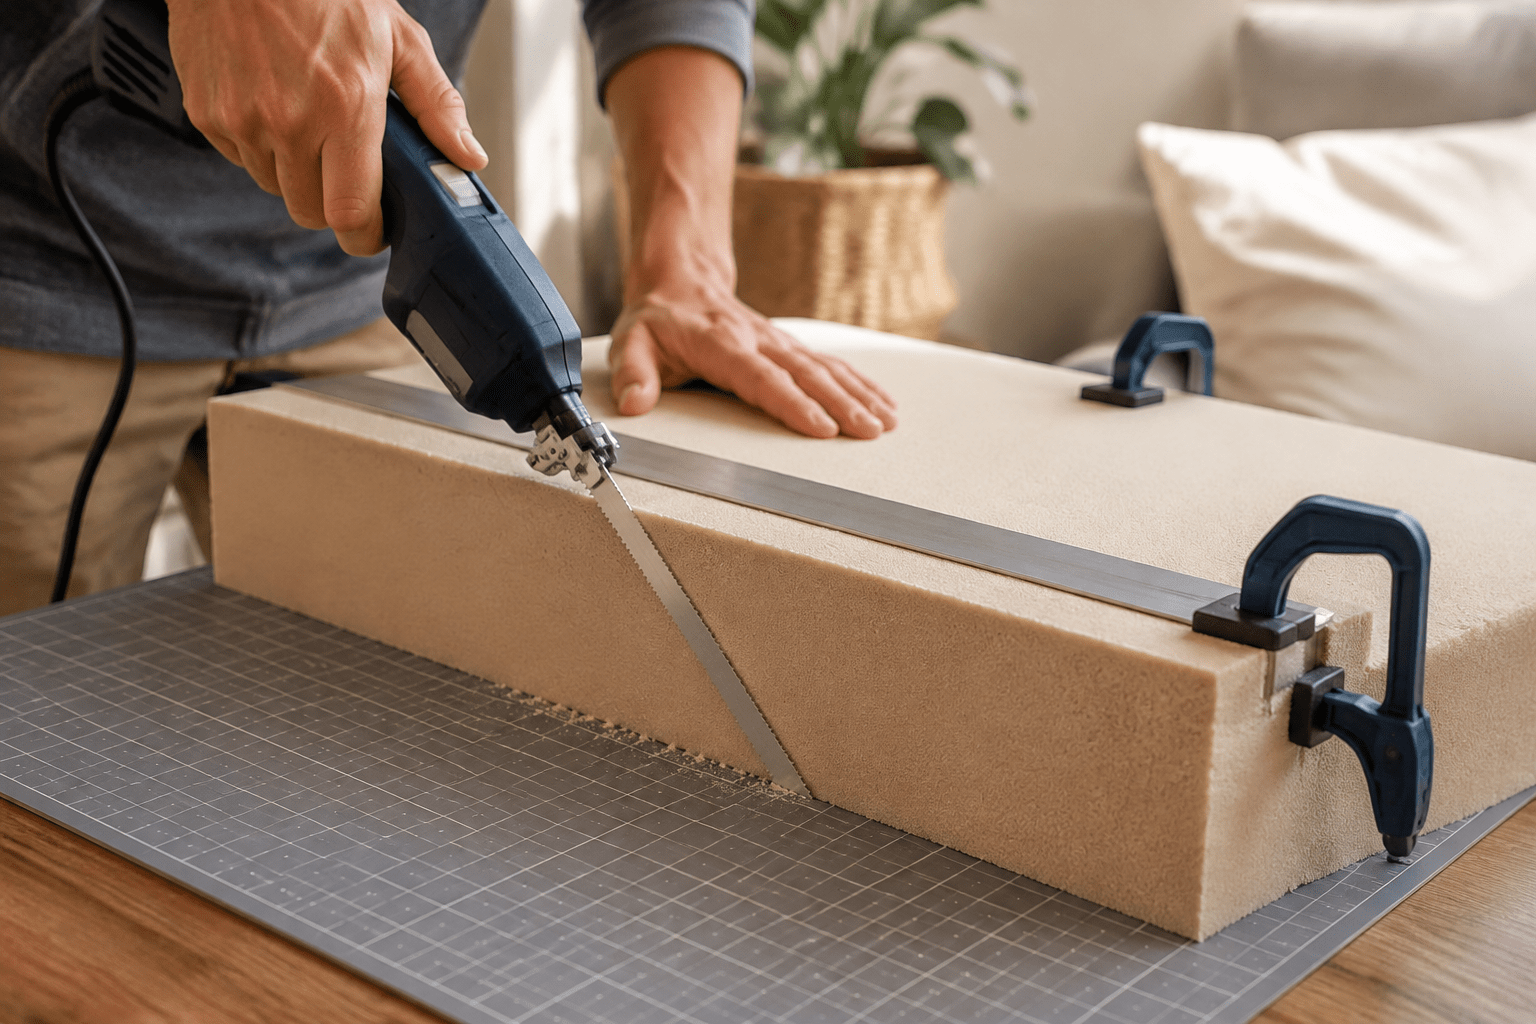
- Mark the cut on all faces with a felt pen and a straightedge.
- Use the longest, thinnest knife you have — an electric carving knife is the home champion; a long serrated bread knife works with patience. Spray the blade lightly with soapy water as lubricant.
- Cut with long, smooth strokes, letting the knife’s weight do the work — sawing fast heats the blade and tears cells, leaving ragged edges.
- Cut oversized then trim: get within 1/4″, then shave to the line. Foam forgivingly allows shaving; it does not allow un-cutting.
- For radius corners and trapezoids, cut the rectangle then shave the curves gradually, checking against the template.
- Thick foam (5″+) cuts cleanest with two passes — half depth from each side.
Step 5: Wrap It (the Factory’s Comfort Secret)
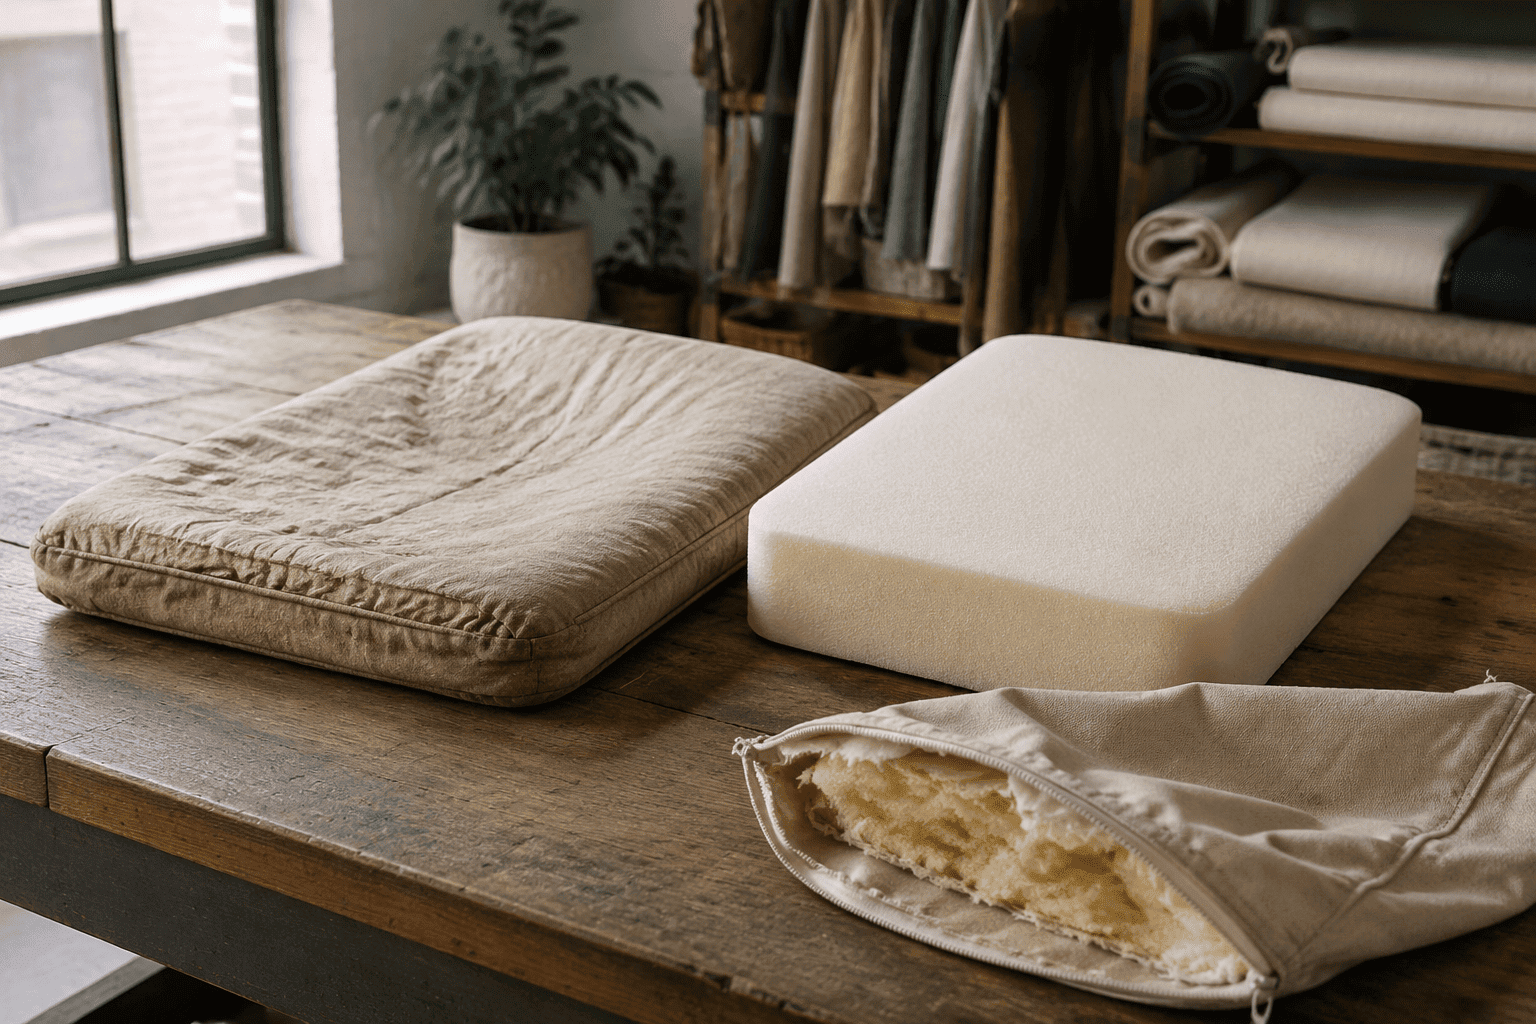
Bare foam inside a cover feels flat-edged and shows corner shadows through fabric. The wrap is what makes a re-foamed cushion feel new:
- Wrap the core in 1–2 oz polyester batting (or “wrap-grade” plush wrap), single layer, slightly loose.
- Butt the batting edges (don’t overlap thick lumps) and secure with light spray adhesive every 6–8″, or sew-wrap with large basting stitches.
- Miter or gather the wrap at corners and trim excess bulk — thick corner wrap is what makes covers refuse to close.
- The batting seam faces down/back where nobody sees it.
Premium builds layer differently — firm base, plush or memory topper, then wrap — the layering logic explained in cushion filling types. For a standard re-foam, one density + one wrap layer is the right scope.
Step 6: Refit the Cover
- The kitchen-bag trick: put the new core in a tall kitchen bag, squeeze the air out, slide the assembly into the cover, then pull the bag out from under it. Near-zero friction; no fighting.
- Work the core into the corners with your palms (never yank the cover — zippers and seams are the weak points).
- Zip slowly, guiding fabric away from the zip’s path — the most common DIY failure is a zipper sewn shut over the core’s edge on the first attempt.
- Sit test, then re-stack: new foam settles after a few days; re-center it once inside the cover if a corner rides up.
Maintenance: Make the New Core Outlive the Old One
The habits that stretch foam life are free: rotate and flip quarterly, edge-stand after soaking rain, never store or stack damp, and clean-dry before winter storage (the full twelve-habit system; winter storage). The old core died of something — most often years of damp storage or one-density-too-cheap — and the replacement inherits whatever habits you keep.
Re-Foam or Full Replace? The Economics
The DIY re-foam costs: foam cut-to-size ($20–60 per typical seat depending on density), batting ($5–10), an afternoon. Against cover-only orders (ask for a cover-only quote) and full replacements at full price (benchmarks):
| Situation | Best economics |
| Sound cover + dead foam + simple rectangle | DIY re-foam — cheapest by far |
| Sound cover + dead foam + trapezoid/radius | Order the core cut-to-size (templates welcome), DIY the wrap and install |
| Worn cover + dead foam | Full replacement — re-foaming into a failing cover saves nothing |
| Worn cover + live foam | Cover-only order — no foam work at all (recovery guide) |
| Outdoor + repeated foam failures | Full replacement with quick-dry core — the foam keeps dying of water, not age (the water logic) |
Where to Source Foam
Cut-to-size services sell by density grade (order 35D+ for seating — the number is the spec that matters, explained here); craft-store “foam” is usually 20-something grade and not worth carrying home. Verify three things at order: stated density, firmness (ILD) if you’re matching a feel, and rectangular or templated cutting per your measurements. For outdoor builds, specify reticulated quick-dry foam explicitly — standard polyurethane grades all look identical in product photos.
FAQs
Can you replace the foam in outdoor cushions yourself?
Yes — if the cover is sound and fits, re-foaming is a no-sewing DIY: order a core 1/2″ oversize in width and depth, wrap it in batting, and slip it in using the kitchen-bag trick.
What density foam should I use for seat cushions?
35D–50D high-resilience foam for most seating (5–10 years of daily use); 60D+ for heavy or commercial use — density is lifespan, not firmness, so it is the one spec not to economize on.
How do you cut foam at home?
With a long serrated or electric carving knife, blade lightly lubricated with soapy water, using long smooth strokes — cut oversized and shave to the line rather than trying to hit it in one pass.
What size should replacement foam be?
Half an inch larger in width and depth than the cover’s interior (1/4″ for very firm foam) — foam compresses into place, and a same-size core fits baggy and shifts.
Should I wrap the new foam in batting?
Yes — a single loose layer of 1–2 oz polyester wrap, secured with spray adhesive and trimmed at the corners, is what makes re-foamed cushions look filled-out and feel new rather than flat-edged.
How do I order replacement foam cores for a whole couch?
Sofa foam cushion replacement starts with seam-to-seam measurements of each core; couch cushion replacement foam and couch cushion foam replacement orders are cut per cushion, so a three-seat couch is three line items. Cushion replacement foam and cushion foam replacement cores run about $158 per standard seat, wrapped and ready. If the whole cushion — not just the core — is due, the custom couch cushions page cuts complete replacements to your numbers.
Can I replace the foam in just one seat?
Yes — replace sofa cushion foam one core at a time is routine. Foam replacement cushions for furniture and replacement foam cushion orders match the density of your remaining cores so the seat feels even: a foam seat replacement or replacement seat foam core runs 60D for daily seats, and foam seat cushion replacements for backs run 50D. Seat foam replacement pricing is quoted per core.
How do you clean foam sofa cushions before deciding to replace?
How to clean foam sofa cushions: vacuum, then dab with mild soap and water and air-dry fully — never machine-wash a core. How to clean the foam in couch cushions matters because trapped moisture breeds mildew; how to clean sofa cushion foam is the same routine. When how to clean a couch cushion turns into a project — odor, stains, crumble — the core is done: how to clean foam cannot revive collapsed cells, and foam clean routines only buy time.
Is it better to restuff couch cushions or replace the foam?
How to restuff couch cushions makes sense only for loose-fill backs; how to refluff couch cushions (a dryer lap with tennis balls) is temporary for fiber. Sofa cushions restuffed with new 60D cores keep shape for years — shredded fills settle again in months, and backs rebuild at 50D.
How to Tighten Cushion Covers: Seven Methods From Temporary to Tailored
Why cushion covers loosen — fabric stretch, fill loss, wrong original fit — and seven tightening methods in ascending permanence: repositioning tricks, quick refits, heat shrinking, sewn alterations, and re-covering with a properly sized cover.
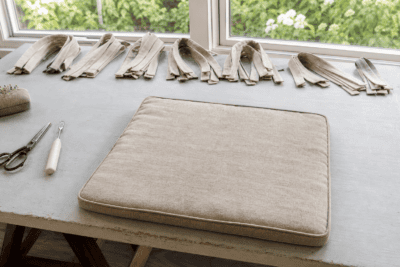
How to Add Ties to Cushions: Positioning, Sewing and the No-Sew Fixes
The complete guide to cushion ties — mapping positions to the frame’s real gaps, four tie styles from sewn loops to ribbon, hand-sewing and no-sew attachment methods, and when ties lose to straps, gripper bases or heavier anchors.
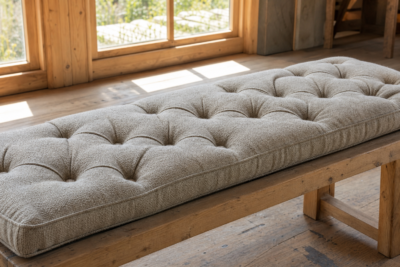
DIY Tufted Bench Cushion: How to Build the Quilted Look Yourself
A realistic walk-through of sewing a tufted bench cushion at home — materials list, the tufting method that works for beginners (buttons versus stitched pulls), foam and fabric choices, where DIY tufting goes wrong, and when to order the grid stitch instead.
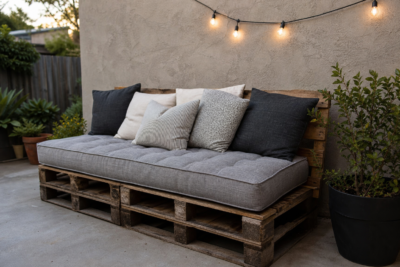
Pallet Bench Cushion DIY: From Shipping Wood to Seated in a Weekend
The full pallet-bench project — sourcing and deconstructing pallets safely, building a squared bench frame, sizing the cushion to the finished deck, and the honest moment to buy the cushion instead of sewing it.
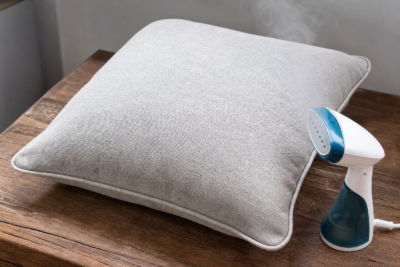
How to Get Wrinkles Out of Cushion Covers: Steam, Wash and Weight Methods
The complete wrinkle-removal guide for cushion covers — why covers wrinkle in the first place, the fabric-by-fabric method matrix (steam, dryer tricks, damp-weight, wash-and-air), the heat-safety rules by fiber, and the fit fixes that stop wrinkles returning.
No-Sew Cushion Covers: Seven Methods That Actually Work (and What They Can’t Do)
Envelope wraps, tie-front panels, fabric glue builds, fitted-sheet hacks, knotted fringe and more — the no-sew cushion cover methods ranked by durability, the materials each one needs, and the honest limits of glue-and-fabric construction.