
Square corners are the default assumption on every cutting form we have ever printed. When a frame actually has rounded front corners and the order says nothing about them, the knife follows the paper: four square corners, cut exact. The cushion arrives, you set it on the seat, and two stiff triangles of foam poke past the wicker like dog ears. That is the single most common radius mistake we remake — and the cheapest one to avoid, because a radius takes about thirty seconds to measure once you know the trick.
This guide covers how to tell whether your frame has radius corners at all, the four numbers our custom cushion form needs, three ways to read the radius depending on what you have on hand, and real examples of how radii behave on patio furniture.
How Do You Know If Your Corners Are Actually Rounded?
Look at the front corners of the seat frame — the two corners that face your knees. Three situations, three answers:
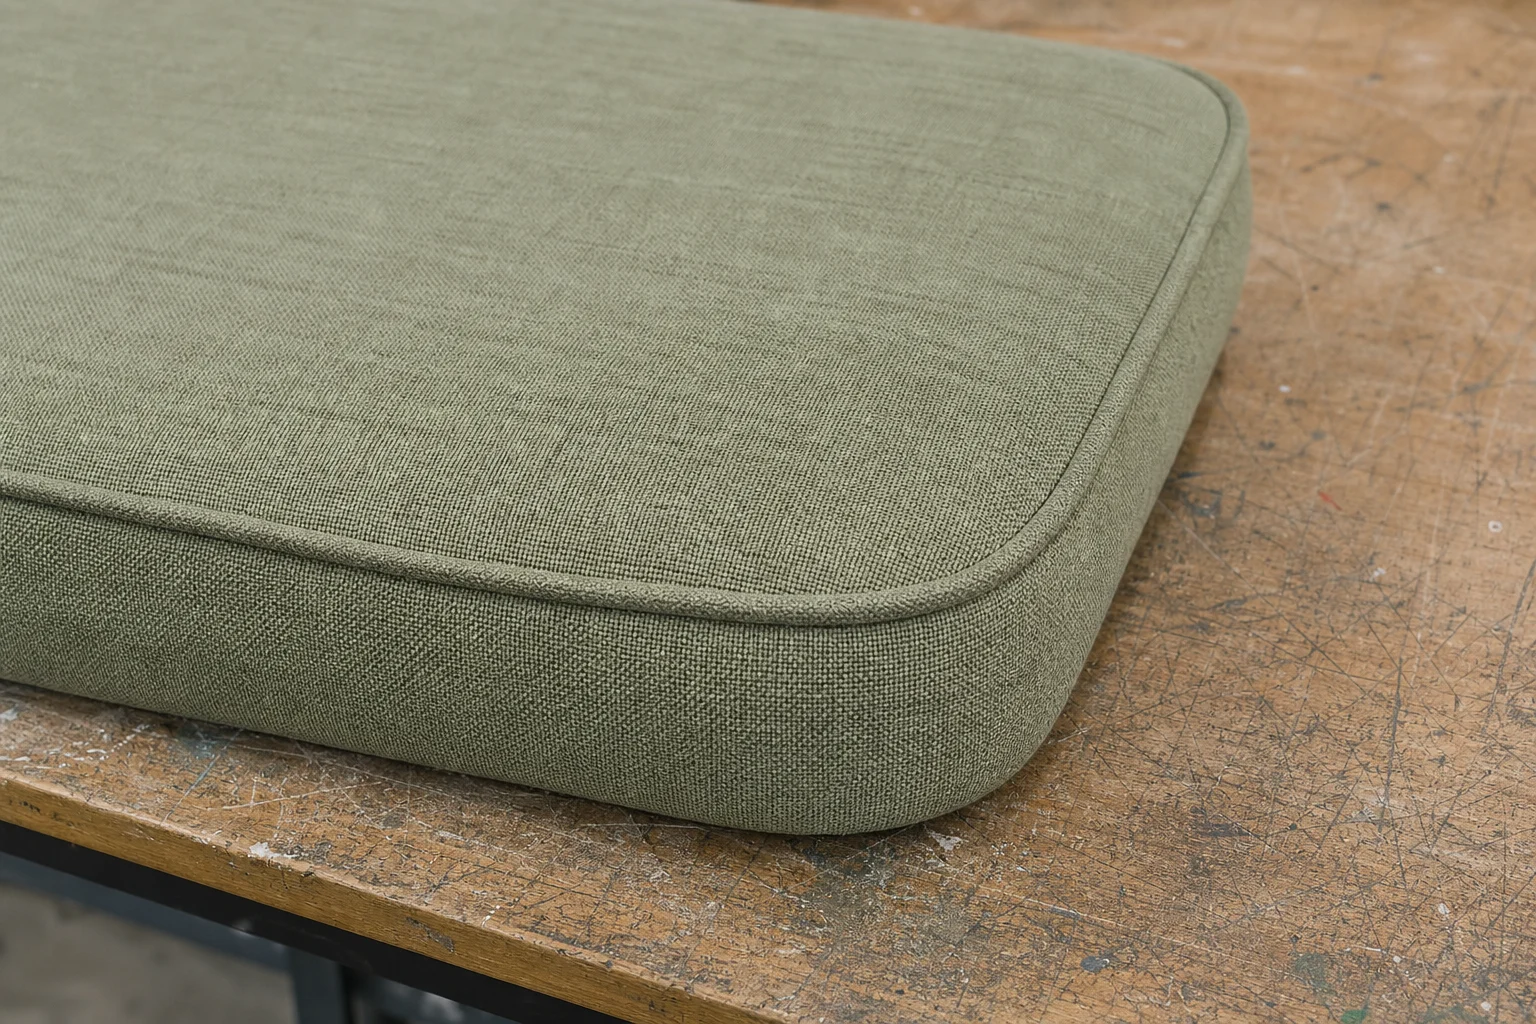
- – Wicker and rattan frames almost always wrap the front corners in a curve. If the weaving bends around the corner, your cushion needs a radius on the front two corners. The back corners usually stay square because they sit against the seat back.
- – Metal and cast aluminum frames run rounded front corners on most deep-seating chairs and gliders, and square corners on most dining chairs.
- – Wood frames are the mixed bag. Some have shaped corner blocks; many are square. Do not assume — put a straight edge against the corner and look for daylight.
The quick field test: hold a credit card flat against the side of the frame, right at the corner. If the card touches the frame at the corner and there is a visible gap between card and frame an inch back, the corner is rounded and the gap is the start of your radius measurement.
One more identification rule: radii matter mostly on the front corners. A rounded back corner against an upholstered seat back never shows, so most orders we cut carry radius on the front pair only, and square (R = 0) on the back pair. The radius rides on the order itself rather than a builder field: if your front and back radii genuinely differ, note both in the order comments and the order desk will confirm before cutting.
What Tools Do You Need?
Nothing specialized:
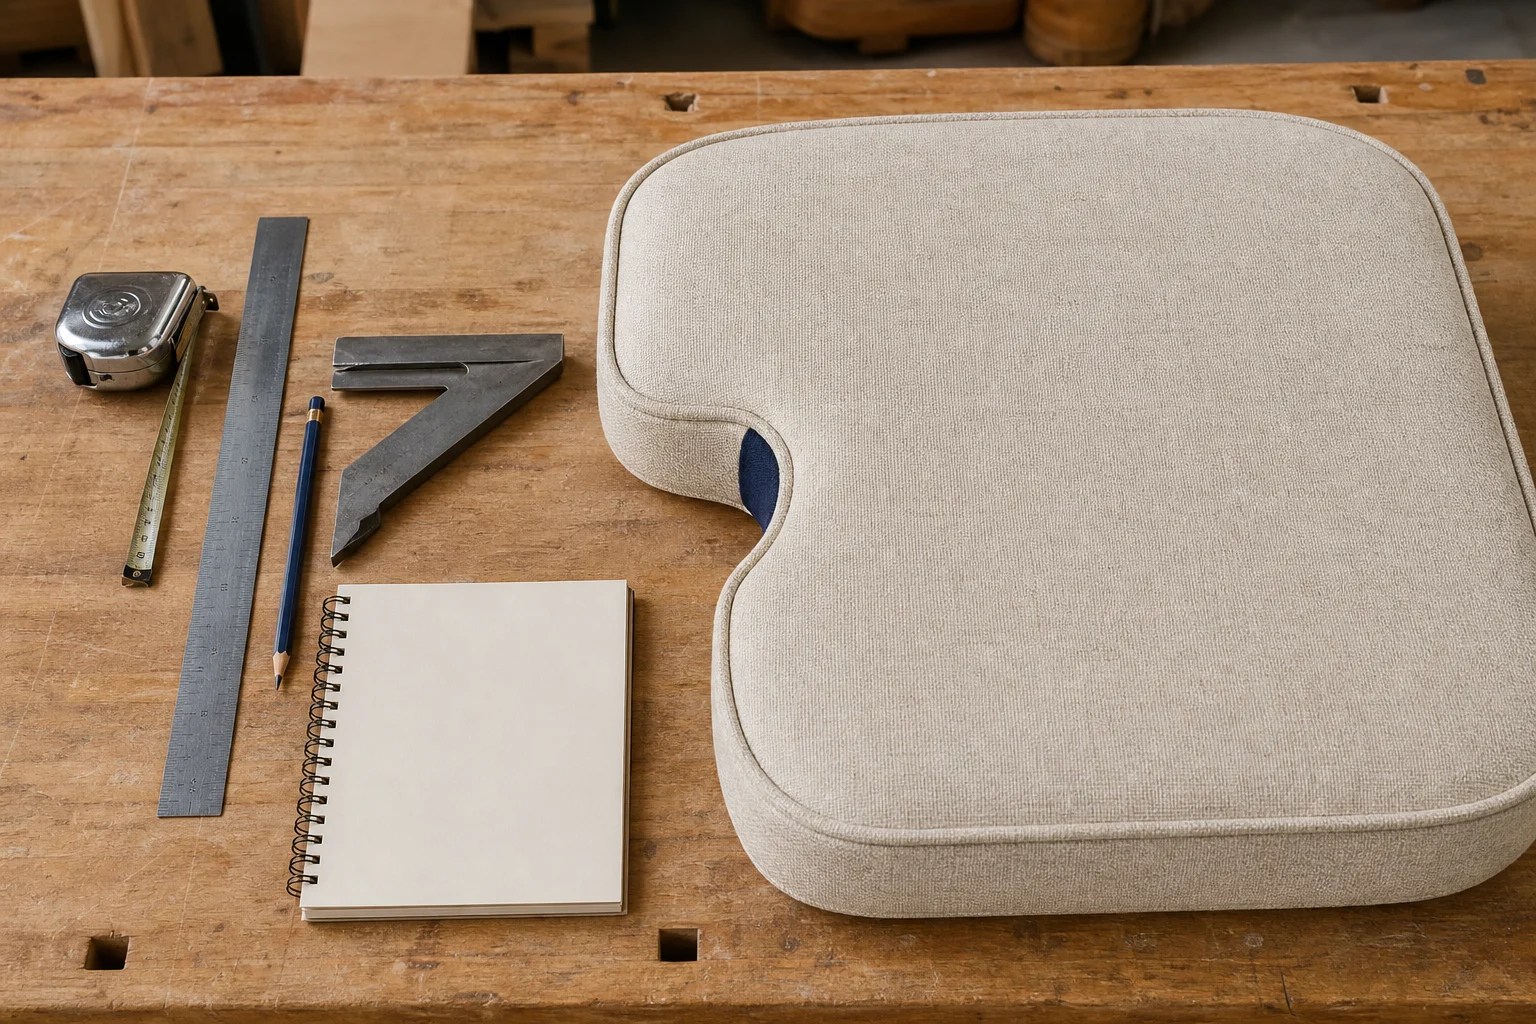
- – A piece of cardboard — the back of a notepad or a cereal box works. This is the main instrument.
- – A steel tape measure for the width, depth and thickness readings.
- – Paper and a pencil if you end up tracing the corner instead of measuring it.
- – Your phone, to photograph the corner once you have the cardboard positioned. A photo of a corner is worth three emails of clarification.
Record everything to the nearest quarter inch. Our cutting forms accept 1/8″ increments, but 1/4″ accuracy is the right target for a radius that will visibly clear the frame.
The Four Numbers Our Cutting Form Needs
A rounded-corner cushion is still a rectangle at heart — it just has the front corners knocked round. A rounded-corner order comes down to four numbers — three of them typed straight into the builder, the fourth noted on the order — and this is what each one means:
| Field | Letter | What it is | How to take it |
| Width | A | Total front-edge width, corner to corner — as if the corners were square | Inside arm to inside arm, at seat height, along the front edge |
| Depth | B | Side depth, front edge to back edge | Straight back from the front rail to the seat back, tape level |
| Thickness | C | Foam height, seam to seam | Stand the old cushion on edge, or measure frame rail to seat deck |
| Corner radius | R | 0 for square corners, or the radius you want rounded — noted on the order | The cardboard method below |
Two of these deserve a warning. A is the full width as if the corner were square — do not shrink it because the corners are round; the curve is cut out of the square, not added to it. And R = 0 means square: if your frame is rounded and your order says nothing about the radius, you have ordered dog ears on purpose.
Enter A, B and C in the custom cushion builder, and give R in the order comments with a photo of the corner — the cutting sheet carries it from there. The full field-by-field walk-through is how to measure outdoor cushions.
How Do You Actually Measure the Radius?
Three methods, in order of reliability:
1. The cardboard method (best). Slide the corner of a piece of cardboard into the frame’s corner until the two edges of the cardboard simultaneously touch the side and the front of the frame. The point where the cardboard corner touches is a square corner; the frame curves away from it. Measure from the cardboard’s corner point along the edge to where the frame first curves away — that distance is your radius. A radius gauge works if you own one, but cardboard is just as accurate in practiced hands.
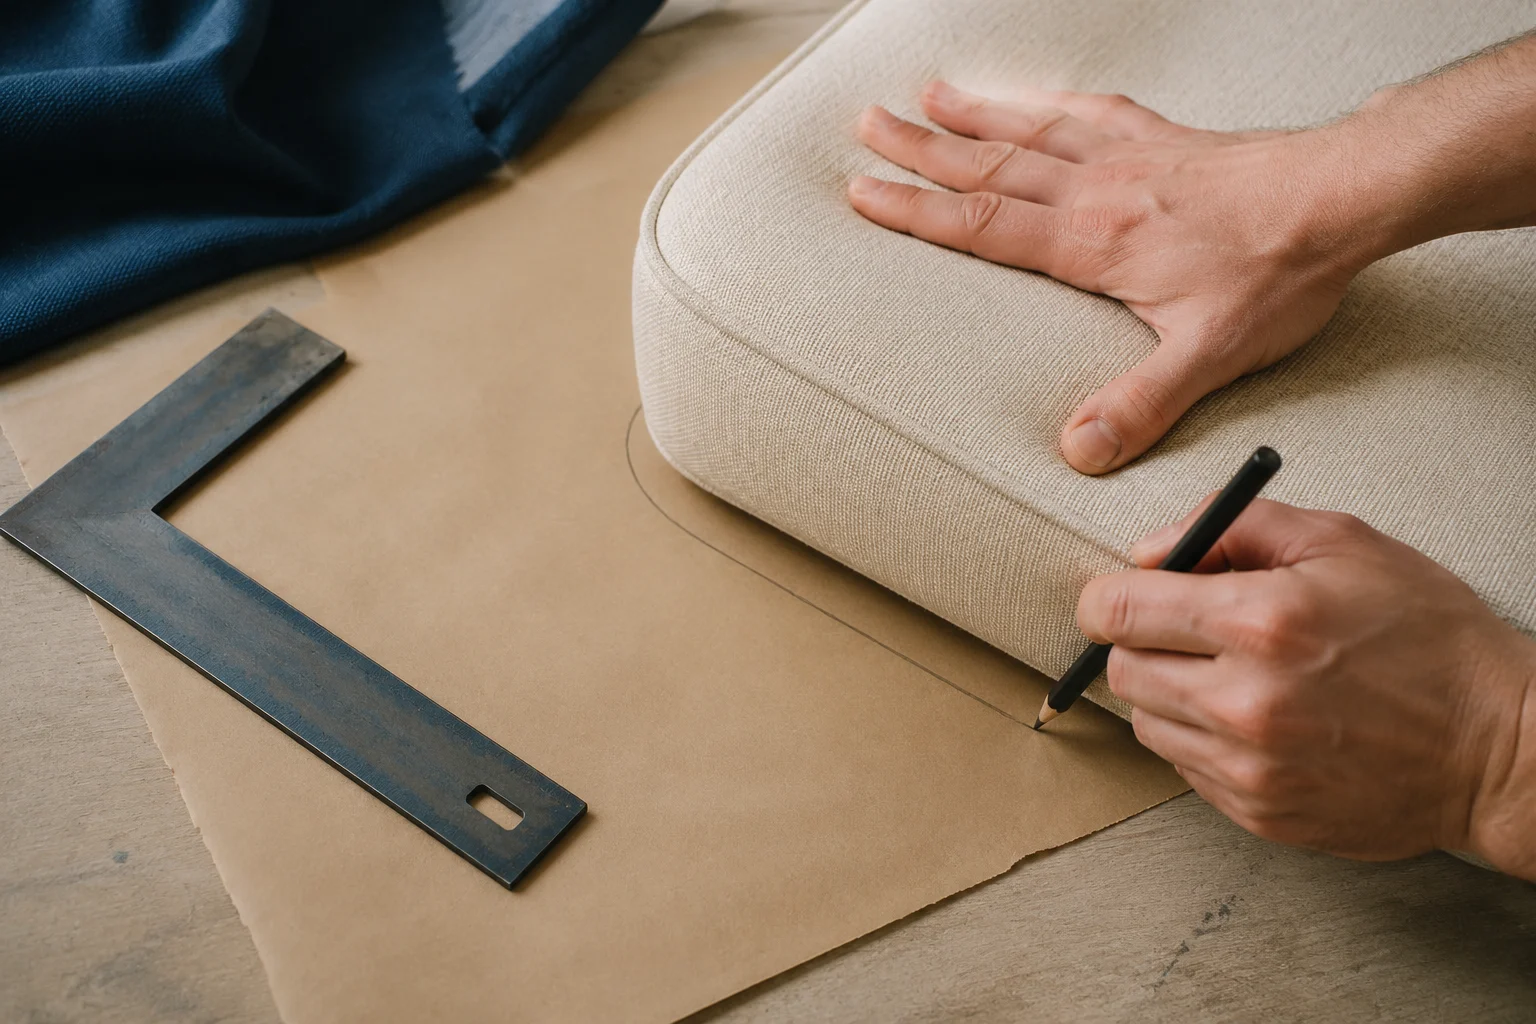
2. Trace the corner. Lay paper against the corner, rub the outline of the frame edge with the pencil flat against the side, and you have the curve on paper. Measure from the square corner of the traced edge to where the curve starts. If the curve resists measurement — compound curves, wicker that dips — mail us the tracing; templates are cut by hand and a paper pattern beats a bad guess every time.
3. The estimation shortcut. Measure the width of the flat front edge between the two curves (call it W1) and the full width corner to corner (W2). Half the difference, (W2 − W1) / 2, is approximately the radius. This gets you within a quarter inch on gentle curves, which is usually enough for a cushion that sits inside a frame.
Real Examples: What Radii Look Like on Actual Furniture
From ten years of cutting and re-checking orders, a few patterns hold:
- – Common patio radii run 1″ to 6″. Dining chairs with lightly eased corners sit at 1–2″, deep-seating wicker at 3–4″, and oversized gliders and curved-frame chairs at 5–6″. Anything past 6″ usually means the piece is not really a rounded rectangle anymore — see the curved wicker seating guide for genuinely bowed fronts.
- – Front and back corners usually differ. The front corners follow the show frame; the back corners die against the seat back. Measure the front pair, and unless you can see the back corners from where you sit, leave the back square.
- – Both front corners are usually the same — but not always. On hand-woven wicker, weave tension can pull one corner tighter than the other. Measure both. If they differ by more than 1/2″, send both numbers with photos; we would rather cut two radii than average them.
- – Old cushions round over with age. The cover shrinks and the foam corners crush, so a 20-year-old cushion can show a curve the original never had. Measure the frame whenever the frame is available — the same rule as every other dimension, and the reason we spell it out in how to measure outdoor cushions.
The Traps That Cause Remakes
Three radius traps account for nearly every rounded-corner remake:
- Ordering square for a round frame — the dog ears described above. The cushion is technically perfect and visually wrong, which is the most frustrating kind of wrong.
- Ordering round for a square frame. The reverse also happens: someone “softens” the order because rounded corners look friendlier in the drawing. Now the cushion is missing foam where the frame is square, and the gap shows at the exact corner your eye goes to.
- Confusing a radius with a clipped corner. Some frames have the corner cut off at an angle (a chamfer) rather than rounded. A radius cannot imitate a chamfer. If the corner is flat-but-angled, trace it and send the outline — that is a template job, and pretending it is a radius produces a cushion with a gap at every corner.
All three are caught the same way: photographs of the furniture with the order. Our order desk reviews every custom order against photos before anything reaches the cutting floor.
Does a Radius Change the Price?
No. Custom cushions start at a $45 make-base plus material at per-square-foot foam and fabric rates, and every shape — including rounded rectangles — prices at its bounding rectangle. Rounding the corners is a cutting detail, not a surcharge, and not a discount: a 24 × 20 cushion with 4″ corners prices like the 24 × 20 rectangle it is cut from. The custom cushion builder shows the number move live as you enter dimensions.
FAQs
Do I need the radius, or can I just leave it square?
If the frame’s corners are rounded, you need the radius — square-cut corners will poke past the frame like dog ears. If the corners are truly square, R = 0 is correct.
What if I cannot get a clean radius reading?
Trace the corner onto paper and send the tracing with your order. Templates are cut by hand, and a paper pattern is more reliable than a guessed number on any compound curve.
Can the four corners have four different radii?
Yes on paper, and yes on worn wicker in practice. Radii travel with the order rather than the builder, so put the differences in the order comments with photos — nothing is cut until your numbers are confirmed, and differing corners get a phone call, not an average.
Should I measure the old cushion’s rounded corners instead?
Only if the frame is unreachable. Old foam crushes at the corners and covers shrink, so an aged cushion exaggerates its radius. The frame does not lie.
Does a bigger radius cost more?
No. Pricing runs on the bounding rectangle, so a 4″ radius and a 6″ radius on the same 24 × 20 cushion cost the same.
Next Steps
- Run the cardboard test on both front corners and write down A, B, C and R to the nearest quarter inch.
- Enter A, B and C in the custom cushion builder, put R in the order comments, and check the drawing against your frame.
- Attach photos of the corners at checkout — the order desk confirms every dimension before cutting, and production runs 4–7 business days (rush 3–5).
What Size Bed Gap Filler Do I Need? Thickness, Length and Density
Size a bed gap filler from three measurements, not the bed’s name: thickness equals gap width plus half an inch to one, length runs the full seam, height runs platform to mattress top. Density starts at 50D.
Cushion Thickness & Seat Height: Match the Pad to the Table
Cushion specs usually answer comfort questions. Thickness answers a geometry question: how high off the floor you end up sitting,

Church Pew Cushion Sizes: Standard Dimensions and How to Measure
Standard pew seats run 19-21 inches deep; cushions are cut 2-3 inches thick to measured runs at plus-or-minus half inch tolerance. Dimensions table, taper rules, and the pew-by-pew measuring method.
Chaise Lounge Cushion Measurements: A Complete Guide to Getting the Fit Right
How to measure a chaise lounge cushion correctly — seat depth, back height, thickness, hinge points and one-piece vs two-piece styles — with real Hampton Bay chaise dimensions.
How to Measure Rocking Chair Cushions: Seats, Backs and Tie Positions
How to measure rocking chair cushions — tapered seats, curved backs, slat-gap tie maps and rock clearance — with the three-number protocol for both pieces of a rocker set.
Window Seat Cushion Measurement: How to Get a Perfect Fit
Measure a window seat cushion correctly — width across alcoves, depth front to back, thickness vs sill height, radius corners and bay window angles — with tips from the cutting floor.