
Cutting foam is the moment DIY cushion projects succeed or wobble — literally. Foam is a compliant material: it yields to whatever you do to it, which means a careless cut doesn’t fail loudly, it fails shaped — a beveled edge here, a wavering side there, a cushion that looks fine until it’s in the cover and every edge reads drunk. The good news is that straight, square foam cutting at home is entirely achievable with modest tools and one discipline (the long, guided, single-direction stroke); the better news is that for most projects you can also simply order foam cut to size and skip the knife entirely.
This guide covers the tools honestly, the straight-cut method, curves and radii, joining pieces safely, and the order-it-instead route. It anchors the whole DIY cushion line: replace cushion foam, how to replace sofa cushion foam, and how to make a floor cushion.
The Tools, Ranked Honestly
1. Electric carving knife (the home standard). $20–40, the same tool as the Thanksgiving turkey version. Two reciprocating blades shear the foam rather than drag it — the cleanest cut per dollar in the category. Buy one for this project and you’ll use it for every foam project after.
2. Long serrated bread knife (the zero-cost version). A genuinely good bread knife with 10–12″ of blade and fine serration cuts foam surprisingly well — slower and more sweat than electric, same result with technique. The #2 recommendation because most homes already own one.
3. Hot wire cutter (the specialty tool). Melts through foam in one pass and seals the cells at the cut — the smoothest edge available, and the only tool that makes intricate curves easy. Caveats: it’s for occasional-use craft foam and defined workspaces (ventilation, melted-fume discipline), it needs practice to avoid dragging wires, and polyurethane foam must never be burned through carelessly — melted plastic fumes are genuinely hazardous. If you’re doing many projects, worth it; for one cushion, no.
4. Utility knife / box cutter (for thin foam only). Fine for sheet foam under 1″; on thick foam, a short blade makes short, beveled, repeated passes and ragged results. Not the tool for cushions.
5. Scissors (for trimming only). Fine for batting and edge touch-ups; never for cutting seat foam to dimension.
The Straight-Line Discipline
Wonky foam cuts come from three specific mistakes, and the method eliminates each:
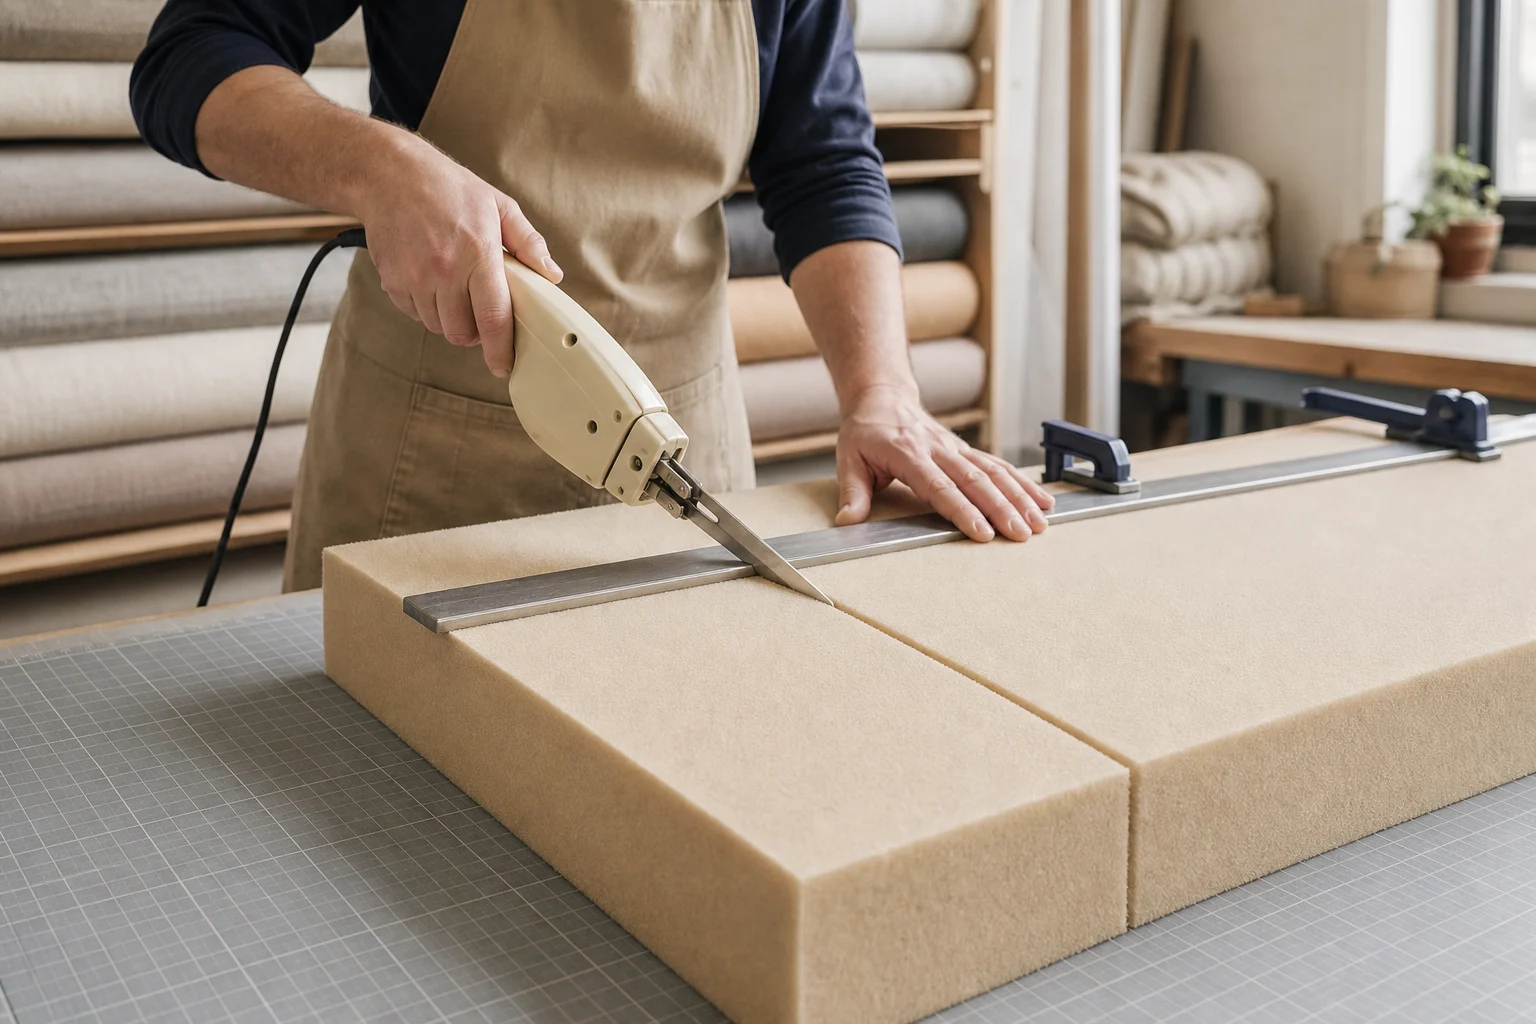
Mistake 1 — freehanding the line. Fix: mark the foam on all four faces with a marker and straightedge, then keep the blade visually aligned to the line on the far side as you cut — the far-side line is your guide for the whole cut, not just the near face.
Mistake 2 — short, sawing, pressing strokes. Foam compresses under pressure, and the compressed zone is where bevels happen — you cut a straight line through compressed foam and it springs back trapezoidal. Fix: long, smooth, light strokes, letting the serrations or the knife’s own weight do the work. With electric knives, nearly zero downward pressure: guide, don’t push.
Mistake 3 — cutting flat on a soft surface. The foam yields underneath and the cut follows the yield. Fix: support the foam so the cut line overhangs nothing — foam on a table edge with the waste side free-hanging, or on a flat board with the cut line at the board’s edge. The classic setup: workpiece on the table, cut line overhanging the edge, knife vertical, waste side falling away.
The full procedure for a cushion blank:
- Measure and mark twice. Foam dimensions come from your measured frame or platform spec — the measuring logic in how to measure outdoor cushions and how to measure couch cushions. Mark the lines on the top face with a straightedge, then transfer the lines down all four sides.
- Set up with the cut overhanging the table edge, waste side free.
- Cut in one continuous series of long strokes, watching the far-side line, correcting gently rather than steering hard — a gentle drift over three strokes corrects; a hard steer makes a corner.
- Check square after, not during. When the cut completes, stand the blank on edge and square it against a known square (a framed square or a wall corner). Deviations under 1/8″ vanish in the cover; beyond that, true it up with a light skim pass — blade barely touching, shaving the high side.
- The compression-set warning for thickness: cutting an existing piece down in thickness (slicing horizontally) is the hardest home cut — there’s no face to mark and the blade wants to wander inside the block. Mark all four sides, use the longest blade you have, and accept that commercial thickness-slicing (done on band saws against fences) is cleaner than anything at home.
Curves, Radii and Shapes
Curved cutting is the same discipline with a different guide:
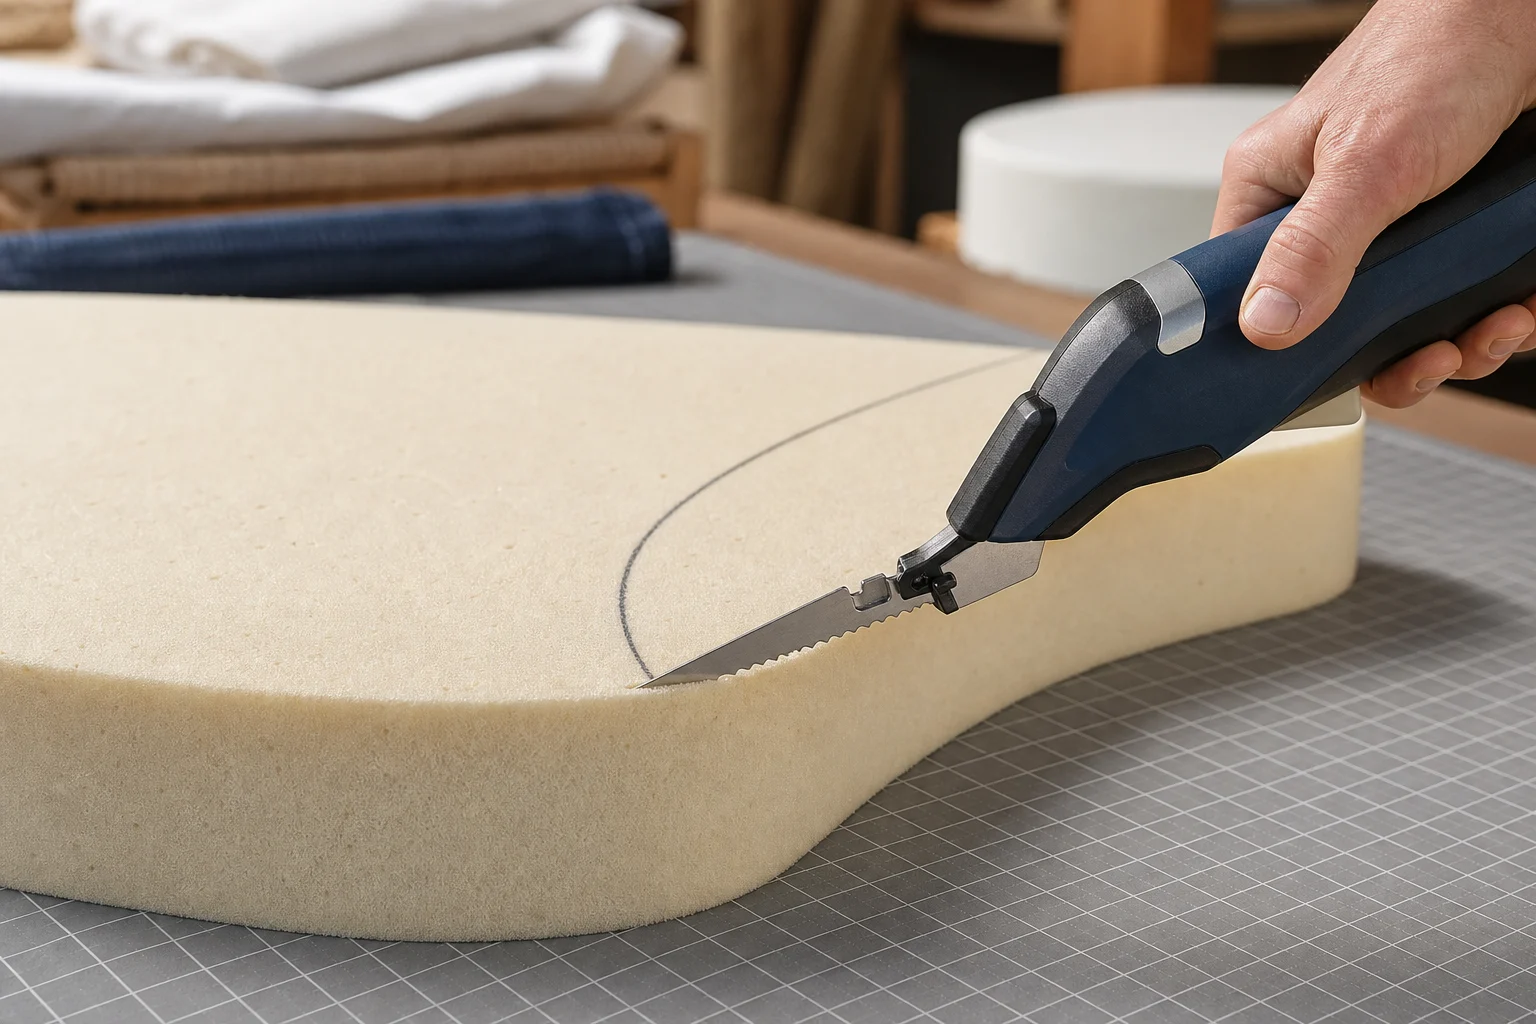
- – Radius corners (the geometry explained in how to measure radius corners): mark the radius with a compass or a homemade trammel (pencil on a string), and cut the curve in smooth continuous strokes — starting and stopping mid-curve makes faceted edges. Electric knife handles gentle radii well; tight radii want the hot wire.
- – Circles and rounds: mark with the trammel method (how to measure round cushions covers round geometry), cut slightly outside the line, then true to the line in a second smoothing pass — two gentle passes beat one ambitious one.
- – T-cushions and L-shapes (the geometry in how to measure a T-cushion sofa and how to measure an L-shaped bench cushion): cut the rectangular blanks first and check fit, then remove the notches in separate cuts — never try to cut an inside corner in one continuous motion; inside corners want two straight cuts meeting.
- – Templates beat measuring for repeats: one cardboard or hardboard template (the template method in how to create a custom cushion pattern‘s companion tools) makes six identical chair blanks possible — mark around it, cut, done.
Gluing and Joining Foam
Sometimes the right blank comes from two pieces:
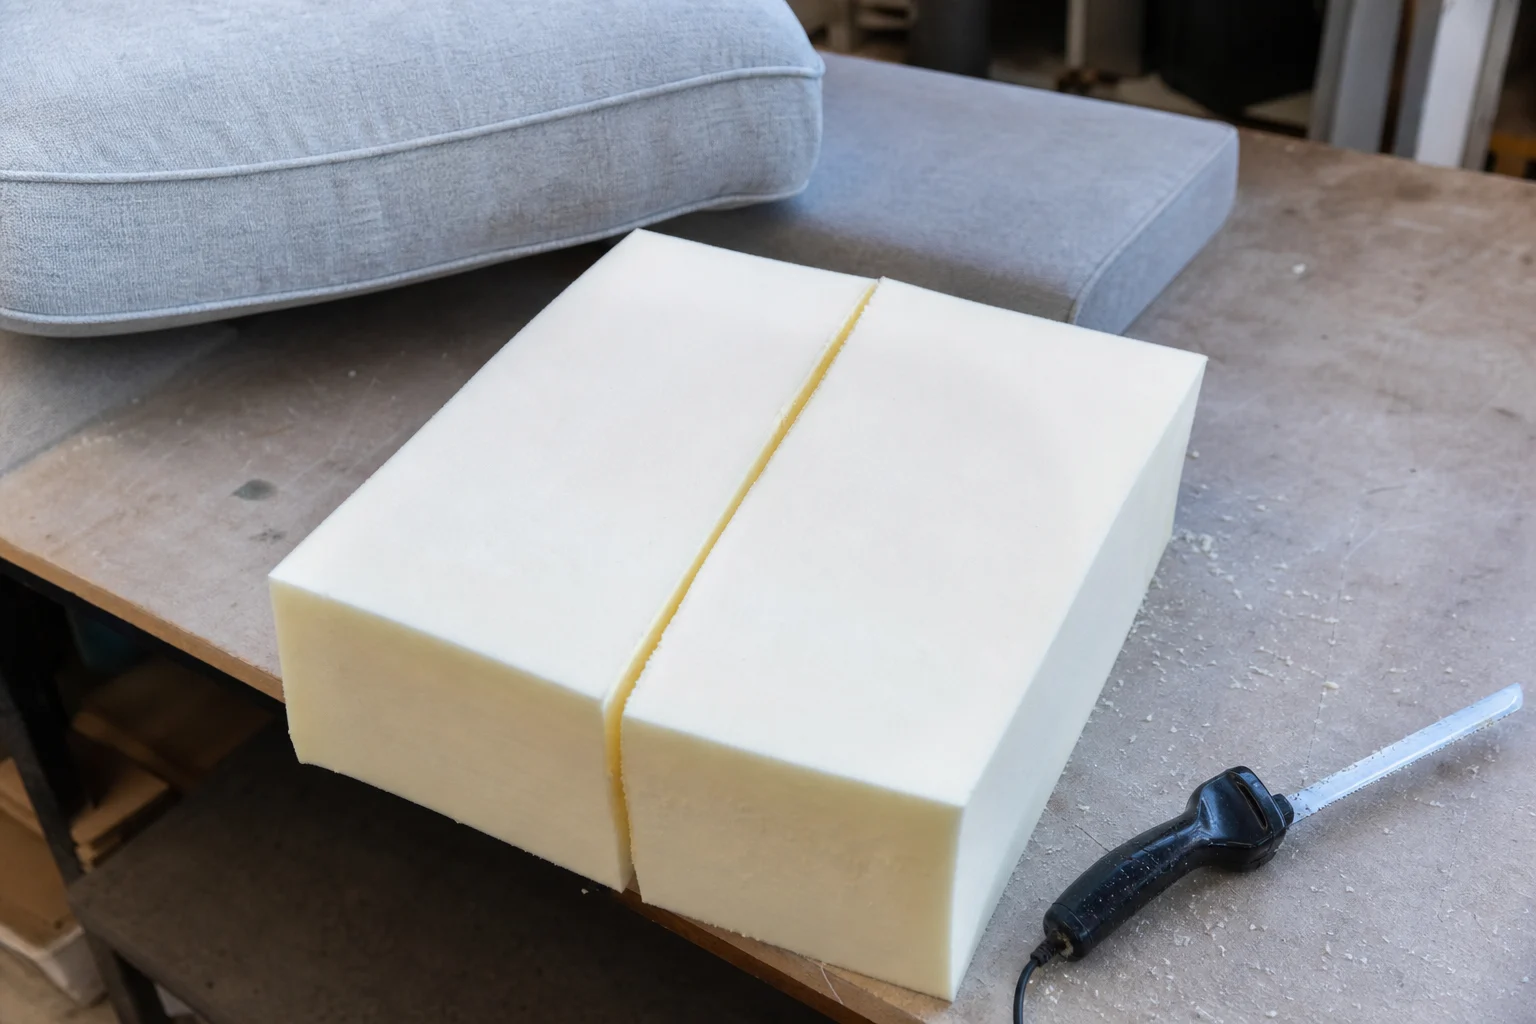
- – Use the right adhesive: solvent-based upholstery spray adhesive or dedicated foam glue — flexible when dry, so the joint flexes with the foam instead of cracking. Never rigid glues (wood glue, hot glue blobs, super glue): rigid joints telegraph through covers as hard lines.
- – Butt joints, spray both faces, let the adhesive tack up per the can’s instructions (usually 30–60 seconds), then press together firmly and hold for a full cure before handling. Butt joints joined properly are strong; joined impatiently, they open in the cover.
- – Laminating for thickness (two 2″ pieces into a 4″ block) works the same way — and laminated layers of different foams is actually a construction technique, not a compromise: firm base + softer top layer is the memory foam topped cushions principle, and it’s how comfort layers are built commercially.
- – The honest limit: a joined seam is a seam — under daily seat load, a butt joint is the first thing to work loose. For primary seating, order the foam as a single piece; save joining for repairs, odd shapes, and non-critical pieces.
Safety Notes, Briefly
- – Electric and serrated knives cut the hand that catches them — cut away from your body, hands behind the blade line, and the overhanging-waste setup keeps fingers away from the work zone.
- – Hot wire work wants ventilation and a clear workspace; don’t hot-cut polyurethane without air moving and never at unattended high heat.
- – Foam offcuts are a slip and fire concern — bag them immediately, keep them away from heat sources, and foam dust (from any sanding or truing) wants a mask.
- – Marker lines on cut faces stay in the cover — cut outside your lines and shave to them, so the ink never survives into the finished piece.
The Order-It-Instead Route
Here’s the part cushion tutorials underplay: foam cut to size is cheap to buy. Cut-to-order foam at your exact dimensions — square, single-piece, spec-grade (35D through 65D, per how to choose foam density) — is the standard product of foam suppliers and cushion workshops, and it arrives with edges no home knife produces. At Cushion Mill, the entire custom cushion (foam cut, fabric, construction — $45 base plus area × fabric rate, ±½” tolerance (±¾” over 36″), 4–7 business days) is frequently within range of the DIY materials bill once you price real 50D foam at retail. The rational split that emerges across this whole guide series: cut foam yourself for repairs, small projects, and the joy of the skill; order cut-to-spec foam for primary seating, sets, and anything whose fit you’re not willing to gamble on a bread knife. The same split is drawn for whole cushions in custom vs standard cushions and buy foam for couch cushions. Couch-duty cores specifically: cut-to-spec couch foam in 45–60D, sized to your measured cores.
Cutting Behavior by Foam Type
Different foams argue differently with the blade, and expectations save material:
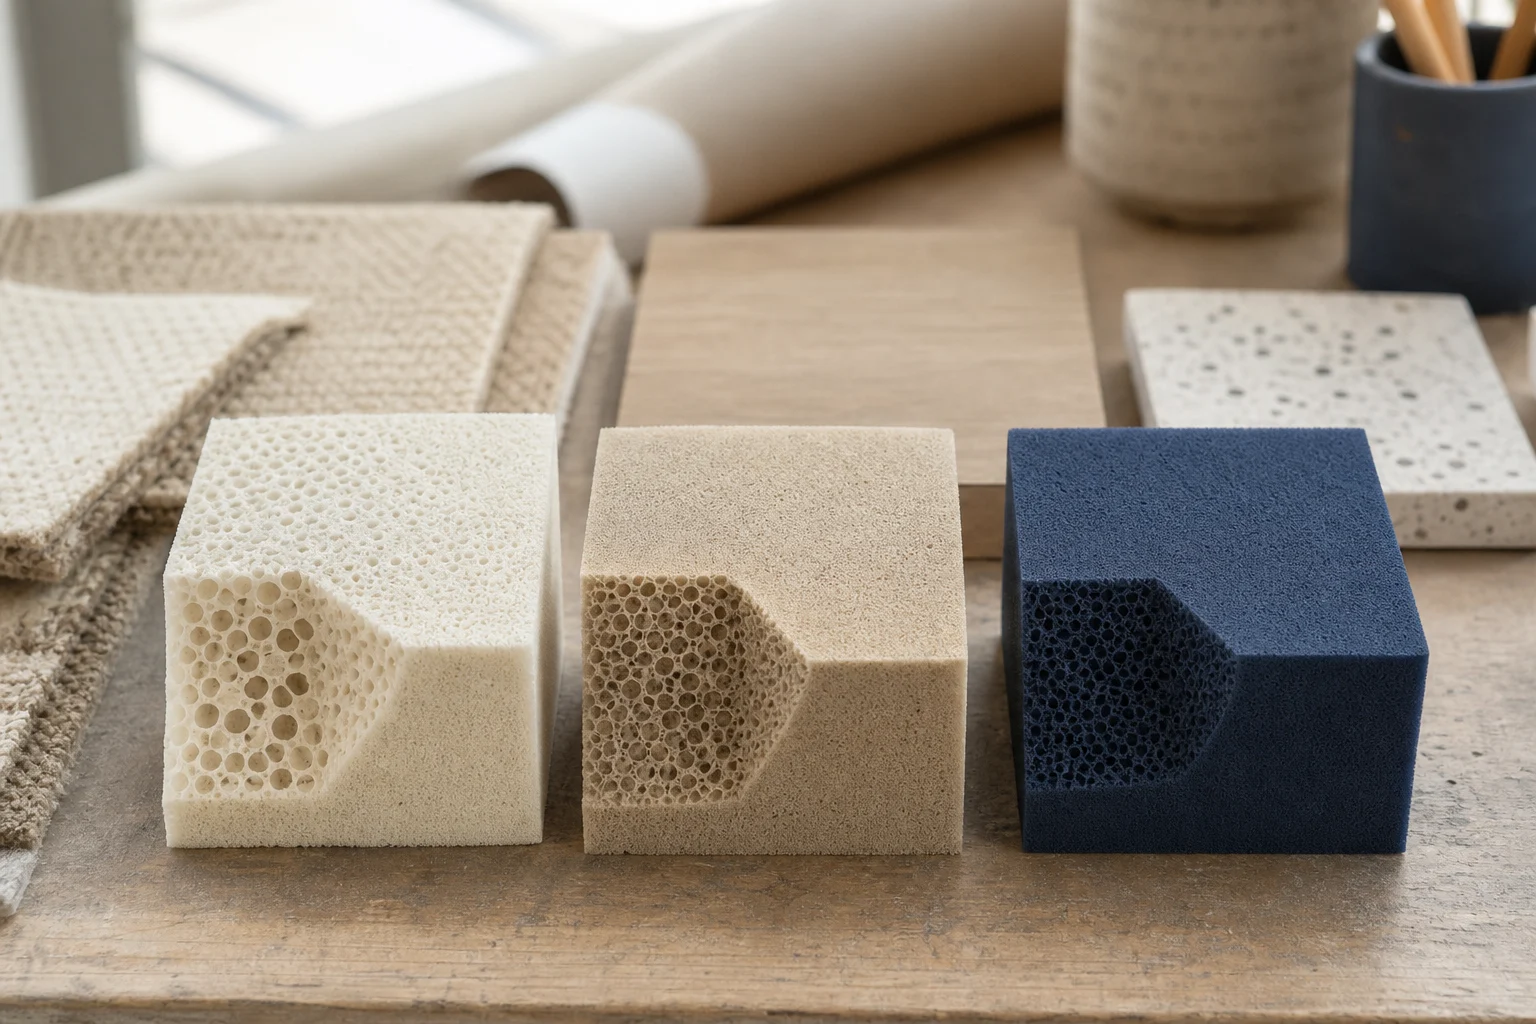
- – Standard polyurethane (the cushion majority): cuts clean with every method above; the compliance that makes it comfortable also makes it forgiving to cut. Density barely changes cuttability — 65D fights slightly more than 35D, same technique.
- – Memory foam (viscoelastic): the sticky one — it grabs blades and tears at edges cut too fast. Electric knife with light pressure and patience; a dusting of cornstarch on the blade path reduces grab, and sharper serrations beat duller ones decisively here. Slow is the entire trick, per the material behavior in memory foam vs regular foam.
- – High-resilience (HR) blends: cut like standard poly, slightly springier under the blade — expect the cut to spring closed behind the knife and check your lines after, not during.
- – Reticulated/quick-dry foam: open structure cuts fast and clean, but the openness means it snags on dull blades — sharpen or replace blades sooner, per the material’s quirks in quick dry foam.
- – Closed-cell foams (for non-cushion projects): denser, wants a hot wire or very sharp blade; included here mainly to note the contrast — if cutting feels like a completely different job, you may be holding closed-cell, which is a different material conversation.
Blade maintenance across all of it: serrated blades dull silently — the first sign is ragged cuts that used to be clean, and a $10 replacement blade restores the tool to better than struggling-on condition.
FAQs
What’s the best tool for cutting foam at home?
An electric carving knife — two reciprocating blades shear cleanly for $20–40. A fine 10–12″ serrated bread knife with good technique is the zero-cost runner-up.
How do I cut foam straight?
Mark all four faces, keep the cut overhanging the table edge, and use long light strokes watching the far-side line — never short sawing presses, which compress the foam and cut bevels.
Can I cut foam with a utility knife?
Only for sheet foam under an inch — short blades make beveled repeated passes in thick foam. For cushion thicknesses, electric or long serrated blades.
How do I glue foam pieces together?
Spray upholstery adhesive on both butt faces, let it tack, press firmly — flexible joints only; rigid glues crack and telegraph through covers. And for primary seating, order single-piece foam.
Can I cut curves and radius corners in foam?
Yes — mark with a trammel, cut in continuous smooth strokes slightly outside the line, then true to the line in a second pass. Inside corners (T and L shapes) are two straight cuts meeting, never one motion.
Should I cut foam myself or order it cut to size?
Cut yourself for repairs, small projects and skill-building; order cut-to-spec for primary seating and sets — factory-cut edges are cleaner than any home tool, and often cost less than retail foam plus your time.
Next Steps
- Gather your spec — dimensions per the measuring guides, density per the duty — before choosing the self-cut or order-cut route.
- If cutting: electric knife or long serrated blade, lines on all four faces, overhanging setup, long light strokes, square-check after.
- If ordering: build the whole cushion — foam, fabric, construction — at the custom cushions builder, cut to ±½” (±¾” over 36″) at your measured dimensions, delivered in 3–6 weeks (crafted in 4–7 days).
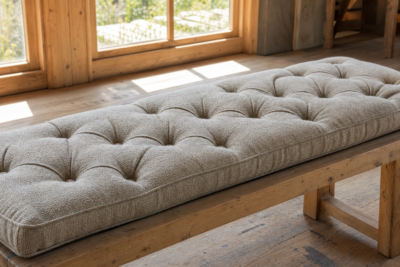
DIY Tufted Bench Cushion: How to Build the Quilted Look Yourself
A realistic walk-through of sewing a tufted bench cushion at home — materials list, the tufting method that works for beginners (buttons versus stitched pulls), foam and fabric choices, where DIY tufting goes wrong, and when to order the grid stitch instead.
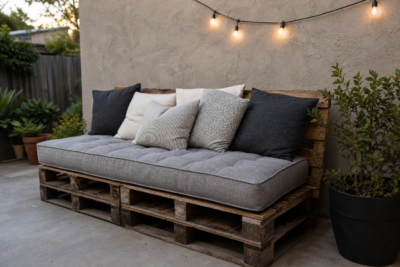
Pallet Bench Cushion DIY: From Shipping Wood to Seated in a Weekend
The full pallet-bench project — sourcing and deconstructing pallets safely, building a squared bench frame, sizing the cushion to the finished deck, and the honest moment to buy the cushion instead of sewing it.
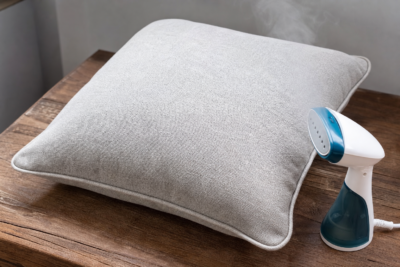
How to Get Wrinkles Out of Cushion Covers: Steam, Wash and Weight Methods
The complete wrinkle-removal guide for cushion covers — why covers wrinkle in the first place, the fabric-by-fabric method matrix (steam, dryer tricks, damp-weight, wash-and-air), the heat-safety rules by fiber, and the fit fixes that stop wrinkles returning.
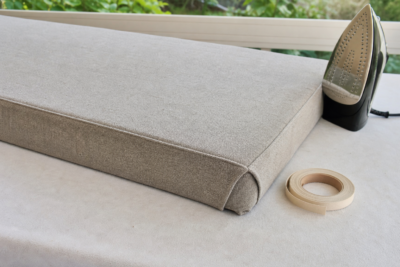
No-Sew Cushion Covers: Seven Methods That Actually Work (and What They Can’t Do)
Envelope wraps, tie-front panels, fabric glue builds, fitted-sheet hacks, knotted fringe and more — the no-sew cushion cover methods ranked by durability, the materials each one needs, and the honest limits of glue-and-fabric construction.
How to Fix Sagging Couch Cushions (Foam, Not Fluff)
Fix sagging couch cushions by finding the real cause — dead foam, flattened fiber, or a failing support deck under the seats. Quick fixes vs real fixes, and when re-foaming is the only answer.
How to Reupholster Dining Chairs: Seat Pads, Full Cushions and When to Stop
The complete dining chair reupholstery walk-through — the drop-in seat pad method, replacing foam while you’re in there, fabric choices for dining duty, the full-cushion route for padded chairs, and the honest stop-or-continue decision.