
Curved wicker is where tape measures go to fail. The front of the seat is an arc, the weaving gives under the tape, and the instinctive move — lay the tape along the curve and read it — produces a number that belongs to nothing we can cut. An arc cannot be manufactured from its length any more than a circle can be cut from its circumference. What defines a curve is the straight lines around it: one chord, one depth, one bow height.
Wicker compounds the problem because the frame itself is soft-faced. Metal tubing hides under wrapping, weave tension varies corner to corner, and the same chair can measure differently on a humid August afternoon than it did in May. So this guide runs two tracks: the three numbers that order a curved cushion directly, and the paper-template route for curves the numbers cannot honestly describe. Both are routine at our cutting floor; what we cannot work with is a curve-length measurement and hope.
What Kind of Curved Seat Are You Looking At?
Curved wicker seating comes in three builds, and the first two take numbers:
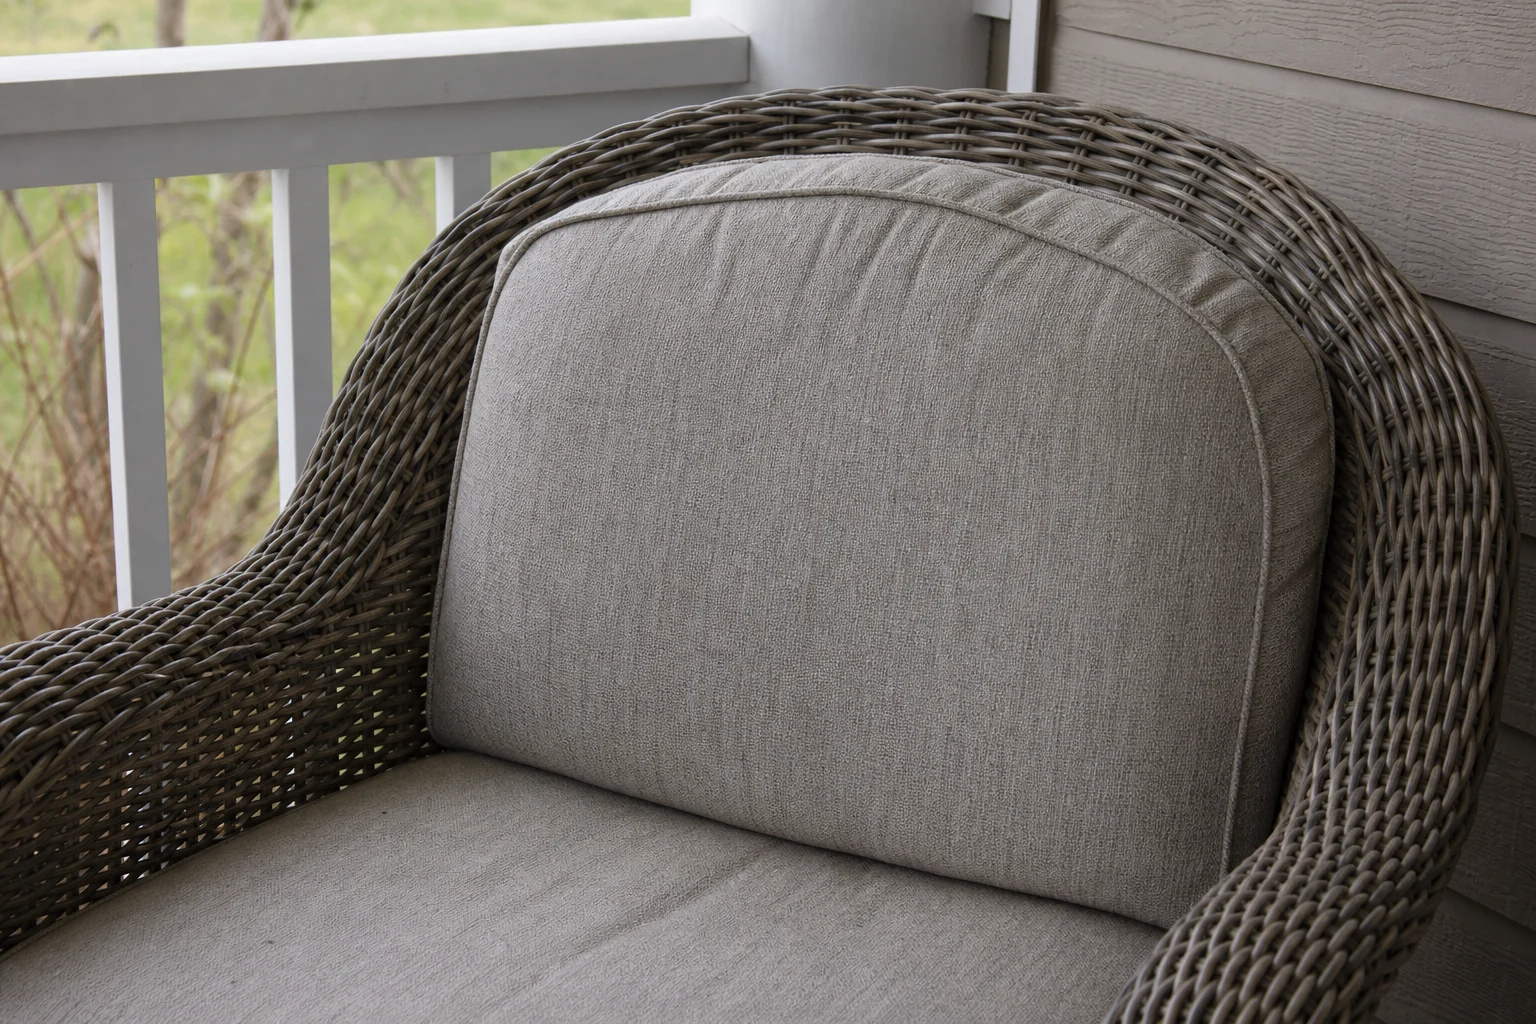
- – Bowed front: back edge straight, front edge a single gentle arc — curved settee benches, gliders, the middle sections of curved sectionals. This is the shape our builder carries natively, and the rest of this guide centers on it.
- – Round-the-corner pieces: an L or U that curves instead of turning a hard corner. These are template territory — the arc bends around the corner and five straight-line numbers cannot describe it.
- – Compound curves: front edge that curves and rolls, weave with a scalloped rim, or an arc whose ends finish in small radius corners. Numbers describe a single clean arc; anything layered on top of it goes on paper.
If your seat is the simple bowed front — one clean arc from corner to corner — keep reading. If it is the other two, jump to the template section, but take the three numbers anyway; they anchor the template when it arrives.
The Three Numbers (Plus Thickness) a Bowed Front Needs
Our builder’s bowed-front shape takes four fields. Letters match the order form:
| Field | Letter | What it is | Range we cut |
| Width (chord) | A | Straight-line distance between the two front corners | 8–120″ |
| Depth | B | Side depth at the straight back edge | 6–72″ |
| Bow height | D | From the straight chord line to the highest point of the curve | 1–44″ |
| Thickness | C | Foam height, seam to seam | 2–8″ |
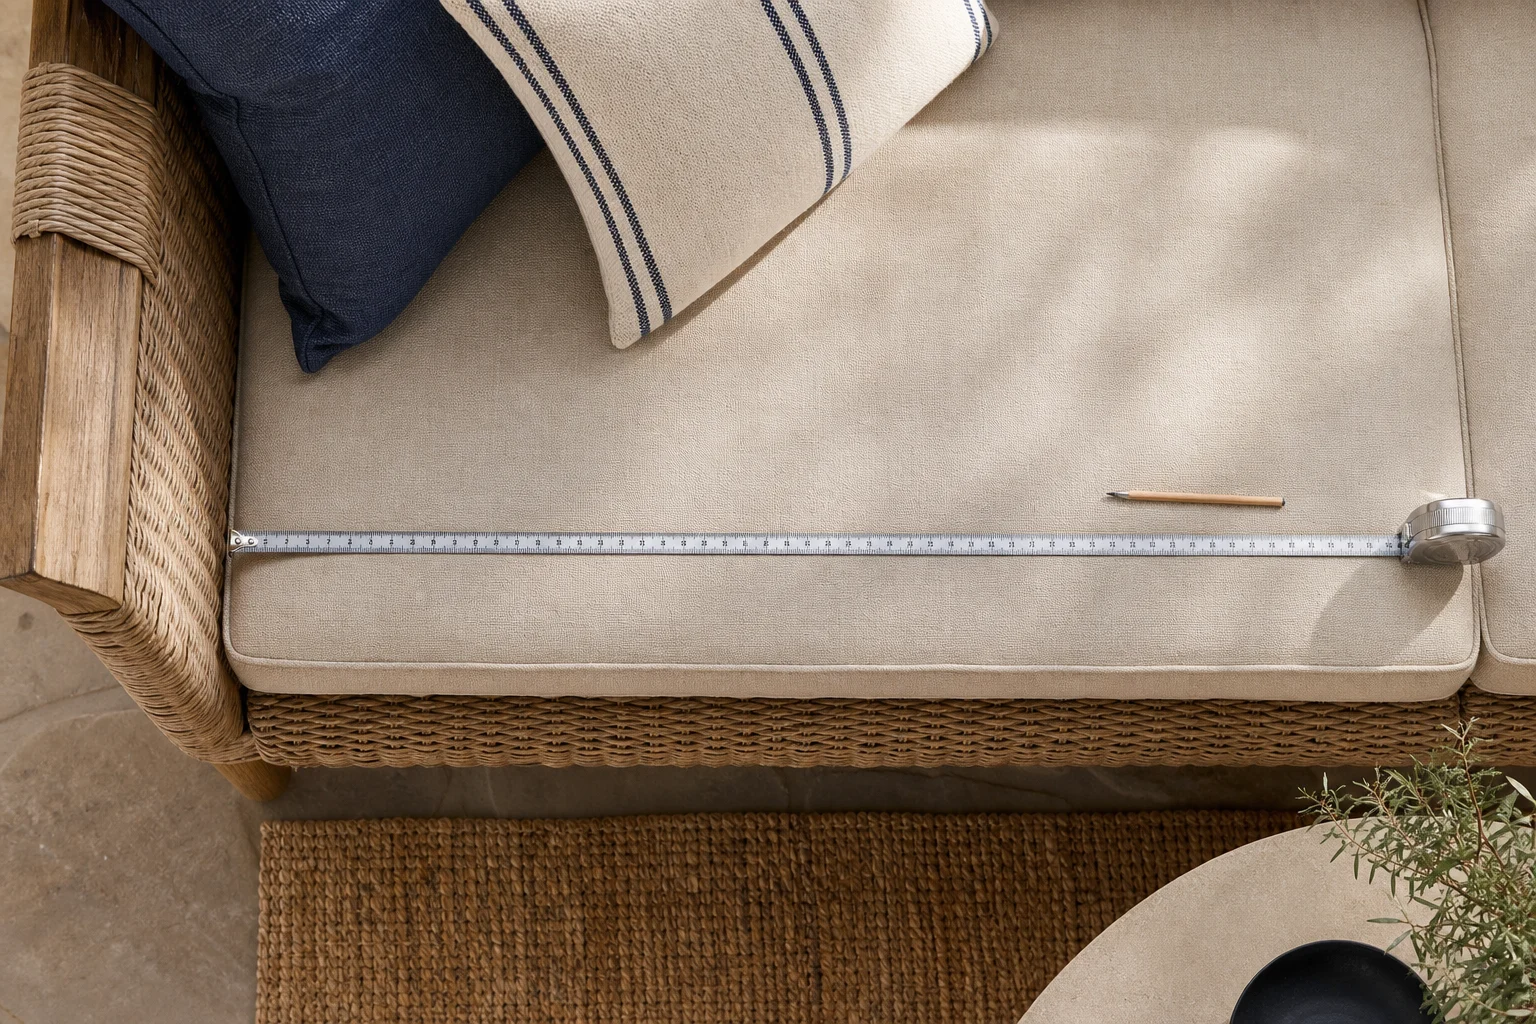
A — the chord. Forget the curve for a moment. Stretch the tape in a straight line from the front corner on the left to the front corner on the right, like a guitar string over the bulge. On wicker, anchor on the hard frame points where the weave turns the corner — the two places the front edge stops and the side rail begins. That straight reading is A.
B — the depth. Measured at the side, along the straight back edge: from the seat back to the front rail at the corner, where the arc begins. The two side depths should match; if they differ, the seat is not a symmetric bow — note it and photograph it.
D — the bow height. This is the number people have never taken before, so go slowly. Imagine the chord as a tight string between the two front corners. The arc bulges out past that string. From the midpoint of the chord, measure straight back — perpendicular to the string — to the peak of the curve. The peak, not the endpoints; a measurement taken anywhere else along the arc reads short. On wicker, hold the tape against the rim of the weave at its furthest point, and sight square from the chord — a tape leaned fifteen degrees off square reads a 6-inch bow about a quarter inch short. The builder accepts bow heights from 1″ to 44″; if yours reads in double digits, photograph the seat from above and let the order desk confirm the geometry — deep arcs usually go the template route.
C — thickness. Seam to seam as always. Curved deep-seating wicker usually runs 5″; glider seats 4–5″.
Three geometry notes worth their weight in remakes. First, those three numbers — chord, depth, bow height — mathematically define a single arc, which is why we ask for them instead of the curve length. Second, the deepest point of the seat is B plus D, so an 18-inch depth with a 6-inch bow gives seat foam shaped to a 24-inch deepest span; the cushion follows the arc, not the average. Third, the drawing in the bowed-front builder renders from your three numbers as you type — if the rendered curve does not look like your seat, one of the three is wrong, and the drawing just caught it before the knife did.
Wicker-Specific Traps
- Measuring along the curve. The instinctive move. A curve-length reading cannot be entered, reversed, or cut from — it orders nothing.
- Sighting the bow height off-square. D must be perpendicular to the chord at its midpoint. A tape leaned toward one corner reads short — fifteen degrees off square costs about a quarter inch on a 6-inch bow, and more on deeper arcs.
- Anchoring on floppy weave. Wicker rims flex. Anchor A and D on the frame corners, not on a loose strand; press the tape to the rim at the arc’s peak and read where the weave stops, not where it can be pushed to.
- Assuming both ends of the arc sit at the same depth. Measure B on both sides. Wicker frames twist in service, especially at the legs, and a settee that once was symmetric may not be now.
- Ignoring the radius corners at the arc’s ends. Many wicker arms finish the arc with a rounded shoulder. The bow shape covers the arc; a small radius at each end is a note-and-photograph item, or a template.
- Ordering a rectangle “close enough.” A rectangle over a bowed frame bags behind the chord line and rides up at the peak — the wicker equivalent of the dog ears we describe in how to measure radius corners. Universal cushions fail on curved wicker for exactly this reason, which is one reason wicker furniture cushions are overwhelmingly custom work.
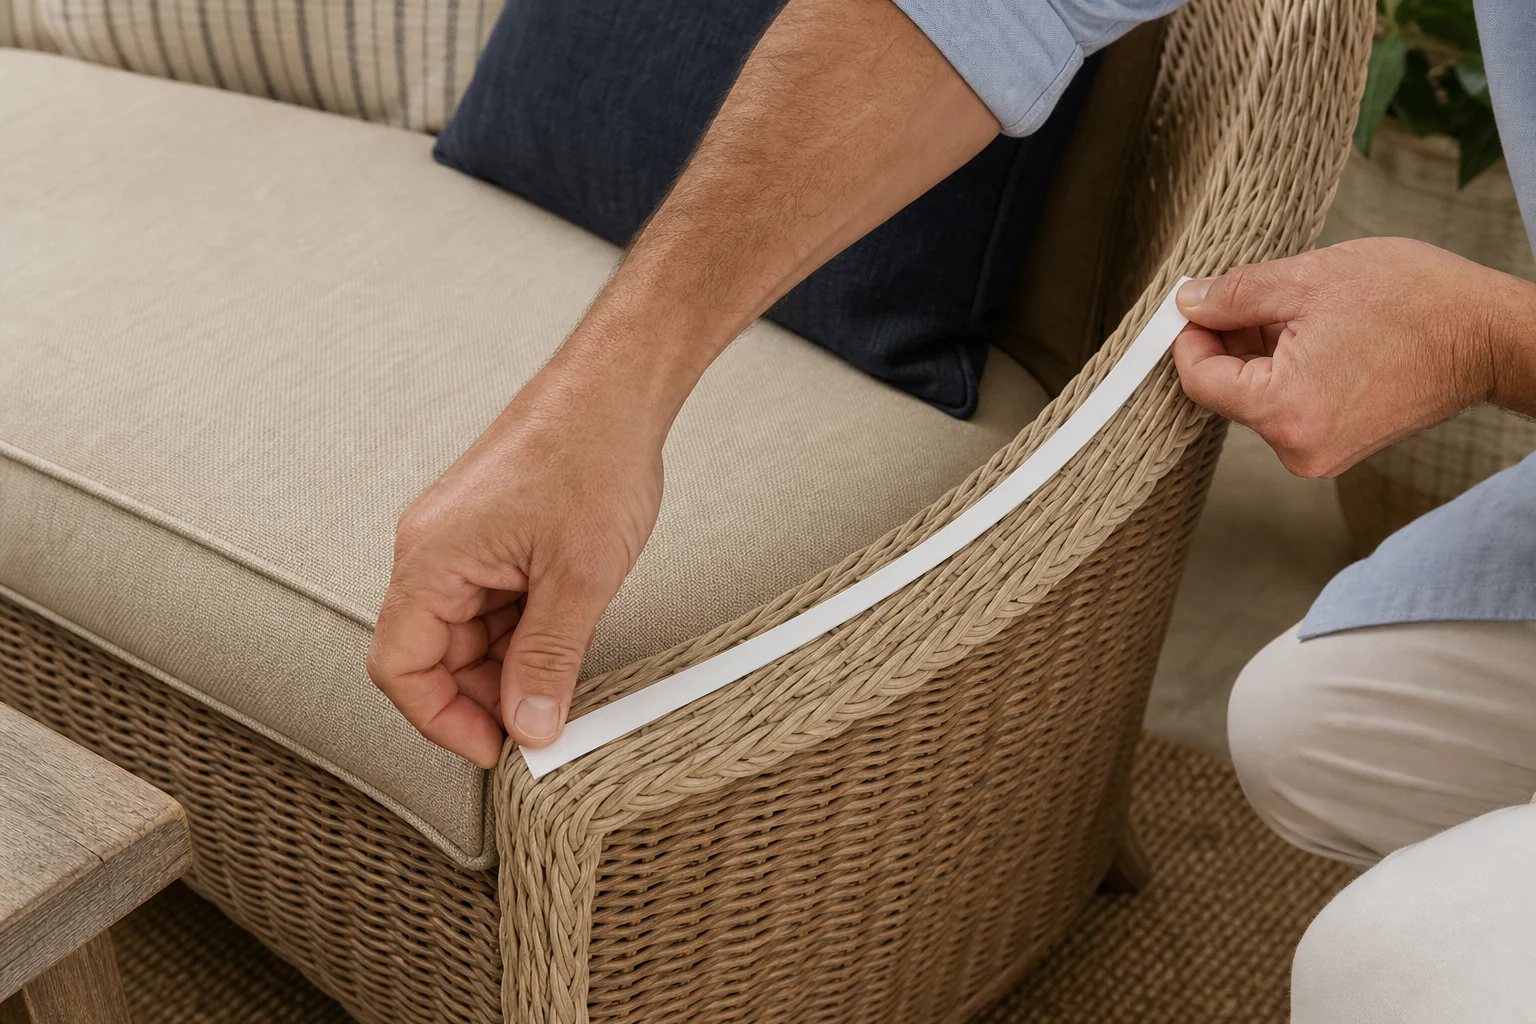
When to Send a Template Instead
Paper beats numbers when the curve is compound, the piece wraps a corner, or the arc is shallow-but-irregular. Tape butcher paper or kraft paper over the seat, trace the outline of the frame with a pencil held vertical, mark the wall line and the front corners, label front and back, and mail it. Templates are cut by hand against your traced line — the same protocol we describe for bowed and waterfall fronts in how to measure outdoor cushions. A template plus the three numbers is the strongest order there is: the numbers set the price, the paper sets the curve.
What Does a Curved Cushion Cost?
Custom cushions start at a $45 make-base plus material at per-square-foot foam and fabric rates, and every shape prices at a simple footprint rule — a bowed front prices at its chord times its depth plus two-thirds of the bow height, the same shape factor as a plain rectangle. Curves are a cutting detail, not a surcharge: we cut the arc because it is your seat, not because it inflates the invoice. Fabric runs a flat $7.43 per square foot, all 119 fabrics; the custom cushion builder prices a bowed shape live from A, B and D. Production runs 4–7 business days, rush 3–5.
FAQs
Why can’t I just measure along the curve?
An arc length does not define a shape — many different curves share one length. The chord and bow height together define exactly one arc, which is why the order form takes those instead.
Do I need the bow height if the curve is subtle?
Yes. A 2-inch bow on a 48-inch chord is exactly the difference between a cushion that follows the frame and one that bags across the middle of it. The builder accepts bow heights from 1 inch up.
What if the curve is deeper at one end?
Then it is not a single arc. Photograph it and send a template — asymmetric curves are hand-cut, and the order desk will confirm the plan with you before cutting.
Does a template cost extra?
No. Template cutting is standard practice for compound curves — you pay for material and workmanship at the same rates as any custom piece.
Will the cushion look round from the front?
It follows your arc — a gentle bow shows as a gentle bow. The seam line follows the curve, which is what makes a curved custom cushion read as tailored rather than bent.
Next Steps
- Stretch the tape between the two front corners for the chord, measure the depth at the side, then square up from the chord’s midpoint to the arc’s peak — three numbers, nearest quarter inch.
- Enter A, B, D and C in the bowed-front builder and compare the rendered curve against your seat.
- For compound curves, trace and mail a template alongside the numbers — the order desk confirms every curved order before cutting, and production runs 4–7 business days (rush 3–5). Curved wicker work is routine input at custom wicker cushions.
What Size Bed Gap Filler Do I Need? Thickness, Length and Density
Size a bed gap filler from three measurements, not the bed’s name: thickness equals gap width plus half an inch to one, length runs the full seam, height runs platform to mattress top. Density starts at 50D.
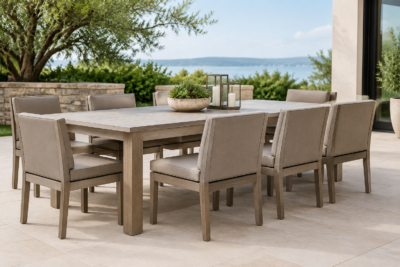
Cushion Thickness & Seat Height: Match the Pad to the Table
Cushion specs usually answer comfort questions. Thickness answers a geometry question: how high off the floor you end up sitting,

Church Pew Cushion Sizes: Standard Dimensions and How to Measure
Standard pew seats run 19-21 inches deep; cushions are cut 2-3 inches thick to measured runs at plus-or-minus half inch tolerance. Dimensions table, taper rules, and the pew-by-pew measuring method.
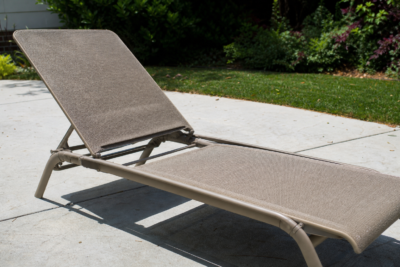
Chaise Lounge Cushion Measurements: A Complete Guide to Getting the Fit Right
How to measure a chaise lounge cushion correctly — seat depth, back height, thickness, hinge points and one-piece vs two-piece styles — with real Hampton Bay chaise dimensions.
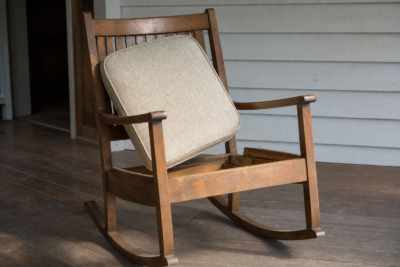
How to Measure Rocking Chair Cushions: Seats, Backs and Tie Positions
How to measure rocking chair cushions — tapered seats, curved backs, slat-gap tie maps and rock clearance — with the three-number protocol for both pieces of a rocker set.
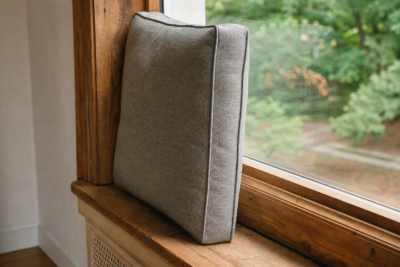
Window Seat Cushion Measurement: How to Get a Perfect Fit
Measure a window seat cushion correctly — width across alcoves, depth front to back, thickness vs sill height, radius corners and bay window angles — with tips from the cutting floor.