
Wrinkled cushion covers are a packaging problem, a storage problem, and sometimes a fit problem — three different causes that share one symptom, and the removal method that works depends on which cause produced your wrinkles. The good news: nearly every wrinkle in a cushion cover is removable with household methods, in under an hour, without special equipment. The better news: the wrinkles that keep coming back have a fixable root cause, and this guide covers that too — because a wrinkle you remove twice a month is telling you something.
The companion guides: how to wash cushion covers (the cleaning context), how to tighten cushion covers (the fit problems that masquerade as wrinkle problems), and cushion recovery DIY for the full recovery project.
Why Covers Wrinkle: The Three Causes
Cause 1: Packaging and storage creases. Covers folded in shipping boxes and cushions stored folded (how to store outdoor cushions for winter covers the storage side) take hard creases where fabric was pressed against itself for weeks. These are set-in but temporary — the fibers remember their shape once reminded. New covers arrive like this; so do spring-openings of stored cushions.
Cause 2: Washing and drying creases. The spin cycle twists fabric; the hot dryer then bakes the twists into set creases; and air-drying wadded fabric makes the whole cover read rumpled. These are the most avoidable wrinkles — proper technique prevents nearly all of them (how to wash cushion covers is the prevention guide).
Cause 3: Fit wrinkles — the chronic kind. A cover that’s too big for its fill gathers and creases at the same spots permanently (how to tighten cushion covers addresses this root cause). These wrinkles return after every smoothing because the fabric literally has nowhere to go. No amount of steaming fixes a fit problem — and this distinction is the guide’s most useful idea.
The Fabric-Material Matrix: What Tolerates What
Before any method, the fabric determines the safe toolkit:
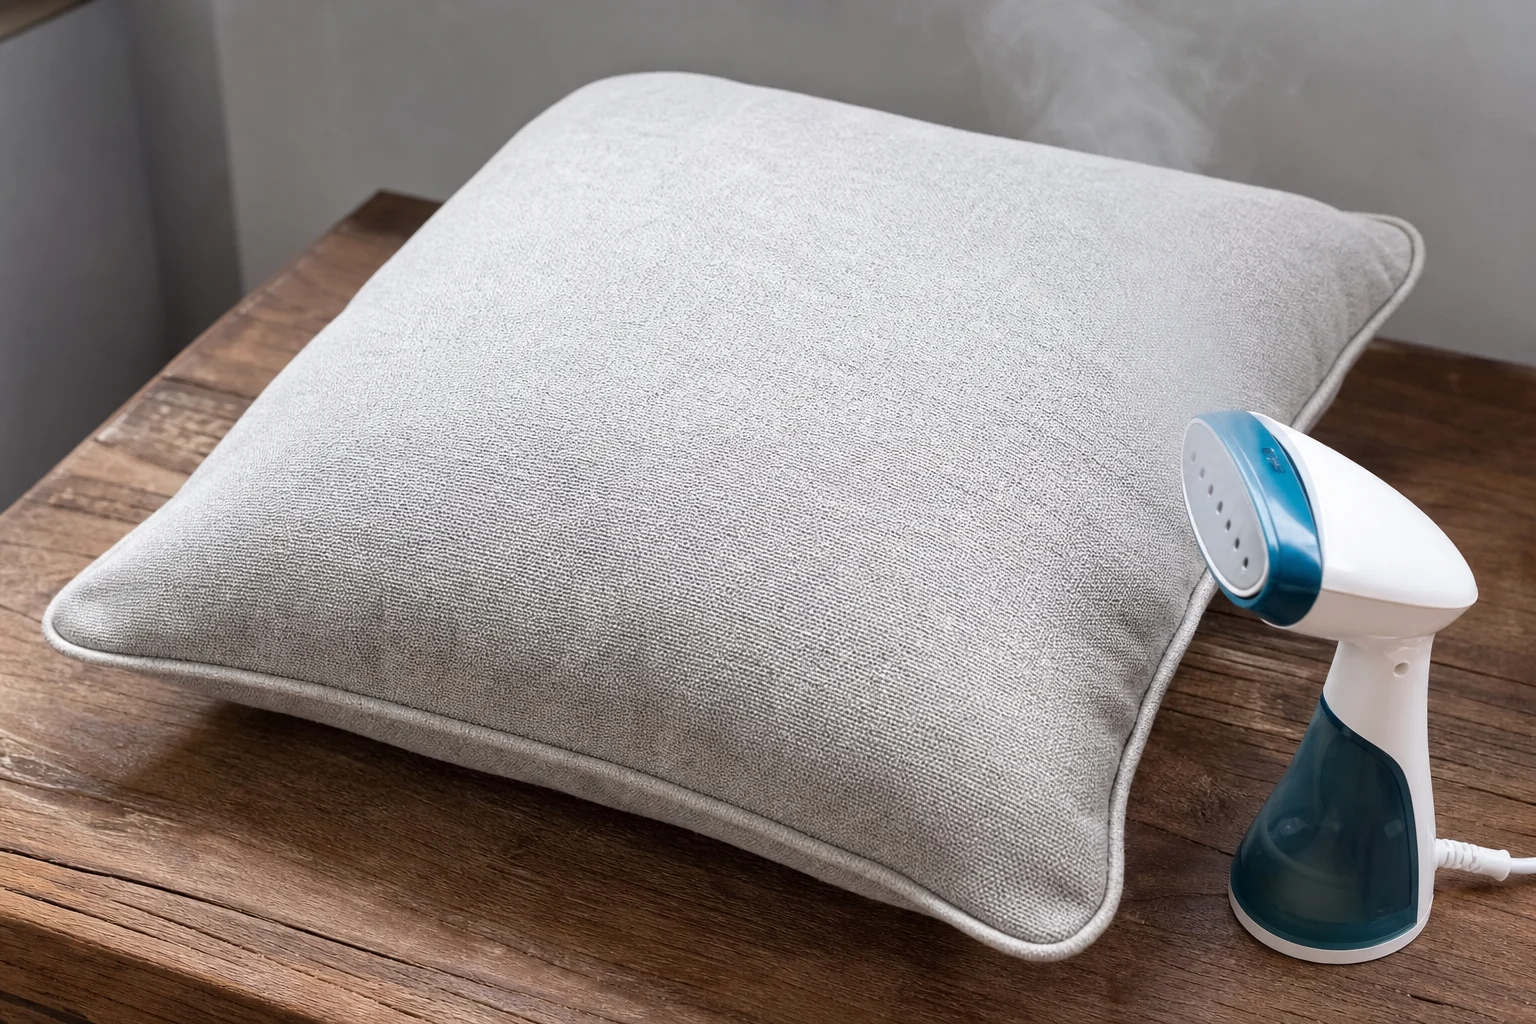
| Fabric family | Steam | Dryer heat | Iron (low) | Damp-weight | Notes |
| Cotton, linen, canvas | Yes | Yes, medium | Yes, low-medium | Yes | The most heat-tolerant family; shrinks if overheated |
| Polyester and performance polyesters | Yes, with distance | Air-only or low | Low only, with pressing cloth | Yes (best method) | Heat-sensitive: hot settings can glaze or melt fibers |
| Solution-dyed acrylic | Yes | Low, brief | With pressing cloth, low | Yes | The fiber is tough; coatings and finishes may not be |
| Blends and unknowns | Test corner first | Air-only | With cloth, lowest | Yes (safest) | When the label’s gone, assume the most delicate member |
| Anything with coating or laminate | No direct steam | No heat | No | Yes | Heat delaminates — the waterproof cushions explained coatings especially |
The universal rule when in doubt: start with the lowest-heat method and escalate. Wrinkles yield to patience more often than to heat.
Method 1: Steam (The Workhorse)
The fastest all-around method for covers on their cushions:
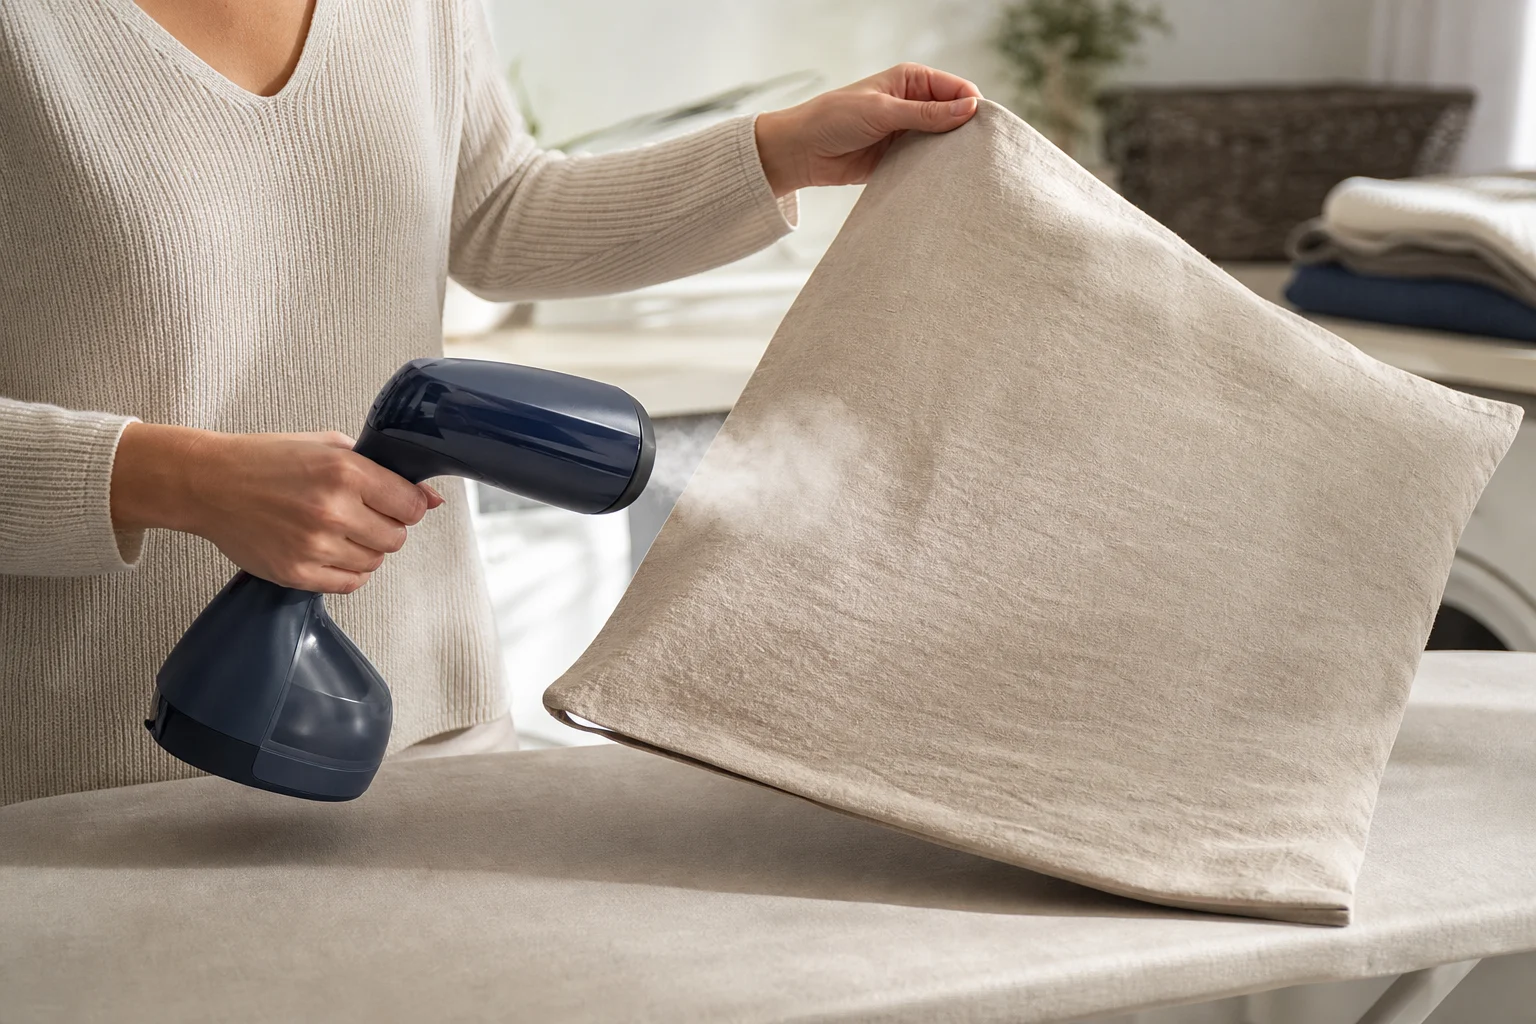
- On the cushion, not off it — the fill gives the fabric its shape, and steaming in position lets gravity and the cushion’s geometry pull the fabric smooth as fibers relax.
- Steam at 4–6 inches distance, working top-down, one panel at a time. Handheld garment steamers work; a kettle’s steam held carefully works in a pinch.
- Smooth by hand as you go — gliding a palm or a wooden spoon’s back along the steamed area sets the fabric straight while it’s warm and compliant.
- Air fully before use — warm, damp fabric re-creases instantly under weight; give it thirty minutes.
The shower-room version: hang covers (or park cushioned pieces) in a steamy bathroom for twenty minutes, then smooth by hand — slower, gentler, the classic no-steamer move.
Method 2: The Dryer Release (For Off-Cushion Covers)
For covers removed from their cushions (washable-cover constructions — and note that at Cushion Mill, custom covers close with zippers and remove for washing, so this method applies to your custom pieces as well as washable decorative layers):
- Damp, not wet: mist the cover lightly or extract it from the washer pre-spin-complete.
- With the fluffer: two or three clean tennis balls or dryer balls — they beat the fabric loose mechanically.
- Ten to fifteen minutes, air-only or low heat — the fabric relaxes without baking creases in.
- Pull smooth immediately at the buzzer: a cover pulled taut by hand at the corners while warm and hung or re-fitted holds its smoothness; a cover left wadded in the drum re-wrinkles completely. The removal moment is the whole method.
Method 3: Damp-Weight (The No-Heat Method for Everything)
The safest universal method — for heat-sensitive performance fabrics, coated covers, and anything you’re unsure about:
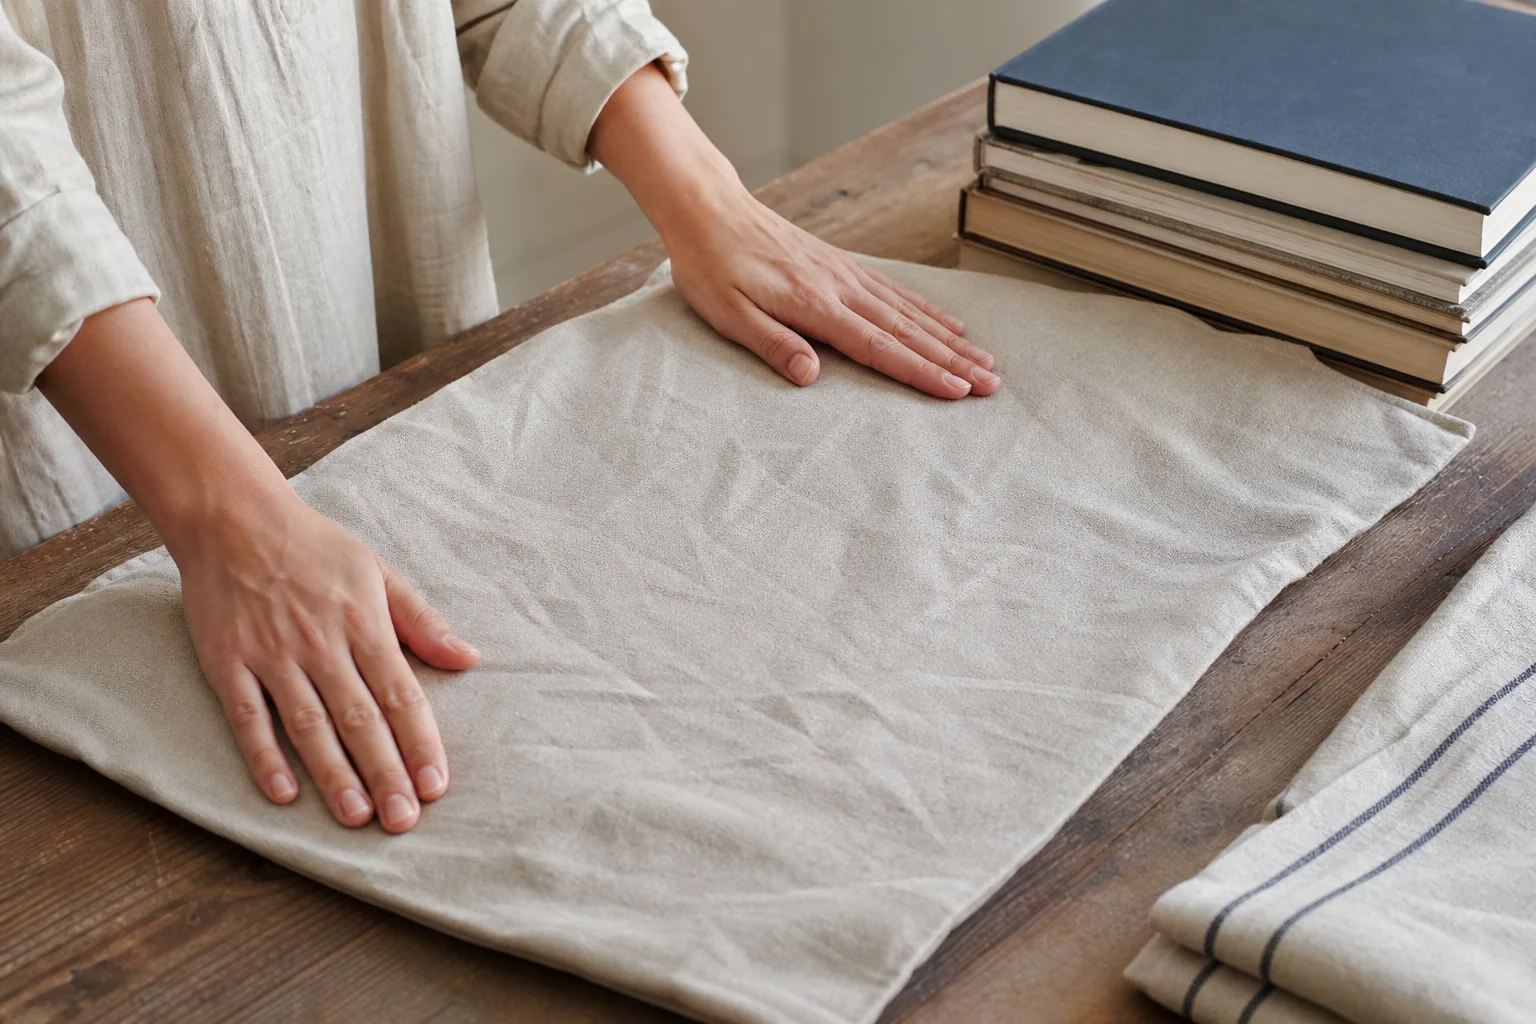
- Lay the cover (or cushion) on a flat towel.
- Mist lightly with plain water — a plant mister at arm’s length, damp not wet.
- Smooth by hand, pulling the fabric gently taut in the direction it should lie.
- Weight the creases: a second towel over the area, then heavy flat objects (books, a cutting board with weight) on top. Leave for a few hours or overnight.
- Dry flat and complete before returning cushions to service — folding or stacking damp fabric re-sets creases.
Slower than steam, works on everything, and doubles as the correct drying technique post-wash for covers that can’t take dryers at all (polyester cushion care — polyesters and this method are made for each other).
Method 4: The Iron, Carefully
The heavy artillery, used only with the matrix’s blessing:
- – Pressing cloth always — a clean cotton cloth between iron and cover, no exceptions: direct contact on performance and synthetic fabrics can glaze fibers permanently.
- – Low to medium, synthetic-safe setting, no steam burst against coated covers.
- – Press, don’t slide — lift-and-press moves the fabric less and sets the panel flatter.
- – On the wrong side when possible.
- – For pleats and deliberate creases only — an iron is the right tool where you’re setting a line, not just removing one.
Method 5: The Sun-and-Time Method (Outdoor Cushions’ Free Option)
Outdoor cushions wrinkle from storage and season-opening (memorial day patio prep is exactly this moment): morning sun on a dry day relaxes most storage creases in an hour or two — the gentle radiant warmth doing the work a steamer does indoors. Turn the piece at the halfway point, and pull panels smooth by hand as they warm. The same UV that fades fabric over seasons (fabric color fastness and UV stability) is, in single-session doses, a wrinkle remover.
The Wrinkles That Return: Fixing Fit
When smoothing lasts a week and the same creases reappear at the same corners, the problem is up one level — the cover doesn’t fit its fill:
- – Take up the slack — the tightening methods in how to tighten cushion covers: batting wrap to restore fill volume, sewn alteration to take in seams, elastic cinch on loose-fit styles.
- – Replace the fill when it’s flattened foam — the wrinkle is the cover reporting that its core has shrunk (cushion filling types on what’s inside and buy foam for couch cushions on replacing it).
- – Replace the cover or the piece when the fabric’s recovery is exhausted — a custom cover cut to the real dimensions, or a full custom cushion ($45 base plus area × fabric rate, 4–7 business days) when the core and cover are both done: replacement cushion covers vs full cushions makes the decision explicit.
Prevention: The Habits That Stop Wrinkles Forming
- – Wash correctly in the first place: cold water, gentle spin, air-dry pulled smooth — half of all wrinkles are made in the laundry room (how to wash cushion covers).
- – Store flat or rolled, never folded: the winter-storage method in how to store outdoor cushions for winter exists partly for exactly this reason.
- – Unpack promptly: new covers and spring-opened cushions unwrapped and fluffed the day they arrive crease far less than ones left boxed for a month.
- – Monthly square-up: the same repositioning habit from the tightening guide — seams kept on the cushion’s edges don’t drift into crease positions.
The Wrinkle First-Aid Card
The one-glance version, printed for the laundry room door:
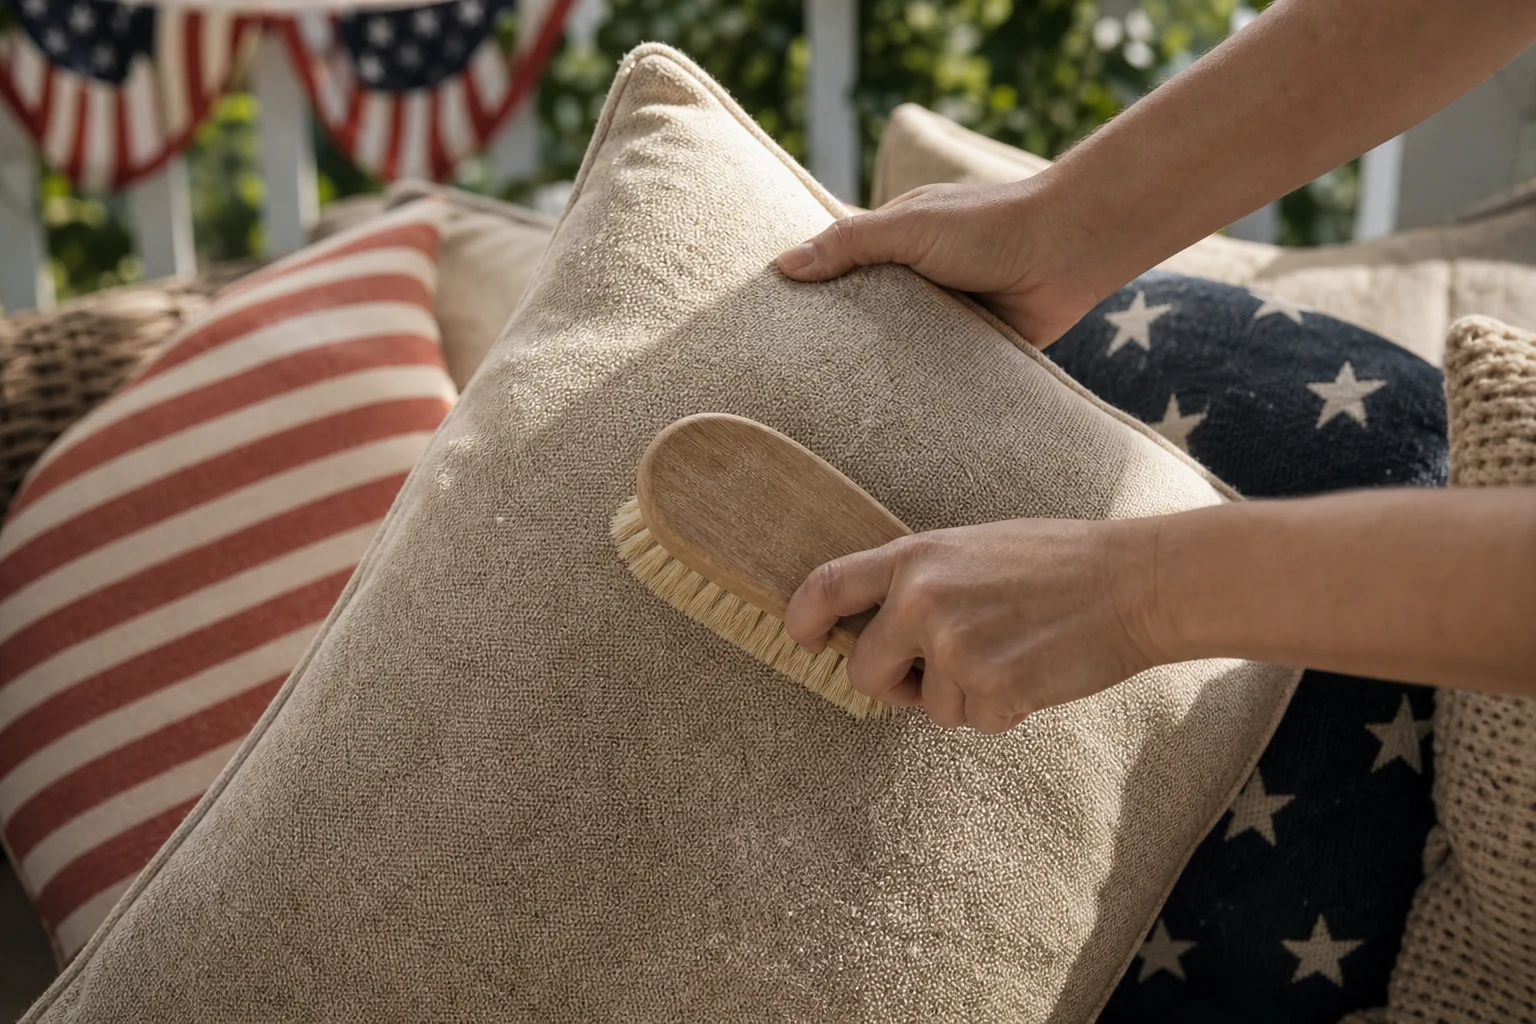
- – Shipping and storage creases: steam on the cushion, smooth by hand, air 30 minutes. Sun method outdoors (memorial day patio prep season-opening edition).
- – Post-wash wrinkles: dryer with balls, air-only, 10–15 minutes, pull smooth at the buzzer — the removal moment is the method.
- – Set-in creases on heat-safe fabric: steam + hand-smoothing + weight while warm; damp-weight overnight for everything else.
- – Performance and coated fabrics: damp-weight only — heat risks glazing and delamination.
- – Chronic re-wrinkling in the same spots: stop smoothing, start fitting — the cover is bigger than its fill (how to tighten cushion covers).
Why Some Covers Never Wrinkle
A closing observation that saves future purchases: wrinkle resistance correlates with fabric weight, weave tightness, and — above all — a cover cut to the fill’s real dimensions. Heavy tight-weave performance fabrics on properly fitted cushions shrug off packaging, washing, and years of use; thin loose covers on approximate sizes wrinkle from day one and never stop. The anti-wrinkle spec, in other words, is the same as the anti-sag and anti-slide spec: measured pieces, quality fabric, fill that fills — the whole custom argument of this library, told from one more angle.
The pre-wrinkle discipline at purchase. The last prevention frontier is buying wrinkle-resistant in the first place: heavier performance weaves, covers cut to measured dimensions, and fills that fill the cover completely (cushion filling types) — the spec that resists wrinkles is the same spec that resists sag and sliding. New cushions specified this way arrive with shipping creases that steam out once and never return.
FAQs
How do I get wrinkles out of a cushion cover?
Steam it on the cushion at 4–6 inches and smooth by hand as you go — the workhorse method for most fabrics. For heat-sensitive covers, the damp-weight method works on everything.
Can I put a cushion cover in the dryer to remove wrinkles?
Yes with technique: damp, air-only or low heat, dryer balls, ten to fifteen minutes — and pull it smooth immediately at the buzzer. Wadded-in-the-drum is how wrinkles get made, not removed.
Is steaming safe for outdoor cushion fabrics?
Generally yes with distance — solution-dyed acrylics handle steam well; anything with a coating or laminate should get the damp-weight method instead, since heat delaminates.
Why do my cushion covers keep wrinkling in the same spots?
That’s a fit problem, not a wrinkle problem — the cover is bigger than its fill, and the fix is taking up slack, restoring fill volume, or a properly-cut replacement.
Can I iron cushion covers?
With a pressing cloth on low-medium, pressing rather than sliding — mostly for pleats and deliberate creases. Performance and synthetic fabrics can glaze under direct heat; the cloth is non-negotiable.
What’s the fastest fix for storage wrinkles at season opening?
Morning sun for an hour or two, panels pulled smooth by hand as they warm — the free outdoor method, and exactly the Memorial Day scenario.
Next Steps
- Classify your wrinkles — packaging, washing, or fit — and pick the method from the matrix by fabric family.
- Steam or damp-weight today, and fix the prevention habit (wash discipline, storage flat) that matches your cause.
- For chronic fit wrinkles, address the root cause — the tighten-or-replace decision in how to tighten cushion covers, ending at custom sofa cushions when the whole piece is due.
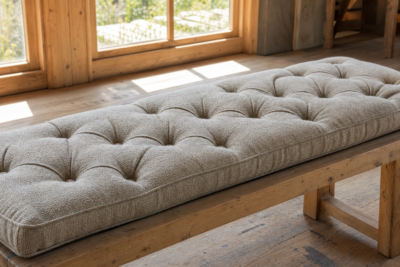
DIY Tufted Bench Cushion: How to Build the Quilted Look Yourself
A realistic walk-through of sewing a tufted bench cushion at home — materials list, the tufting method that works for beginners (buttons versus stitched pulls), foam and fabric choices, where DIY tufting goes wrong, and when to order the grid stitch instead.
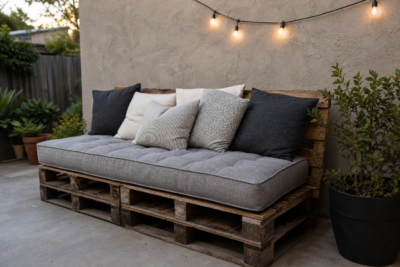
Pallet Bench Cushion DIY: From Shipping Wood to Seated in a Weekend
The full pallet-bench project — sourcing and deconstructing pallets safely, building a squared bench frame, sizing the cushion to the finished deck, and the honest moment to buy the cushion instead of sewing it.
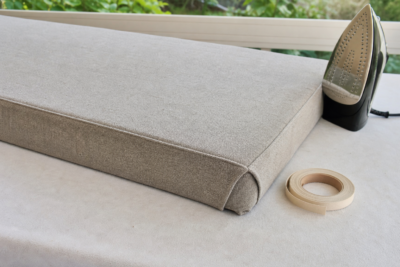
No-Sew Cushion Covers: Seven Methods That Actually Work (and What They Can’t Do)
Envelope wraps, tie-front panels, fabric glue builds, fitted-sheet hacks, knotted fringe and more — the no-sew cushion cover methods ranked by durability, the materials each one needs, and the honest limits of glue-and-fabric construction.
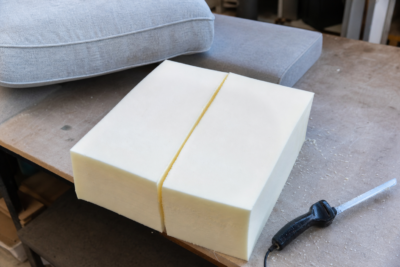
How to Cut Foam: Tools, Methods and Straight-Line Discipline
Every practical way to cut upholstery foam at home — electric knives, serrated bread knives, long blades and hot wire — the straight-line technique that prevents wonky edges, curved and radius cutting, and safe glue-up for multi-piece builds.
How to Fix Sagging Couch Cushions (Foam, Not Fluff)
Fix sagging couch cushions by finding the real cause — dead foam, flattened fiber, or a failing support deck under the seats. Quick fixes vs real fixes, and when re-foaming is the only answer.
How to Reupholster Dining Chairs: Seat Pads, Full Cushions and When to Stop
The complete dining chair reupholstery walk-through — the drop-in seat pad method, replacing foam while you’re in there, fabric choices for dining duty, the full-cushion route for padded chairs, and the honest stop-or-continue decision.