
Ties are the smallest component in cushion-making and the one with the worst failure record — not because ties are hard, but because they’re almost always put in the wrong place. A tie sewn to a cushion corner that doesn’t line up with anything on the chair frame is a decoration. A tie sewn where the frame has no bar to wrap is a wish. And four ties spread “evenly” around a cushion that meets an uneven chair do half the job of two ties put where the frame actually wants them.
This is the complete method: how to map tie positions to real furniture, the four ways to make a tie, three ways to attach them (one with no sewing at all), and the alternatives when ties aren’t the right answer. It pairs with the wind-side of the problem in how to keep cushions from blowing away and the slide-side in how to stop cushions from sliding.
Before Anything: Map the Frame, Not the Cushion
Ties hold a cushion to a frame, so the frame dictates the positions. This single inversion — frame first, cushion second — is the whole discipline.
Step 1 — photograph and study the frame. Where are the vertical bars, the horizontal rails, the slat gaps, the corner joints? Outdoor chairs typically offer a top rail and two side bars; wicker offers woven gaps everywhere (the wicker-specific anchor points are covered in wicker furniture cushions); benches offer legs and stretchers at the ends; porch swings offer corner framing plus arm posts (how to measure a porch swing covers the swing geometry).
Step 2 — mark the anchor points on the frame, then hold the cushion in place and transfer those anchor points to the cushion. Corners are the default anchors (two ties at the back corners is the classic minimum), but a long bench cushion often needs mid-length anchors to stop center-lift, and a chair cushion on an open-slat seat wants its back ties high on the chair’s top rail so the cushion can’t walk downward.
Step 3 — count the duty. Gentle indoor dining chairs: two back-corner ties may be enough. Outdoor chairs and high-wind sites: four ties (all corners). Porch swings, gliders and anything that moves: four ties minimum plus consideration of strap alternatives — the full wind-hierarchy is in how to keep cushions from blowing away.
The positioning rule worth remembering: a tie’s job is to resist the direction the cushion actually moves. Seat cushions walk forward and down — back ties matter most. Back cushions topple forward — top ties matter most. Bench cushions lift in the middle — mid-anchors matter. Tie against the motion, not to a template.
The Four Ways to Make a Tie
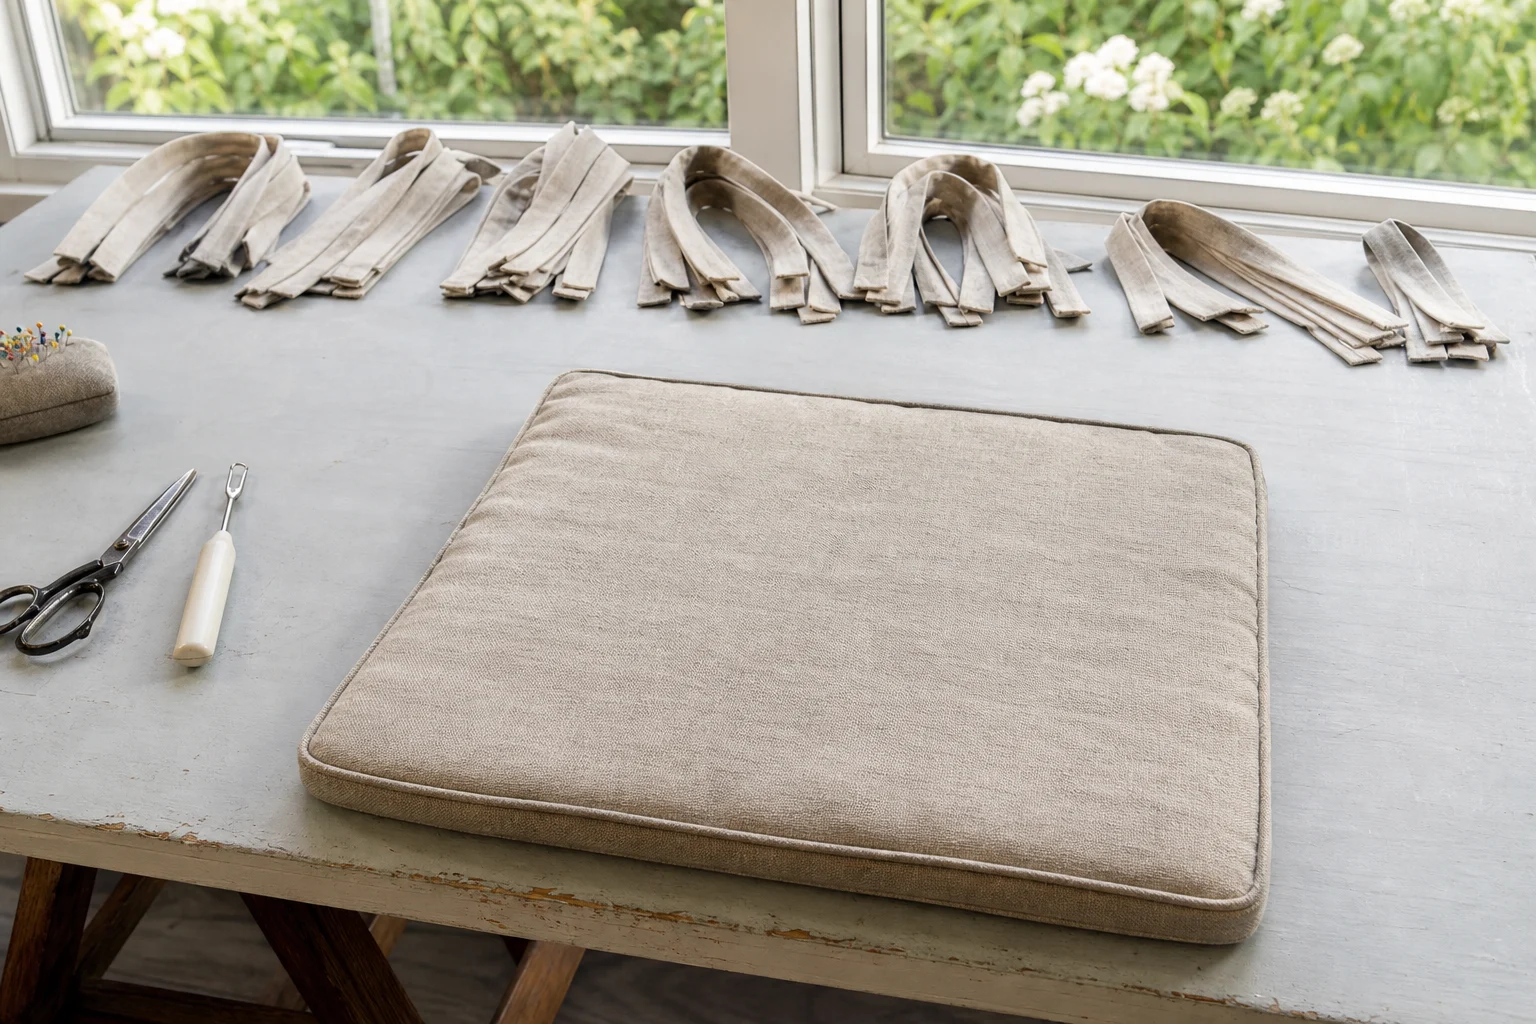
1. Sewn fabric loops (the durable standard). Strips of your cushion fabric, cut 1.5–2″ wide × 10–14″ long, folded and stitched into flat tape, attached during cover construction so the seam captures them. This is the commercial method custom workshops build, because a tie captured inside a structural seam cannot pull out under load. Best for: any cushion you’re sewing or recovering anyway; the construction sequence lives in how to make cushion covers.
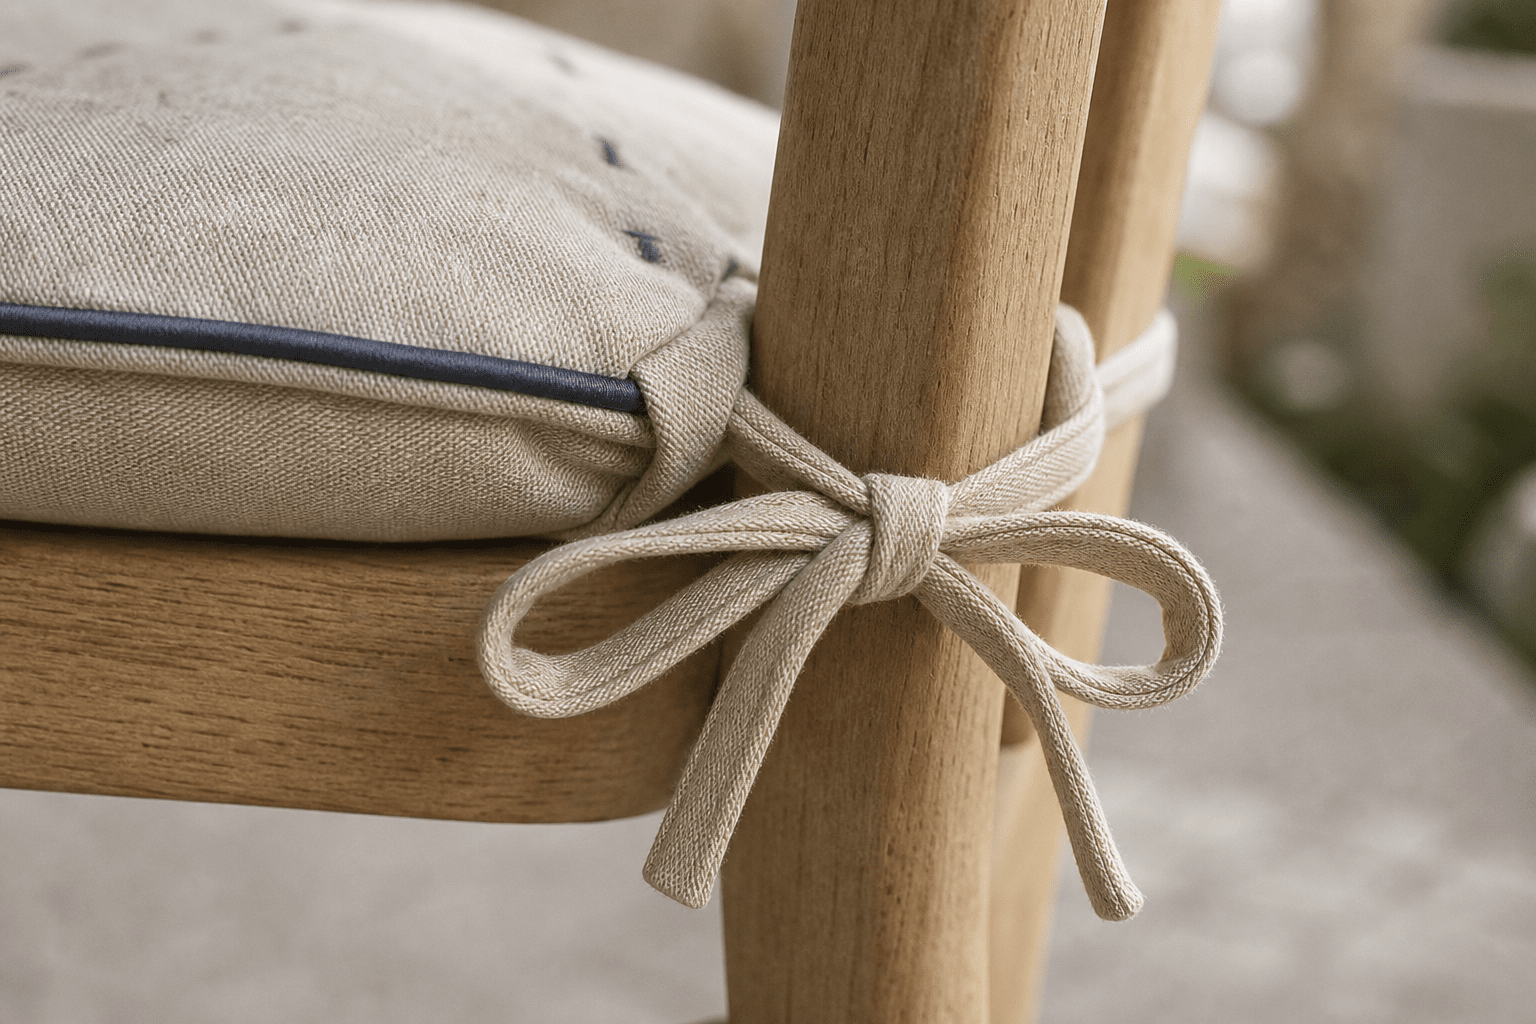
2. Grossgrain or herringbone ribbon (the fast sewn route). Quality ribbon in a matching or contrasting color, cut to length, ends heat-sealed with a lighter edge-melt to stop fraying, hand-tacked to the cushion seam. Nearly as strong as fabric loops, one-tenth the work. Best for: adding ties to an existing cushion you don’t want to deconstruct.
3. Twill tape or webbing (the utility route). Woven cotton twill tape is cheap, strong and neutral; heavier poly webbing is near-indestructible. Less pretty, entirely functional. Best for: bench cushions, boat and RV duty, workshop-grade projects.
4. Fabric-strip “rustic” ties (the no-cost route). Strips of fabric cut with the grain, edges unfinished (or lightly frayed on purpose for the farmhouse look), knotted through frame gaps. Weaker, shorter-lived, fine for light indoor duty and decorative layering (no-sew cushion cover ideas uses these constantly).
Length guidance: a tie needs to wrap the frame member, overlap itself for a bow or knot, and leave a pulling tail — 10–12″ covers most chair frames; 14″+ for thick bench rails and wrapped wicker frames. Specifying honest lengths matters more than trimming them — a too-short tie is the one that gets skipped.
Attaching Ties to an Existing Cushion: Three Methods
Method A: The Seam-Capture Hand Stitch (strongest retro-fit)
For cushions with a sewn cover, the strongest attachment without deconstruction is stitching the tie through the cover’s existing seam at your marked positions — seams are the structural spine of the cover, multiple layers of fabric folded and locked.
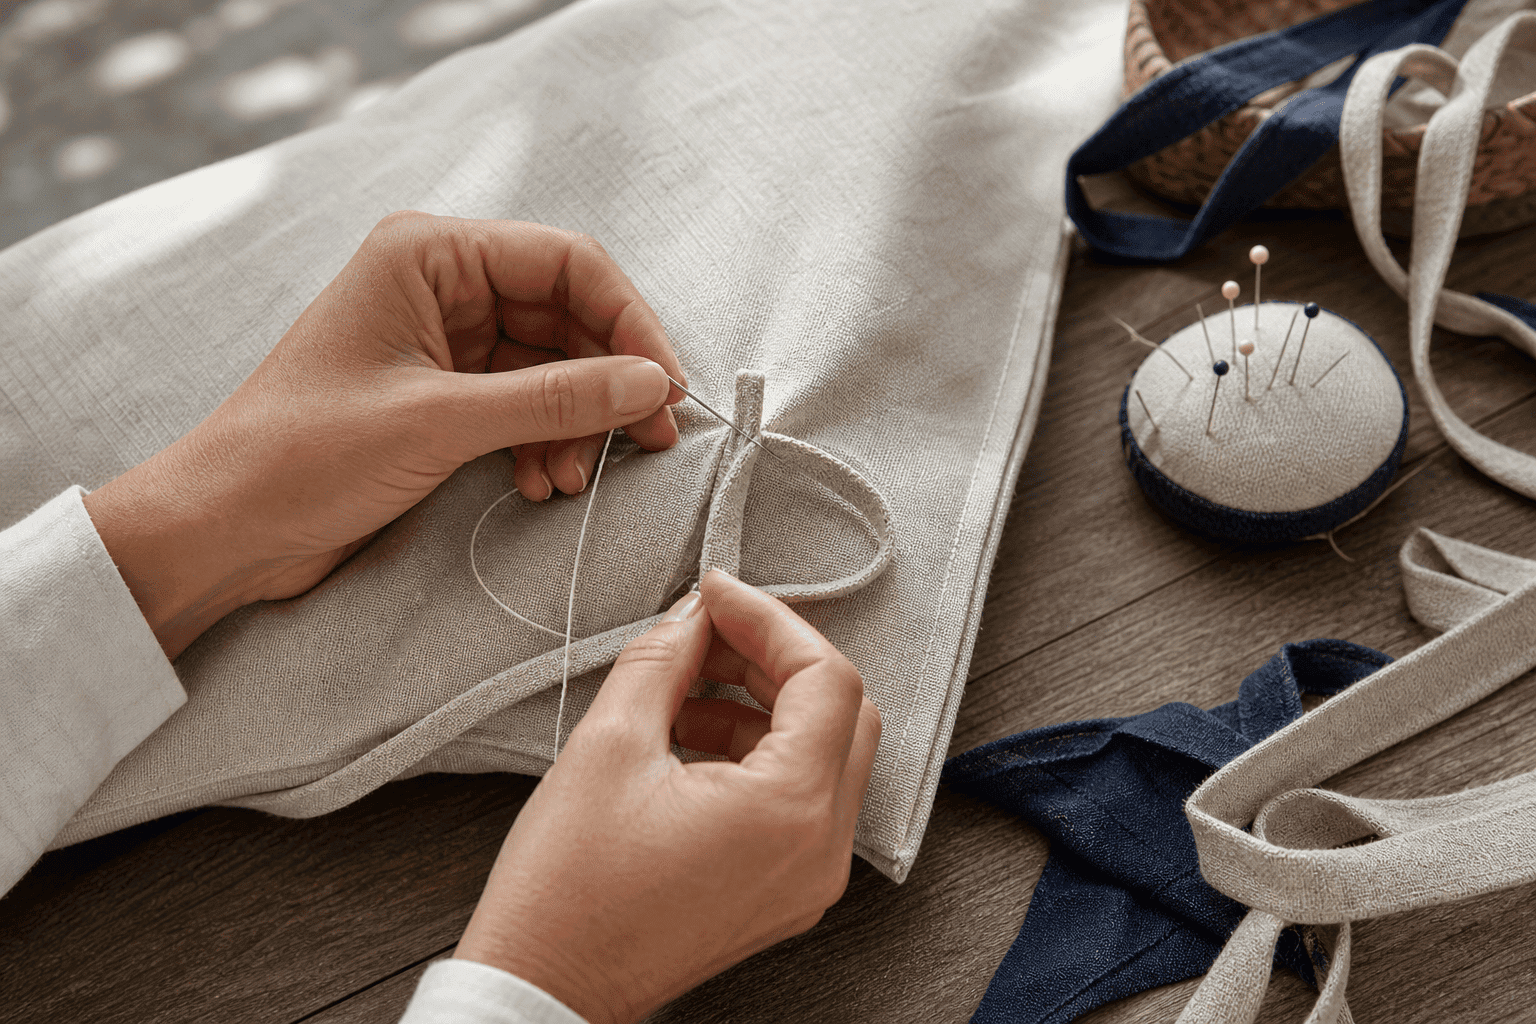
- Mark your frame-mapped positions on the cushion.
- Position the tie’s midpoint on the seam, so both halves extend outward.
- With doubled upholstery thread, stitch through seam and tie repeatedly — a box of stitches plus an X through it (the saddle-stitch logic from cushion recovery DIY) — pulling genuinely tight between passes.
- Burn-seal or knot-lock the thread ends; anchor thread inside the tie itself.
Done honestly, this holds for years; done lazily (two stitches, single thread), it’s the first thing to rip out under wind load.
Method B: The Thread-Through Anchor (for covers you shouldn’t puncture)
For cushions where puncturing the face is unacceptable (waterproof-laminate outdoor pieces, vinyl), pass the tie around the cushion at the seam line rather than through it: a loop of webbing encircling the cushion at its corner seam, stitched to itself, with the tie end emerging at the frame anchor point. The loop bears on the cushion’s geometry, not its fabric. Works best at corners where the loop can’t slide; add a small tack stitch to keep the loop positioned.
Method C: The No-Sew Fixes (temporary to semi-permanent)
- – Cable ties through frame gaps: ruthless and effective for wicker and slat frames — loop a small zip tie around frame member and tie, trim the tail. Outdoor-UV-stable cable ties exist; standard ones get brittle in sun after a season or two.
- – Velcro strap wraps: hook-and-loop straps wrapping cushion-to-frame-bar, adjustable and toolless; the semi-permanent favorite for bench cushions and swings.
- – Snap-clip ties: clips that grip the frame rail with the tie sewn to the clip — a hardware-store solution that outperforms knots on metal frames (common on wrought iron furniture cushions).
- – Buckle straps: the two-piece side-release buckles from camping gear, webbing glued or tacked to the cushion underside, counterpart strap around the frame — the strongest “removable” option, standard practice on boat cushions.
Ties on Custom Orders: Specifying Them Right
If you’re ordering cushions rather than making them, know that we don’t sew ties at Cushion Mill — cushions arrive cut to your measurements, and the ties are yours to add. Which makes the specification simple: position and length matched to your frame’s real anchors. Measure the frame, sketch the anchor points, note tie lengths per position (a top-rail wrap needs less length than a wrapped wicker rail). A tie sewn to the frame’s real anchors works on day one; a guessed tie is the decoration kind.
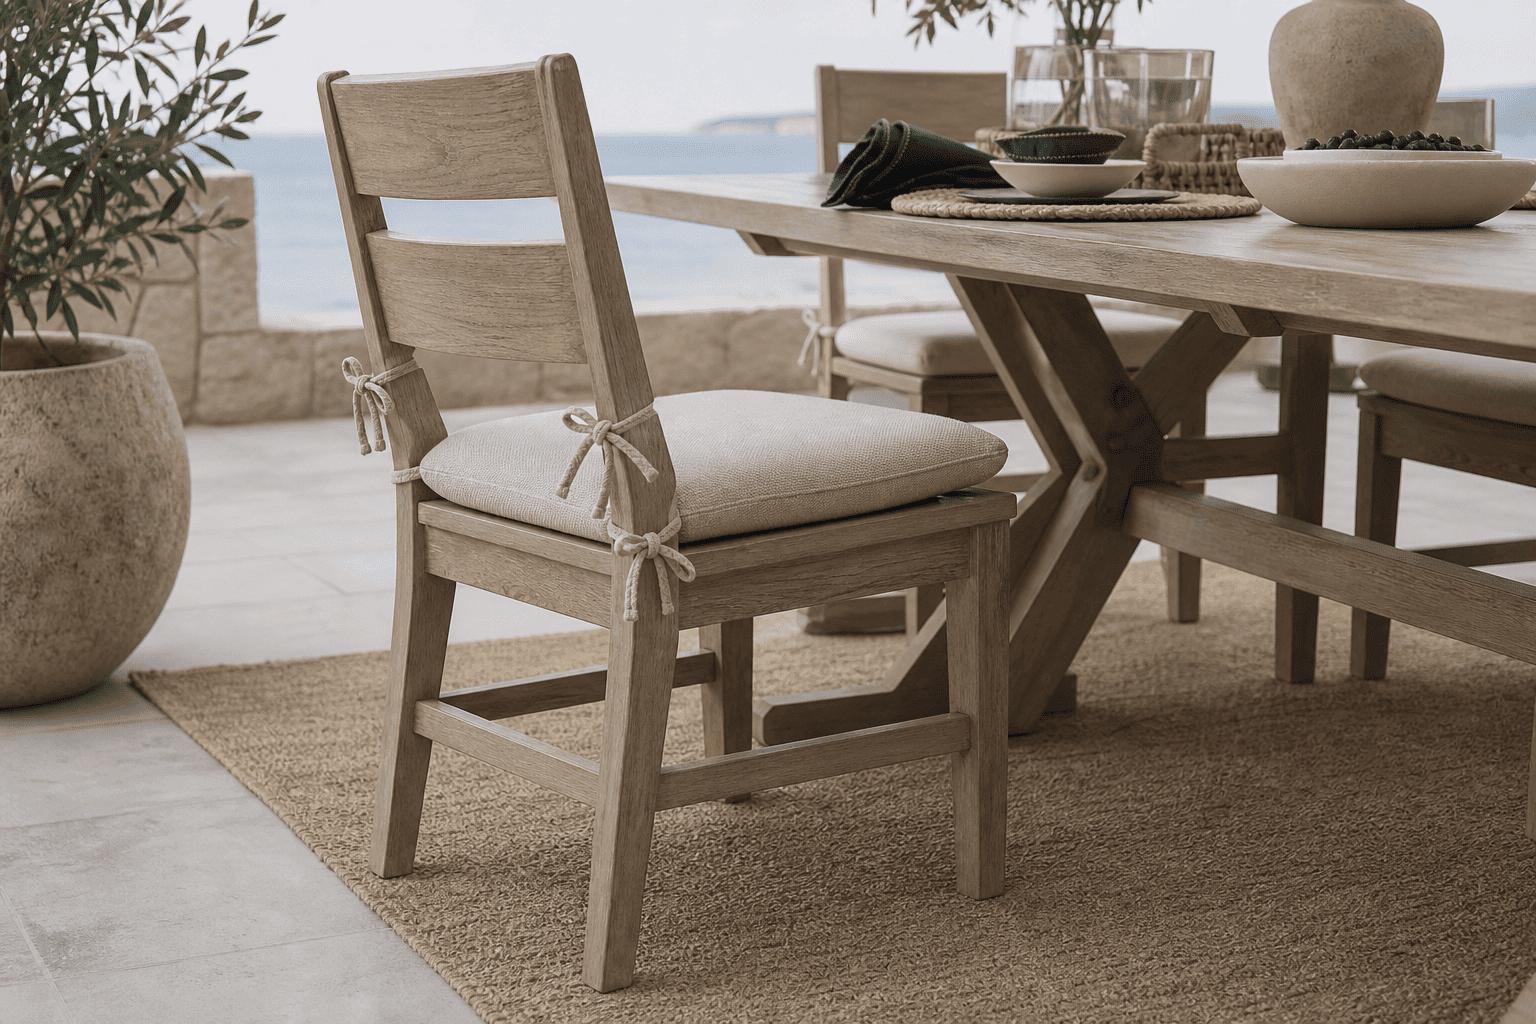
The same survey is the moment to decide whether ties are even the right attachment for the piece: open frames → ties; smooth flat surfaces → a gripper underlay per how to stop cushions from sliding; high-wind sites → the full hierarchy in how to keep cushions from blowing away, where straps and buckles outrank bows.
Common Tie Failures and Their Fixes
- – Tie rips out of the cover: attached to face fabric, not the seam. Re-attach at the seam with the box-stitch method.
- – Tie stretches and goes slack: knit or loosely-woven tie material. Replace with grosgrain, twill or webbing.
- – Cushion still walks despite ties: positions fight the wrong direction — re-map against the actual motion (back ties for forward-walking seats, top ties for toppling backs).
- – Knots slip loose: bow knots in slippery ribbon. Switch to square knots, or ribbon with texture, or the buckle route.
- – Ties rot outdoors after a season: indoor-grade ribbon. Outdoor ties want UV-stable materials (polypropylene webbing, solution-dyed fabrics — the fiber logic in best outdoor cushion fabric).
Ties on Difficult Frames: Wicker, Metal and Swings
The generic method assumes a friendly chair. Three frame types need adaptation:
- – Wicker and woven frames. The weaving offers anchor points everywhere but none of them are load-rated — a tie pulled tight against a thin woven strand can saw through it over a season. Anchor to the structural frame members under the weave (find them by feel — they run straight and don’t deflect), wrap through the larger gaps rather than pulling against individual strands, and prefer multiple lighter anchors over few tight ones. The frame anatomy is in how to tell indoor from outdoor wicker and wicker furniture cushions.
- – Metal and wrought iron. Nothing to sew into and thin rails that ties slide along — the snap-clip and buckle-strap methods (Method C) are purpose-built for this: the clip grips the rail, the tie pulls against metal rated for far more than cushion load. Heat matters too: dark metal frames in full sun run hot enough to degrade cotton ribbon touching them — synthetics or a wrapped contact patch last longer. The metal-frame spec is in cushions for metal patio chairs.
- – Porch swings and hanging benches. Motion multiplies every force: ties that hold a static bench for years work loose in weeks on a swing. The swing-rated pattern is four corner ties plus a center strap pair under the bench (bearing against the frame, not stitched to the cushion face), and the geometry of swing seating is covered in how to measure a porch swing and outdoor swing cushions.
The pattern is consistent: match the anchor to what the frame can actually carry, and match the method to the motion. Static frames forgive ties; moving frames demand straps.
Child and Pet Notes
Ties are cords, and cords near small children and pets deserve a sentence of caution: keep tie tails short enough not to form loops, prefer bows that pull free under real load rather than knots that lock, and on children’s furniture consider the gripper-base alternative (how to stop cushions from sliding) precisely because it’s cordless. This isn’t a reason to skip ties where they’re needed — outdoor and high-wind duty still wants them — it’s a reason to trim, knot smart, and check them seasonally.
FAQs
Where should ties be placed on a cushion?
Wherever the frame has a real anchor — map the frame’s bars and gaps first, then transfer those positions to the cushion. Back corners for seat cushions that walk forward; top positions for back cushions that topple; mid-length anchors for bench centers that lift.
How long should cushion ties be?
10–12 inches for most chair frames, 14+ for thick bench rails and wrapped wicker — enough to wrap the frame member, overlap for the knot, and leave a pulling tail.
Can I add ties without sewing?
Yes — cable ties through frame gaps, velcro strap wraps, snap-clips on rails, or buckle straps are all legitimate, and the buckle route is the strongest removable option. For permanence, the hand-stitched seam capture still wins.
How many ties does a cushion need?
Two for gentle indoor duty, four for anything outdoors or on moving furniture — swings and gliders start at four and consider straps. Count against the direction of motion, not a template.
Why do my ties keep ripping out?
They’re stitched to the face fabric instead of the structural seam — re-attach through the cover’s seam with a box-and-X stitch in doubled upholstery thread. That’s the difference between decoration and anchor.
Are ties or a gripper base better?
Ties for open frames with anchors to wrap; a gripper underlay for smooth flat seats where there’s nothing to tie to. High-wind sites go beyond both — the hierarchy is in the wind guide.
Next Steps
- Photograph your frame, mark its real anchor points, and transfer the positions to the cushion before cutting a single tie.
- Pick the attachment route by your tools and patience: seam-capture hand stitch for permanence, grosgrain with a no-sew anchor for this weekend.
- Ordering new cushions? Have them cut to your measurements at the custom outdoor cushions builder, then sew ties at your sketch’s positions yourself — and lay a gripper underlay where the frame offers nothing to tie.
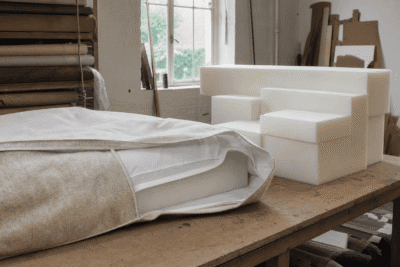
How to Replace Cushion Foam: A DIY Guide to Cutting and Fitting New Foam
Replace worn cushion foam yourself — choosing density and thickness, measuring the core, cutting foam at home, wrapping with batting and refitting covers.
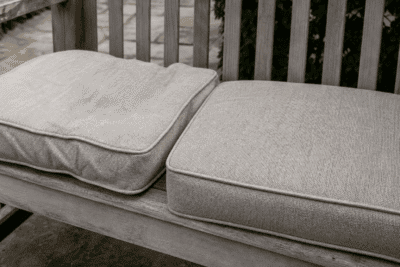
How to Tighten Cushion Covers: Seven Methods From Temporary to Tailored
Why cushion covers loosen — fabric stretch, fill loss, wrong original fit — and seven tightening methods in ascending permanence: repositioning tricks, quick refits, heat shrinking, sewn alterations, and re-covering with a properly sized cover.
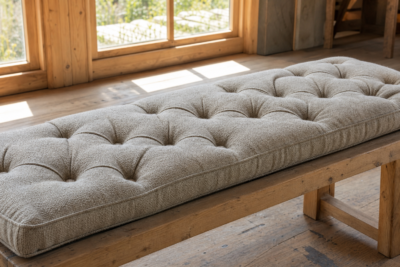
DIY Tufted Bench Cushion: How to Build the Quilted Look Yourself
A realistic walk-through of sewing a tufted bench cushion at home — materials list, the tufting method that works for beginners (buttons versus stitched pulls), foam and fabric choices, where DIY tufting goes wrong, and when to order the grid stitch instead.
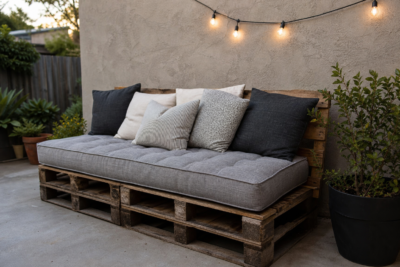
Pallet Bench Cushion DIY: From Shipping Wood to Seated in a Weekend
The full pallet-bench project — sourcing and deconstructing pallets safely, building a squared bench frame, sizing the cushion to the finished deck, and the honest moment to buy the cushion instead of sewing it.
How to Get Wrinkles Out of Cushion Covers: Steam, Wash and Weight Methods
The complete wrinkle-removal guide for cushion covers — why covers wrinkle in the first place, the fabric-by-fabric method matrix (steam, dryer tricks, damp-weight, wash-and-air), the heat-safety rules by fiber, and the fit fixes that stop wrinkles returning.
No-Sew Cushion Covers: Seven Methods That Actually Work (and What They Can’t Do)
Envelope wraps, tie-front panels, fabric glue builds, fitted-sheet hacks, knotted fringe and more — the no-sew cushion cover methods ranked by durability, the materials each one needs, and the honest limits of glue-and-fabric construction.