
The tufted bench cushion is the most-saved and least-finished DIY in the cushion world. It looks achievable in the tutorial photos — a piece of foam, some fabric, some buttons — and it is achievable, the way re-tiling a bathroom is achievable: fine results are possible, and the gap between the tutorial and your bench is measured in the three places tutorials skip (foam quality, thread tension, and the sheer arm-hours of pulling tufts tight).
This guide is the realistic version: how to build one properly, what to buy, where the project goes wrong, and the honest cost-and-time comparison with ordering the same look as a grid-stitch custom cushion. If you’re new to cushion sewing generally, start with how to make cushion covers — the basic box-cover skills transfer directly.
What Tufting Actually Does
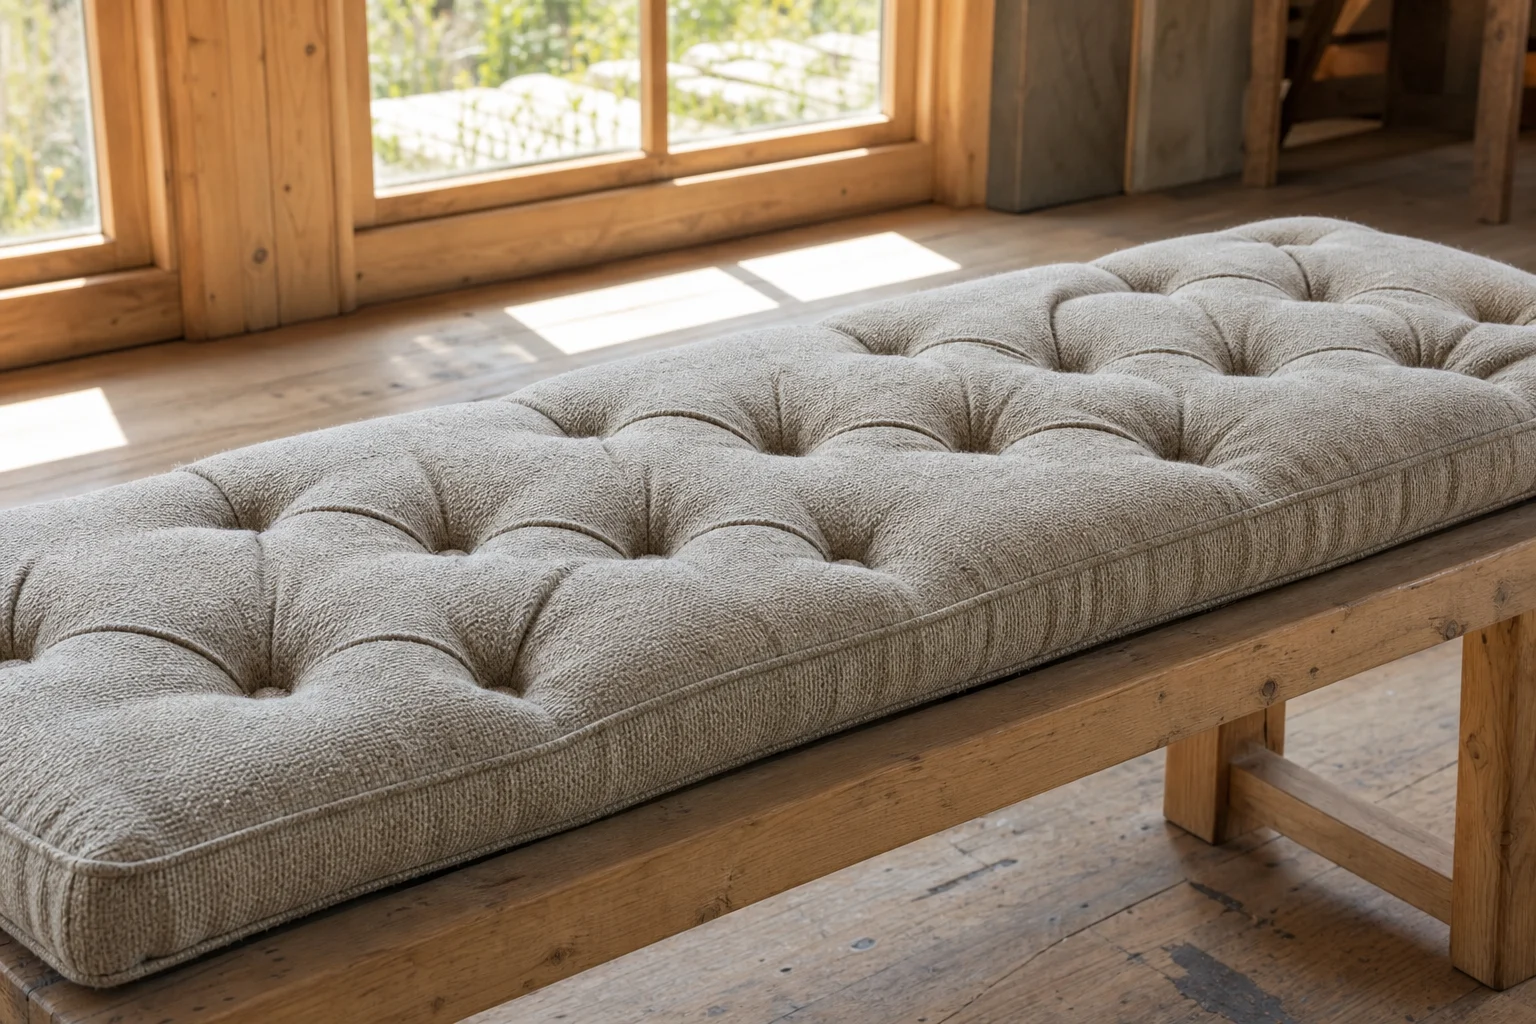
Tufting is fabric-and-fill management: stitches pulled through the cushion at intervals lock fabric to foam, dividing the surface into pockets. Those pockets are doing two jobs — the look (diamond or square grids, deep or shallow) and the engineering (fill migration control: tufted cushions keep their fill in place for years, which is exactly why grid-stitch construction exists commercially at +$7 on a custom cushion).
That engineering is also why DIY tufting is harder than it looks: each tuft is a compression point. Pull too tight and the cushion domes between tufts; too loose and the tufts pop out flat within weeks. Commercial grid stitching runs through machine-tensioned passes; you’ll be doing it by hand with a long needle and honest upper-body effort.
Materials List (For a 48 × 16 × 3″ Bench)
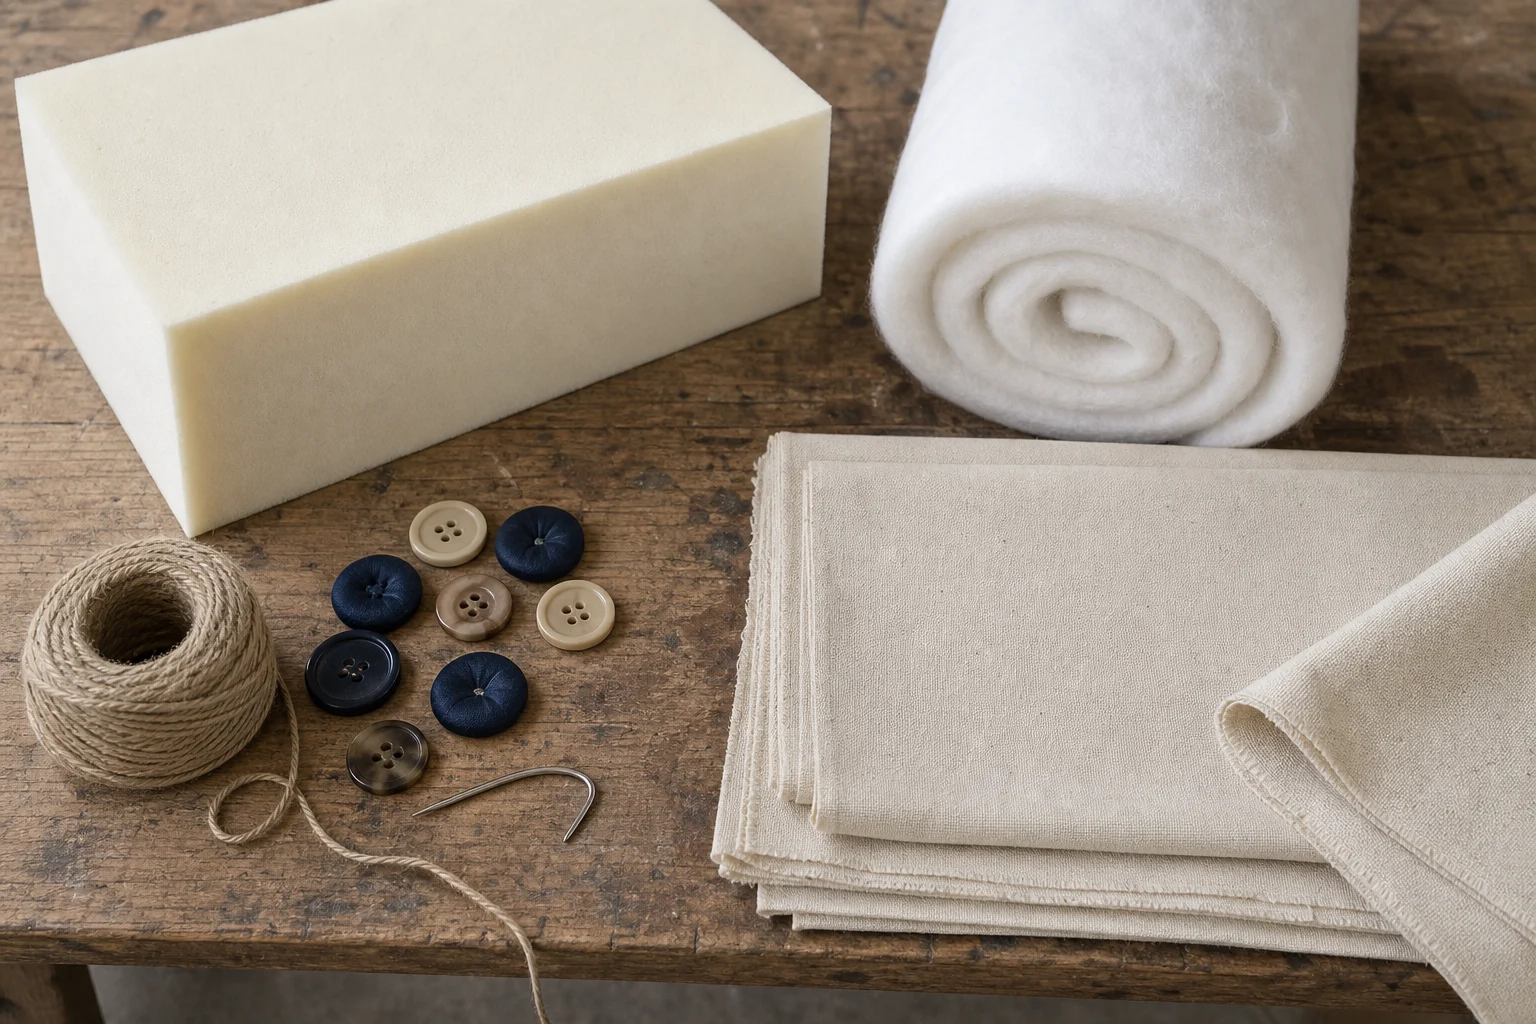
- – Foam: 50D polyurethane, 3″ thick, cut to 48 × 16 (foam selection logic in how to choose foam density; 50D is the daily-use grade). For a bench that lives outdoors, use quick-dry foam instead — quick dry foam explains why fill choice is the whole ballgame outdoors.
- – Batting: 2–3 oz polyester batting or dacron wrap, wrapped fully around the foam — this is what softens the tuft dimples and rounds the edges; dacron’s role is explained in context in cushion filling types.
- – Fabric: 1.5–2 yards of a mid-weight upholstery fabric. Tight weaves tuft cleaner than loose; performance polyesters survive the pulling better than dry-clean-only wovens. Selection logic: best outdoor cushion fabric if it’s going outside.
- – Tufting thread: heavy-duty upholstery thread (button/carpet thread), doubled.
- – Long needle: 8–12″ tufting or doll needle.
- – Buttons: covered buttons made from your fabric (a button kit, standard at any fabric store), or plastic tufting buttons for the invisible look.
- – Marking tools: chalk, ruler, and a template for your grid.
The Build, Step by Step
1. Plan the grid on paper first. For a 48 × 16 cushion, a five-by-two grid (tufts every 8″ horizontally, 8″ vertically centered) reads balanced. Diamonds come from offsetting alternate rows. Mark tuft points on the fabric’s wrong side and transfer them through to matching points — misaligned faces are the number one visible DIY tell.
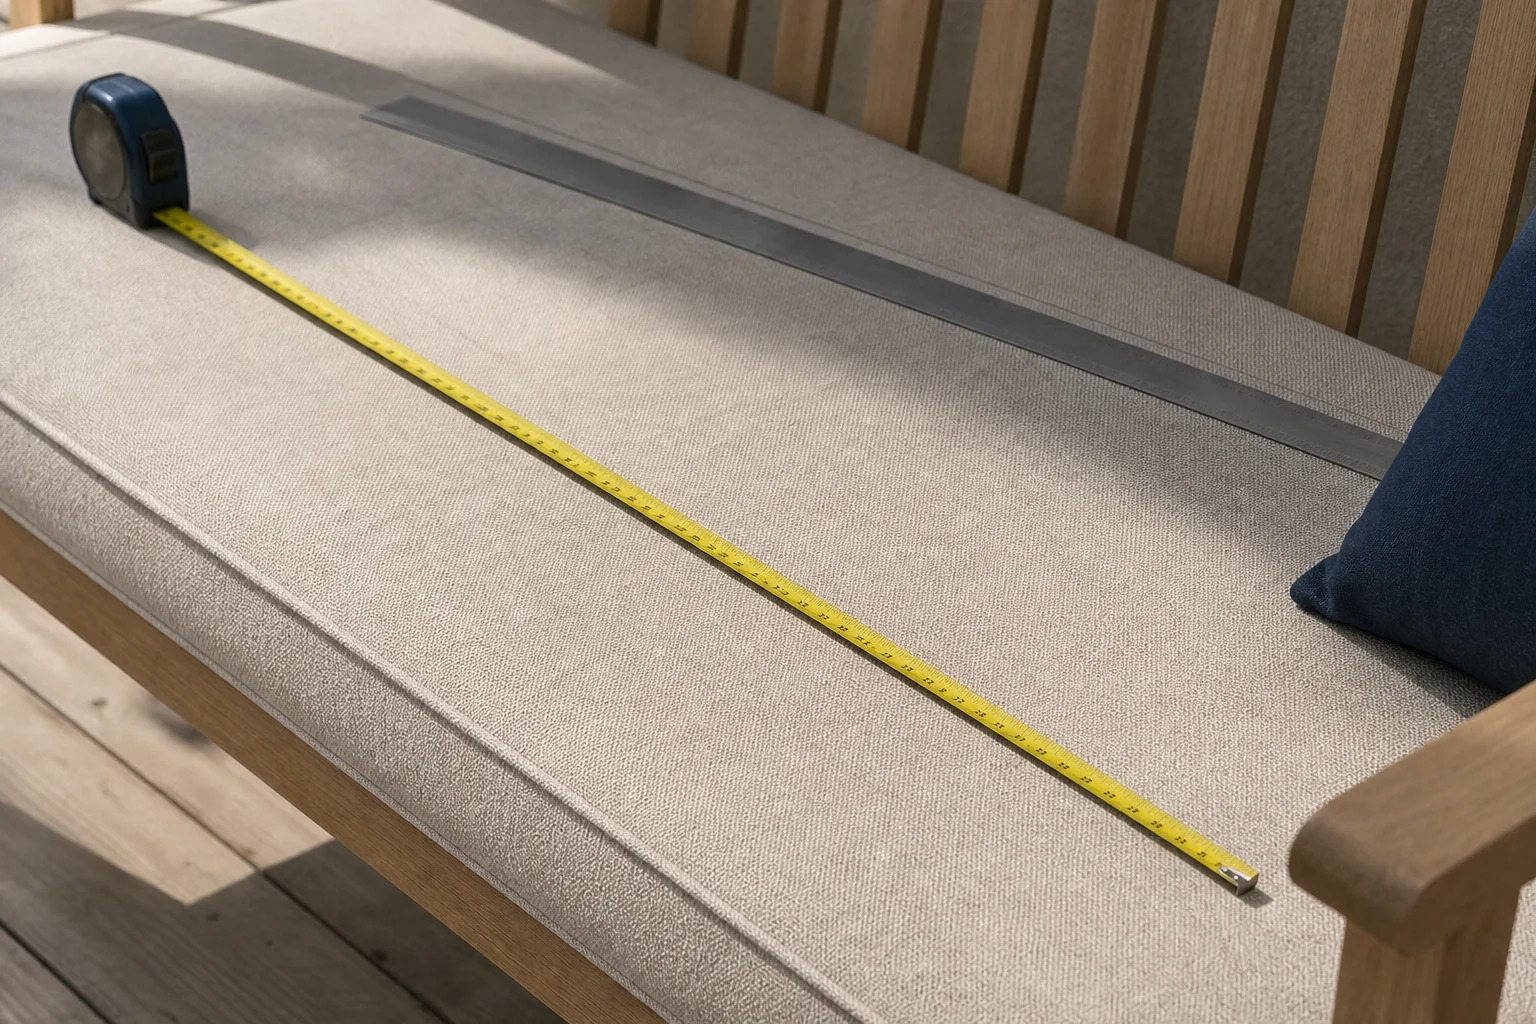
2. Cut the foam and wrap the batting. Foam to the bench’s measured size (measure to the bench surface per bench cushion measurements — platform seating orders at full dimension, no compression allowance). Wrap batting around foam, overlap on the bottom, temporary-tape it in place.
3. Cut the fabric like a box cushion cover. Top and bottom panels at foam size plus seam allowance, one side panel strip around the perimeter. For tufting, cut the top panel with 3–4″ extra margin on each side — the tuft pulls consume fabric, and the classic first-timer failure is a top panel that ends up too small after pulling.
4. Sew the cover box, leaving one short end open for inserting the wrapped foam (and later closing by hand — the hand-sewn closure method is detailed in cushion recovery DIY).
5. Insert foam, then mark through. With the foam inside, mark your tuft grid on the cover’s top face, and confirm the matching points on the bottom face through the fabric.
6. Pull the tufts. Enter at a top mark with the long needle, push vertically through foam and batting to the matching bottom point, come back up 1/4″ away, and pull to compress — firm enough to dimple roughly 1/2–3/4″, not so firm the surface domes. Tie off through a button on each face, or anchor with the loop-and-knot method for hidden tufts. One tuft at a time, checking the face between each for puckers. This is the arm-tiring part; budget real time for it.
7. Close the open end with a hand-sewn seam, and add ties (the tie-sewing method in how to add ties to cushions) if the bench lives outdoors or gets sat on energetically.
Where DIY Tufting Goes Wrong
- – Tension chaos. Uneven pulls produce uneven pockets — compare each tuft against the first one you pulled, not against memory.
- – Thin foam doming. Tufting a 2″ cushion compresses most of its loft; 3″ minimum for tufted work.
- – Cheap foam disappointment. Tufting can’t rescue 20D craft foam — it will still flatten in months. The foam grade is the lifespan decision; no amount of stitching changes it.
- – Fabric pucker at seams. Cut the generous top-panel margin; take up slack evenly across the grid, not at the last tuft.
The Honest Comparison: DIY vs Ordered Grid Stitch
Count the real costs: materials (foam, batting, 2 yards of decent fabric, buttons, thread) typically land in the same range as a custom cushion from Cushion Mill — $45 base plus area × fabric rate — and the custom piece arrives with graded 50D foam and a ±½” fit (±¾” over 36″) to your measured bench in 4–7 business days. Your DIY hours (a first tufted cushion is a weekend, honestly) are the tuition: pay it because you want the skill and the project, not because it’s cheaper — the same math run in cushion recovery DIY and custom vs standard cushions.
The rational split: one-of-a-kind fabric you love and a bench that’s a showpiece → DIY tuft it. A daily-use bench, a set of benches, or an outdoor piece where fill engineering matters → order it, at the custom bench cushions indoor builder for indoor benches or custom outdoor bench cushions for the patio.
Variations Once You Have the Technique
The basic five-by-two grid is the starting point; the technique scales in both directions:
- – Diamond tufting — offset alternate rows for the classic diamond pattern; same pulls, more layout care at the marking stage.
- – Double-row channel simulation — two long stitched lines instead of a grid gives a channel-stitch look with half the pulls.
- – Bench-to-headboard scale-up — the identical method builds a tufted headboard pad (headboard cushions covers the purchased version) — just multiply pulls, patience and arm endurance accordingly.
- – The single-button accent — one centered tuft on a small cushion adds tailored character without the full grid commitment; the gateway version of the technique.
FAQs
Is a tufted bench cushion hard to make?
It’s an intermediate sewing project — basic box-cover skills plus the tuft-pulling technique, which is arm work more than skill work. Expect a full weekend for a first one; the look is achievable, the evenness takes practice.
What foam should I use for a tufted cushion?
3-inch 50D minimum — the tufts compress loft, and thin or low-density foam domes between the pulls and flattens in months. Foam grade is the lifespan decision; the selection logic is in the density guide.
How do I keep tufts even?
Pull each tuft against the first one you pulled, not against memory — consistent dimple depth of about 1/2–3/4″, checked face-on between pulls. Tension chaos is the number one visible DIY tell.
Can I tuft an outdoor cushion?
You can, but use quick-dry foam and an outdoor-rated fabric — standard foam under tufting holds water at every compression point and molds inside. The fill logic is in the quick-dry guide.
Is DIY cheaper than ordering a grid-stitch cushion?
Materials usually cost about the same as the custom piece — your weekend is the tuition. DIY for the project and the one-of-a-kind fabric; order for daily-use, sets, and outdoor engineering.
What’s the difference between tufting and grid stitch?
Same idea, different execution — tufting is hand-pulled points; commercial grid stitch is machine-tensioned stitching lines that lock fill in pockets. The commercial version is machine-made; the DIY version is yours.
Next Steps
- Measure the bench surface per bench cushion measurements and order foam, batting and fabric with the generous top-panel margin.
- Master the box-cover basics first via how to make cushion covers, then pull your tufts against the first one for even tension.
- For benches that get daily use or live outdoors, skip the tuition and spec the grid stitch at custom outdoor bench cushions — we do not carry a reticulated/quick-dry core; for outdoor we pair waterproof fabrics with high-density 50D foam, even machine tension, fitted to your bench in 4–7 business days.
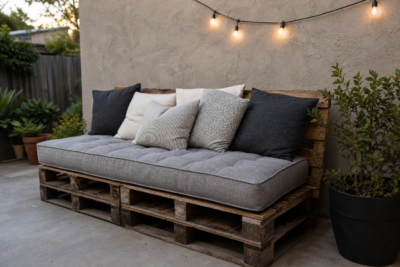
Pallet Bench Cushion DIY: From Shipping Wood to Seated in a Weekend
The full pallet-bench project — sourcing and deconstructing pallets safely, building a squared bench frame, sizing the cushion to the finished deck, and the honest moment to buy the cushion instead of sewing it.
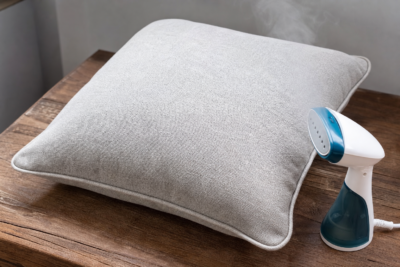
How to Get Wrinkles Out of Cushion Covers: Steam, Wash and Weight Methods
The complete wrinkle-removal guide for cushion covers — why covers wrinkle in the first place, the fabric-by-fabric method matrix (steam, dryer tricks, damp-weight, wash-and-air), the heat-safety rules by fiber, and the fit fixes that stop wrinkles returning.
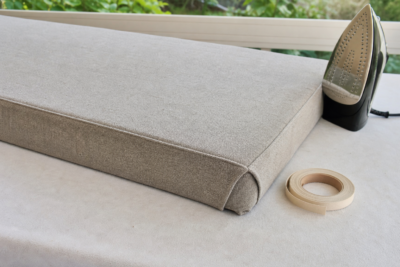
No-Sew Cushion Covers: Seven Methods That Actually Work (and What They Can’t Do)
Envelope wraps, tie-front panels, fabric glue builds, fitted-sheet hacks, knotted fringe and more — the no-sew cushion cover methods ranked by durability, the materials each one needs, and the honest limits of glue-and-fabric construction.
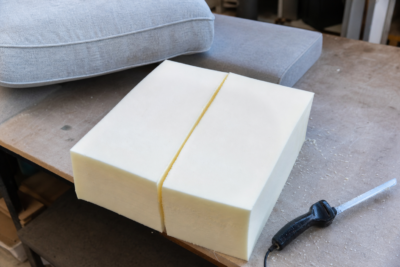
How to Cut Foam: Tools, Methods and Straight-Line Discipline
Every practical way to cut upholstery foam at home — electric knives, serrated bread knives, long blades and hot wire — the straight-line technique that prevents wonky edges, curved and radius cutting, and safe glue-up for multi-piece builds.
How to Fix Sagging Couch Cushions (Foam, Not Fluff)
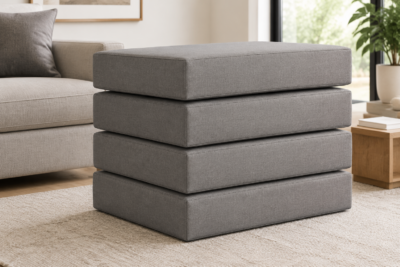
Fix sagging couch cushions by finding the real cause — dead foam, flattened fiber, or a failing support deck under the seats. Quick fixes vs real fixes, and when re-foaming is the only answer.
How to Reupholster Dining Chairs: Seat Pads, Full Cushions and When to Stop
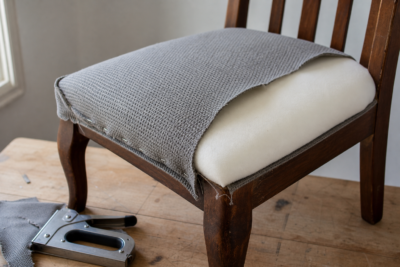
The complete dining chair reupholstery walk-through — the drop-in seat pad method, replacing foam while you’re in there, fabric choices for dining duty, the full-cushion route for padded chairs, and the honest stop-or-continue decision.